Around The World, Part 24: Local terrain
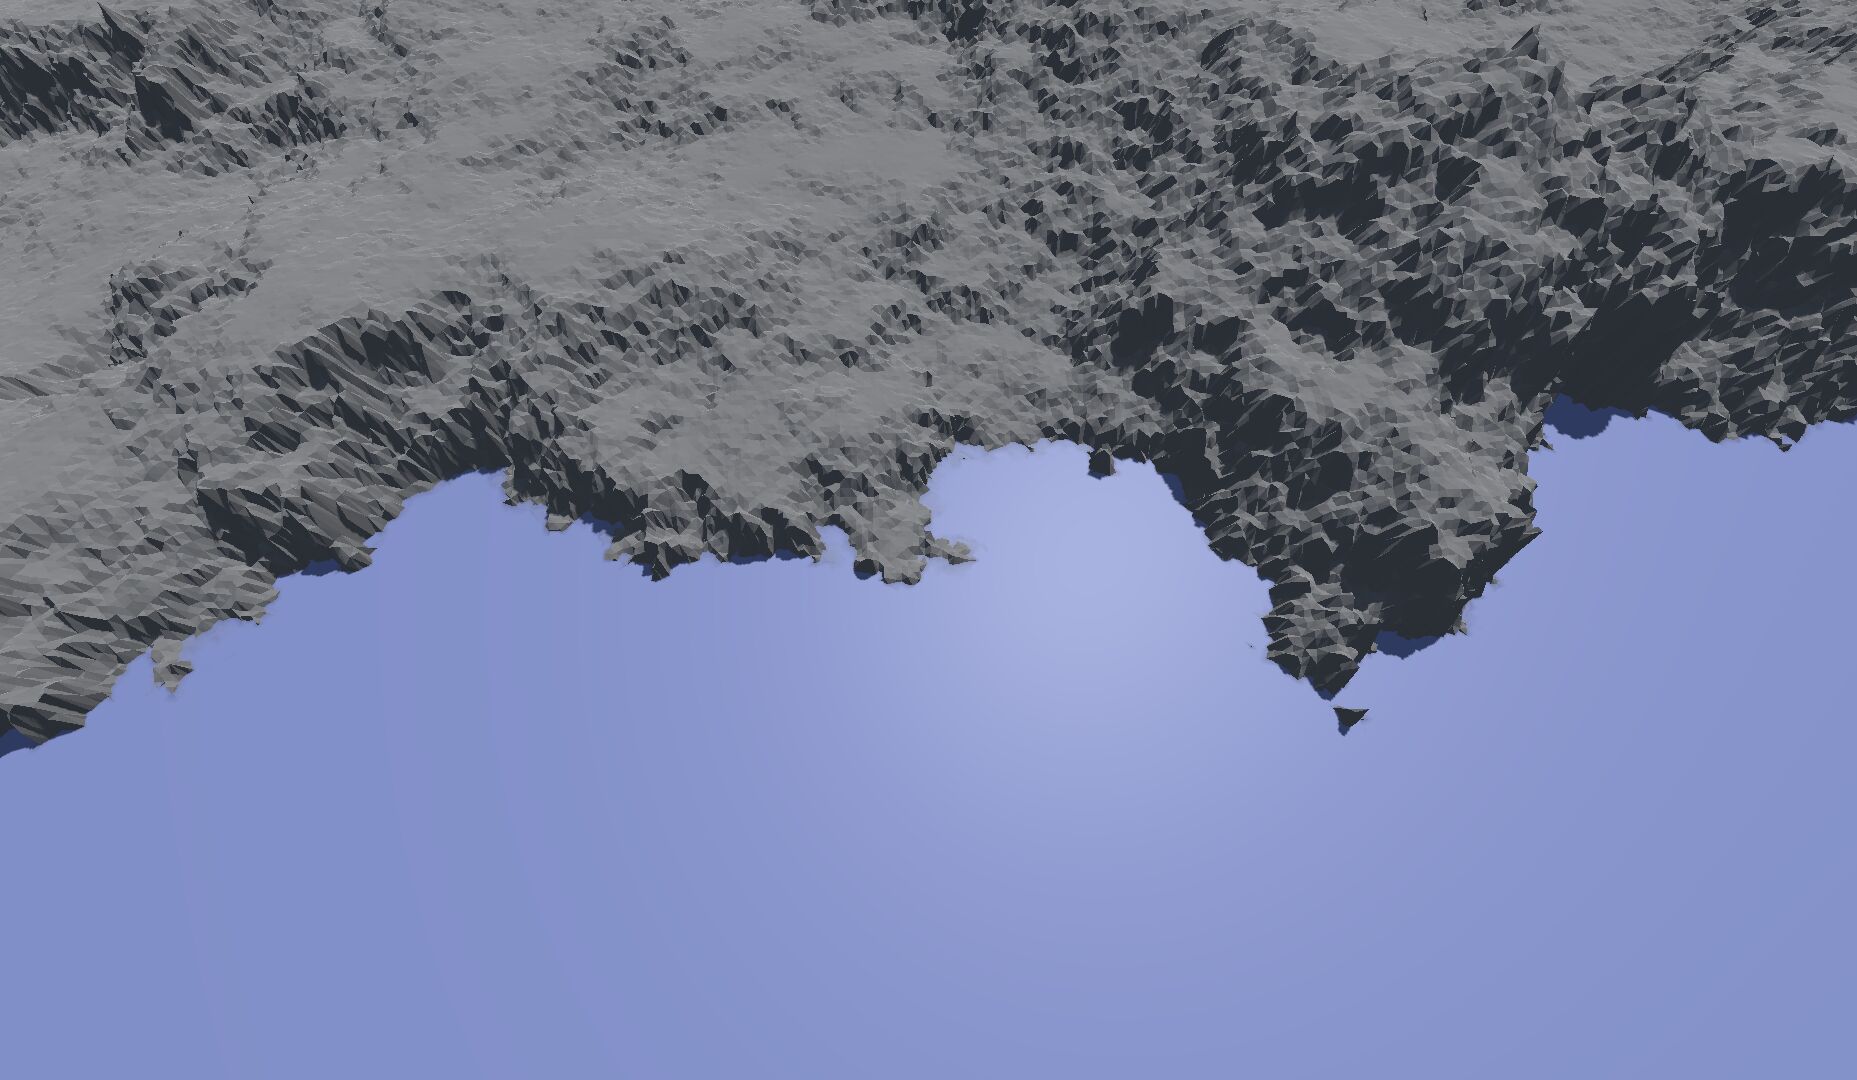
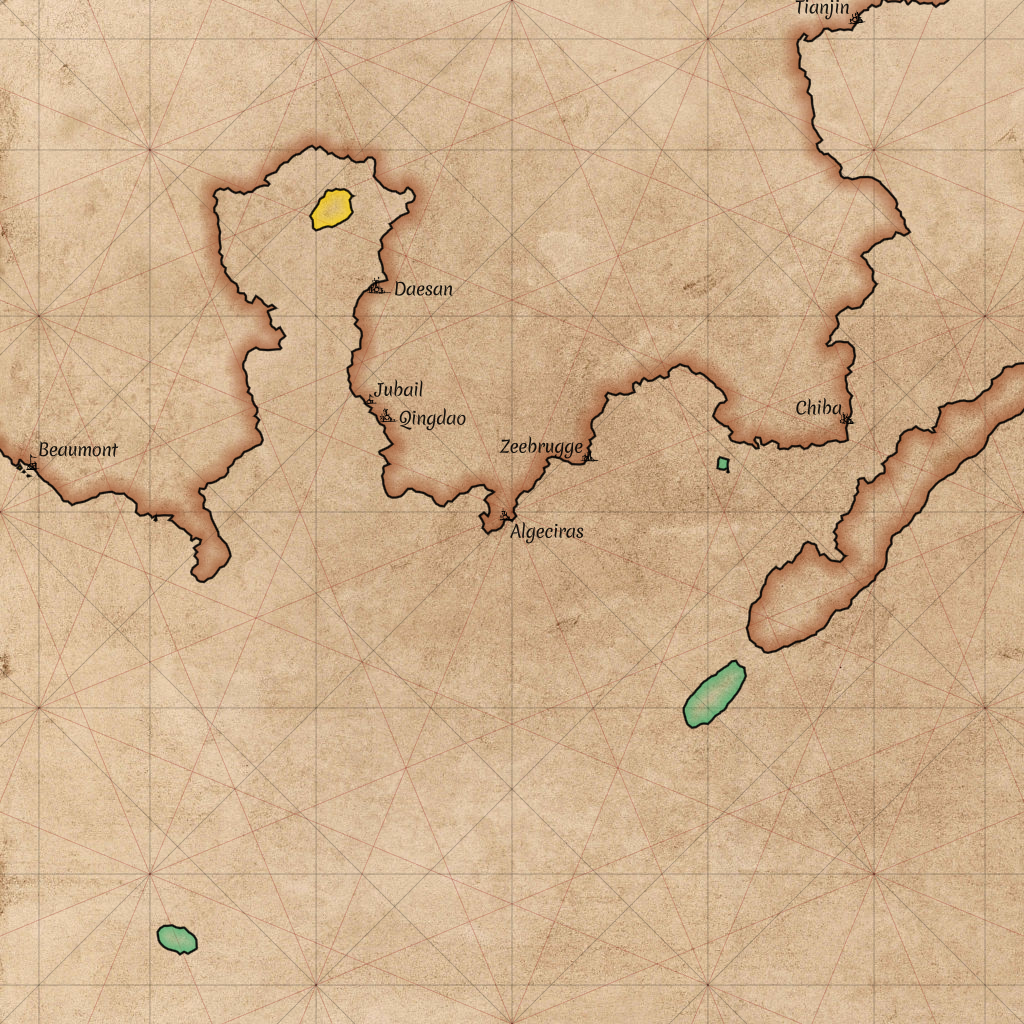
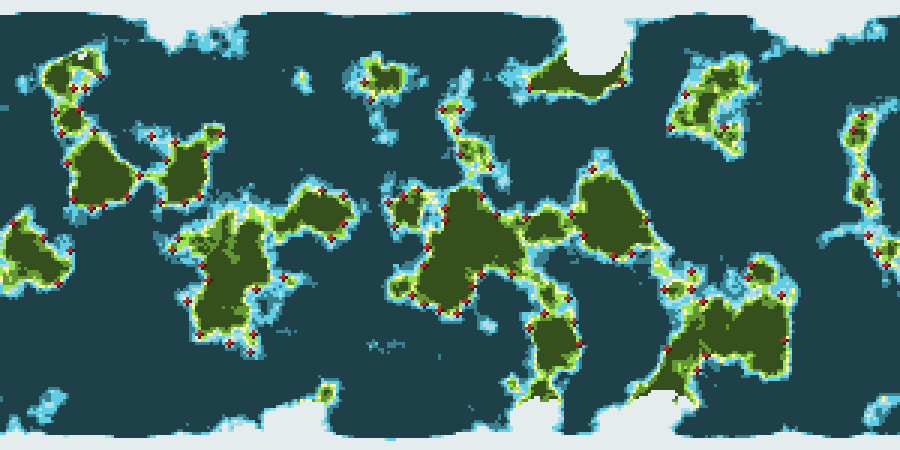
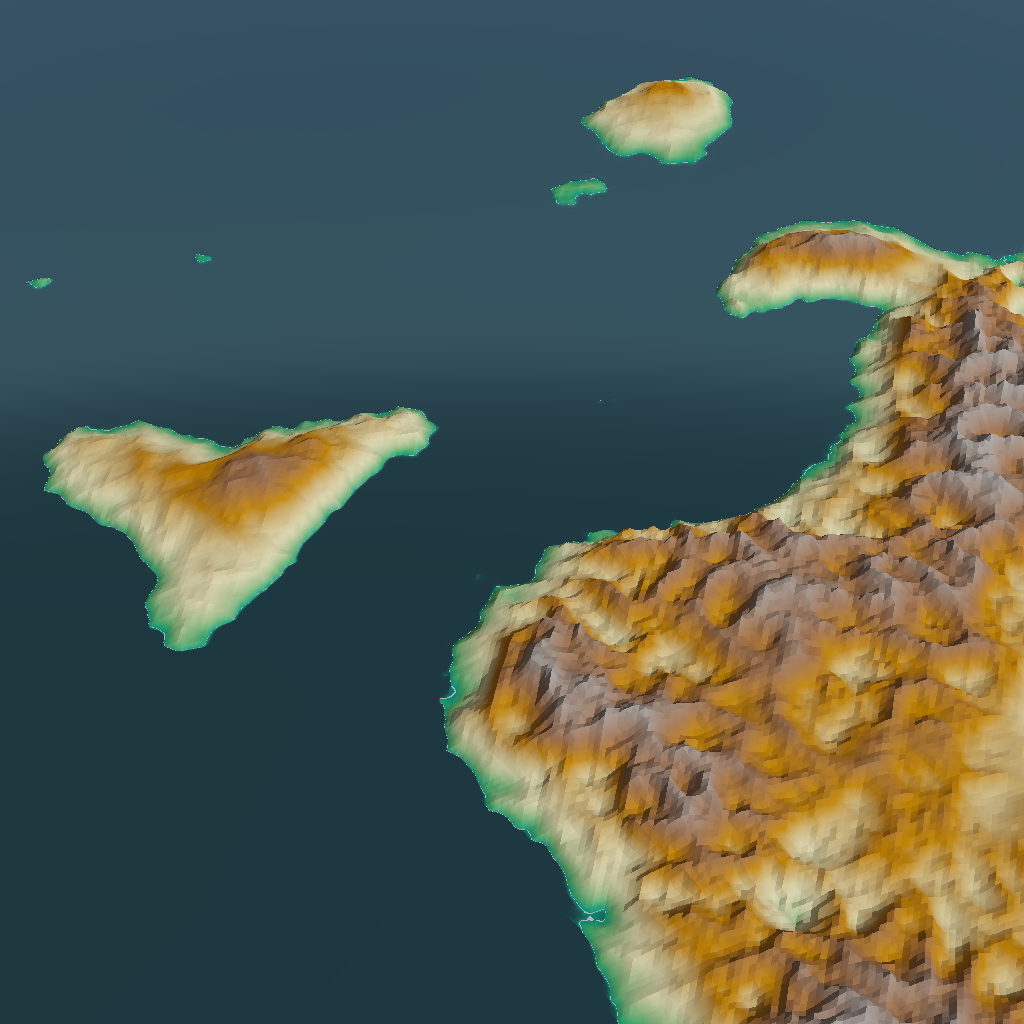
Now that we have a plausible looking height map for the entire world, it’s time to zoom in and see what the terrain looks like up close.
« Newer 1 2 3 4 5 6 7 8 9 10 11 12 13 14 15 Older »
Now that we have a plausible looking height map for the entire world, it’s time to zoom in and see what the terrain looks like up close.

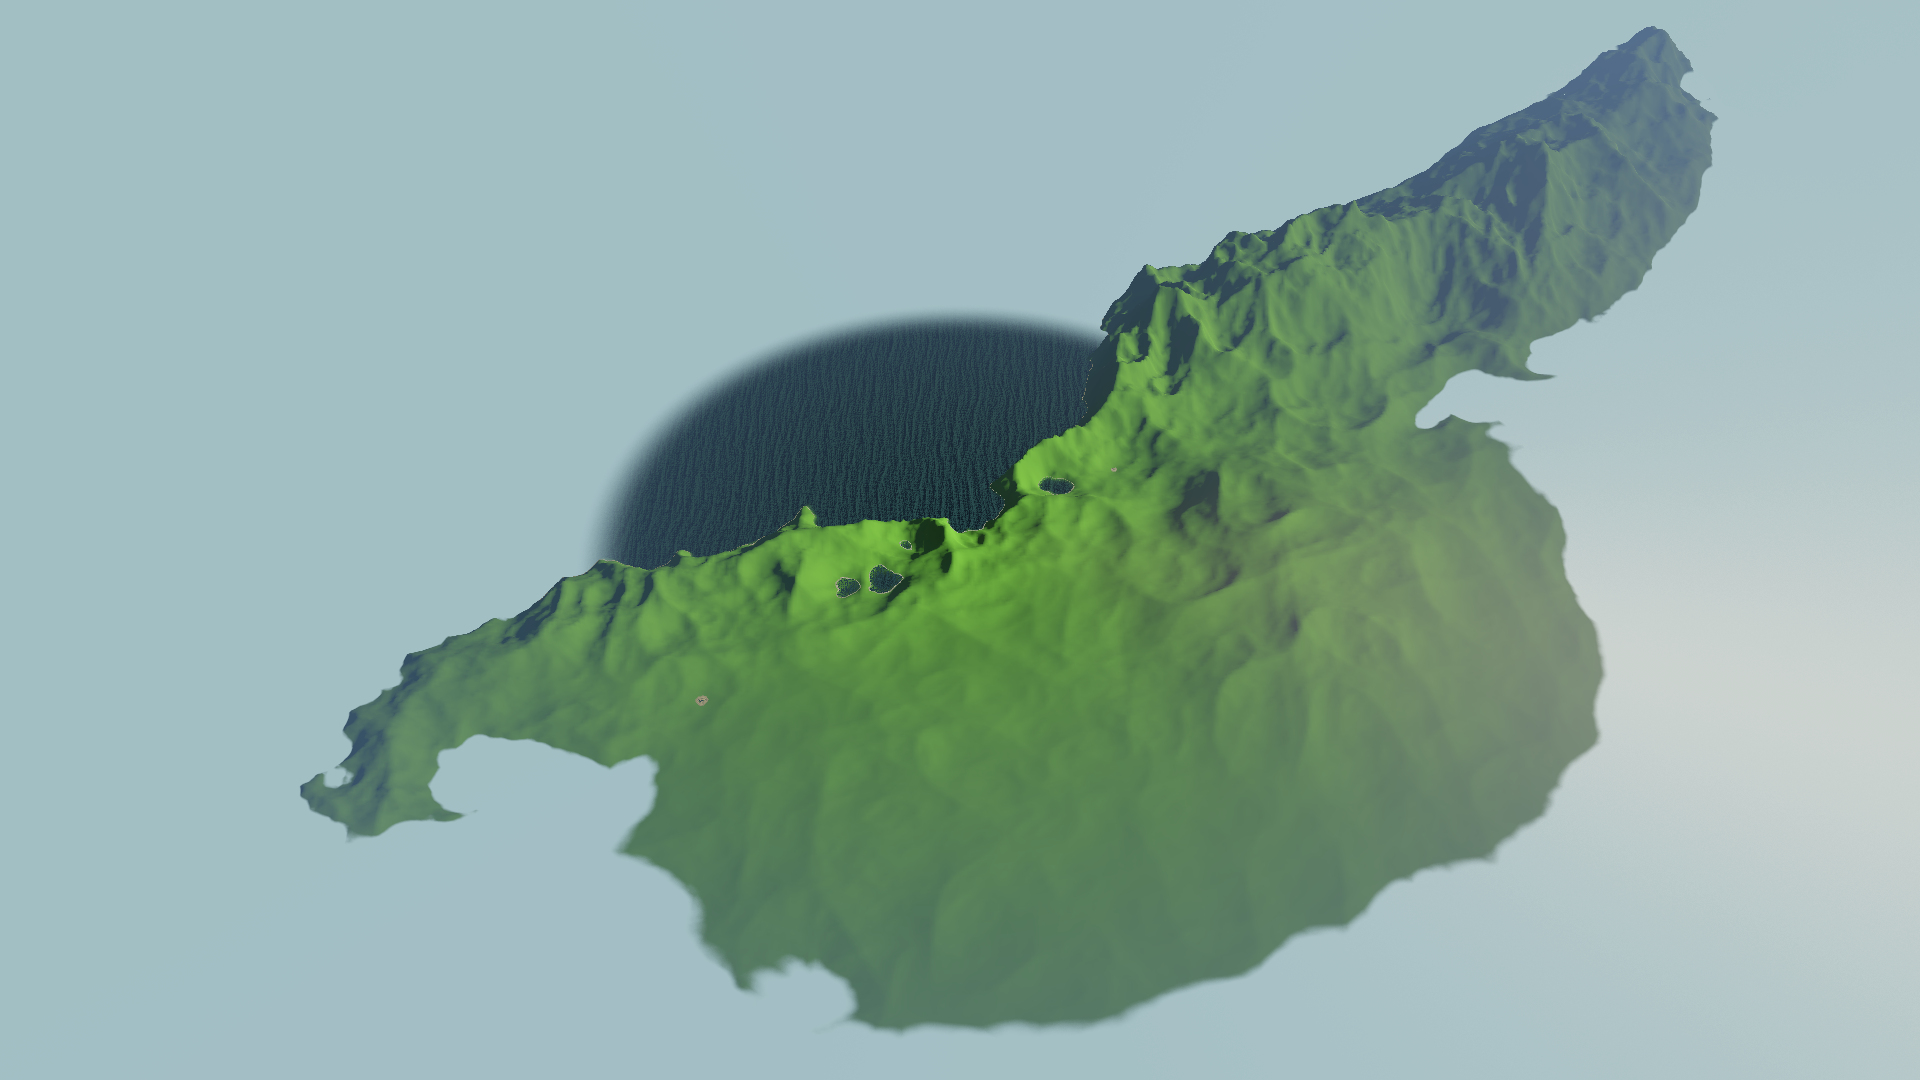
As I mentioned last time, I’m currently working on a full rewrite of the game, with a focus on building a solid technical foundation first. But because much of that is boring work, I allowed myself a fun side quest: hydraulic erosion.

I’ve done something that common wisdom in software development says you should never ever do: I started over. Let me explain why. This might get a bit technical…
In a game focused on exploration, we need to have a way to decide what the player can and cannot see. With a first-person or third-person 3D view, visibility comes for free: anything below the horizon, and anything behind something else, is not visible. With a top-down perspective, we need to do some more work.
Work on the game has been slow due to lack of time, but worse, I’ve let it drift off in the wrong direction. I need to be more careful about scope creep. But first, let’s talk about the progress that I am happy about.

The first real money I ever made from game development was on Android. It was in 2013, when Android was still the underdog compared to the iPhone, and was being touted as a great platform for developers. I’d taken two weeks to build Patchy, a retro arcade game revamped for touch controls, and published it on the Google Play Store without any hassle. Since then, I’ve also published Twistago, Rocket Mail, Bigcanvas, Radio Nul and Papageno.
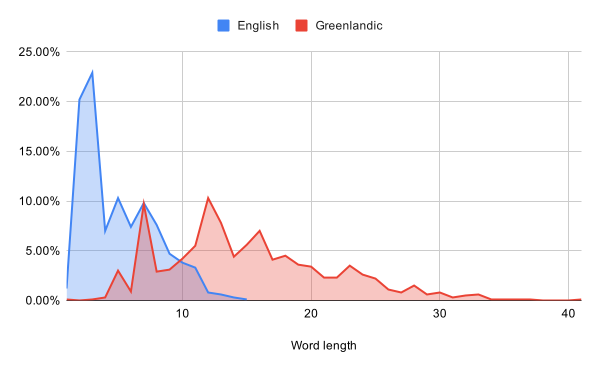
I’m having a bit of an “off” day today, so let’s do something fun, even if it’s rather low priority for the game: generating foreign languages.
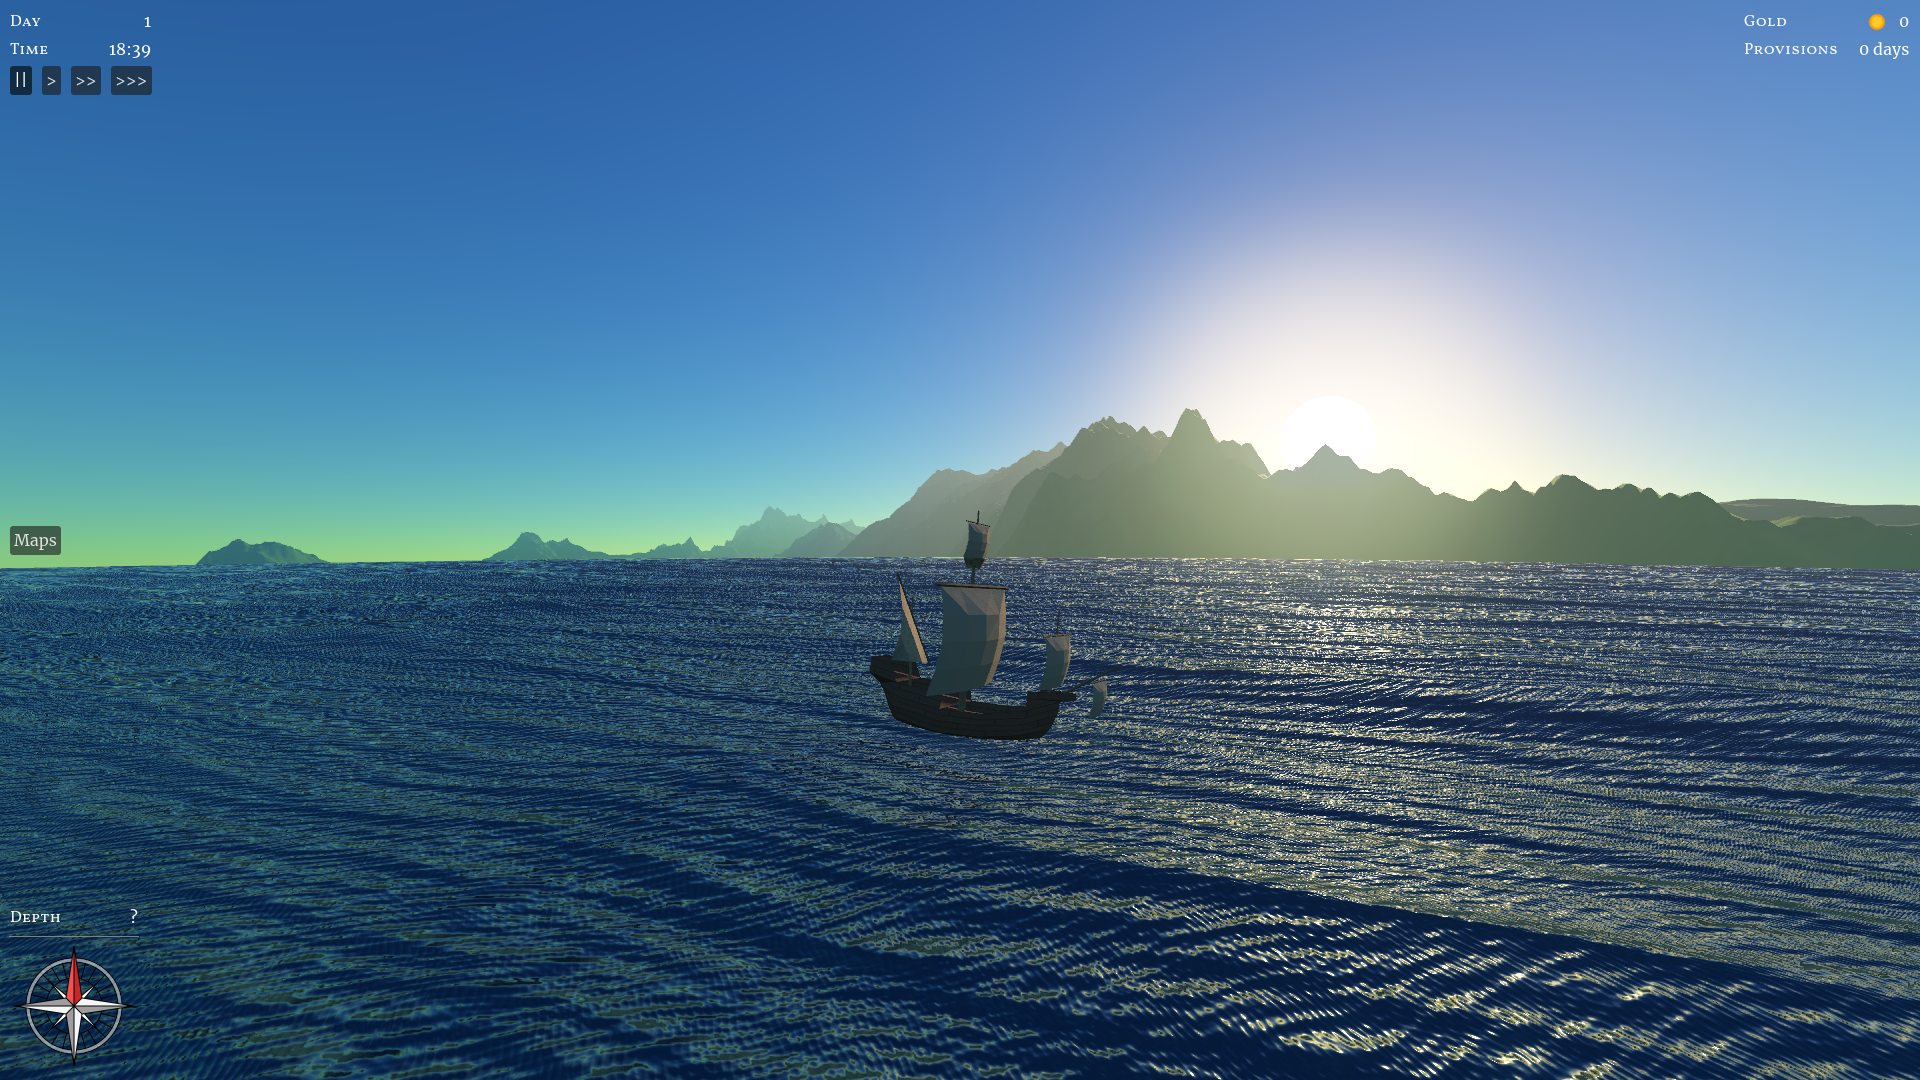
Maps will be an important part of the game. Let’s take a look at how we can draw those!
The code repository in which I’m developing Around The World is called aroundtheworld4. That might make you wonder: what happened to the first three? Today, let’s take a look at aroundtheworld2.
All else being equal, I prefer games (and books, and movies) to be realistic, rather than making things up on the spot. But of course, all else is rarely equal. Today, I’ll be taking away some of the realism of my procedural world generator to accommodate gameplay.