Pressure, polygons and eddies
This week has been one of mostly refactoring. I’ve been streamlining the code to make it easier to add new objects and features later on. This will prove useful, because the gameplay clearly needs a lot more experimenting to get it right.
As to the gameplay, there’s been some progress, though nothing spectacular. As I wrote last week, there are different ways to set the fluid in motion:
Apply a force to it. This works well in open spaces, but gives unrealistic results if the flow is directed into a closed space: because of inaccuracies in the fluid solver, a flow will result in spite of the fact that the fluid is incompressible. It can also lead to unbounded acceleration of the fluid, because the force does not diminish if the fluid speeds up.
Set a fixed velocity. Although you might think that a force best simulates the effect of, say, a ship’s propeller, that is not actually true. A propeller rotates at a fixed rate, and thus allows a fixed amount of water to pass through it per second. Hence, if the water flows too fast, the propeller will actually slow it down. So the idea of setting a fixed velocity in a certain region is born. I have not experimented with this yet, but probably will.
Increase pressure over time. This has a similar problem to the force-based approach: the pressure can become unbounded in a closed space. This gives rather unpleasing results if that space is suddenly brought into contact with a low-pressure region.
Set a fixed pressure. This might be the most realistic simulation of, say, a running tap: no matter how far you open it, the pressure in the pipes is not significantly affected (nor is the pressure in the kitchen). Indeed, I found that this is the most predictable and reliable of the three options that I have tried.
One problem that remains is visualization: how do you make it evident to the player what the pressure in a certain region is? Do we even need to? I’d say yes, because the fluid will always move from high-pressure areas to low-pressure areas. Having different inflow and outflow points with different pressures could then be used to create interesting puzzles. But I’ve shelved the visualization issue for now, turning towards flow control instead.
So far, I’d been working with rectangles only. Rectangles, especially of the axis-aligned variety, are a programmer’s friend. They are straightforward, easy to define and use, and can be used to represent most things on a computer screen. However, in a fluid game like this, they have a severe problem: corners.
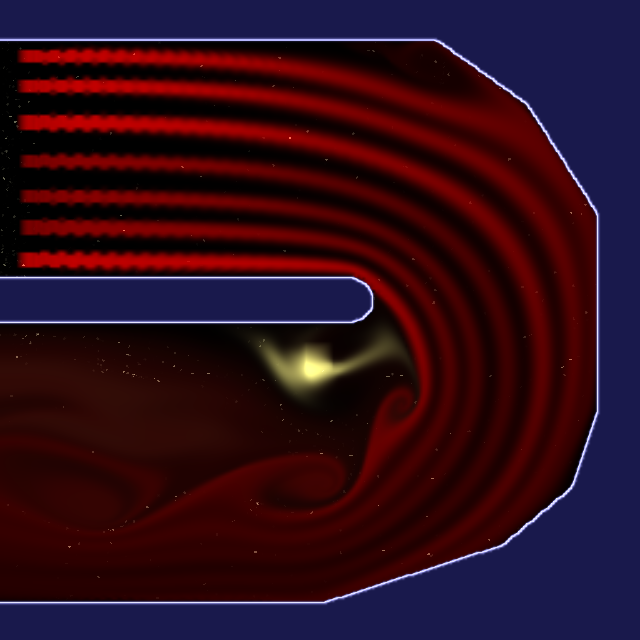
This is a simple test setup with high pressure at the top left, and low pressure at the bottom left. This causes a U-shaped flow around the obstacle in the middle. As you can see, the sharp corners lead to large and small swirls and eddies in the current. Especially in the top right and bottom right corners, this is problematic: that bit of fluid will just spin around without ever getting anywhere. If an object were floating in that bit, it would be irretrievably lost unless you could pull on it directly – and that wouldn’t be much fun!
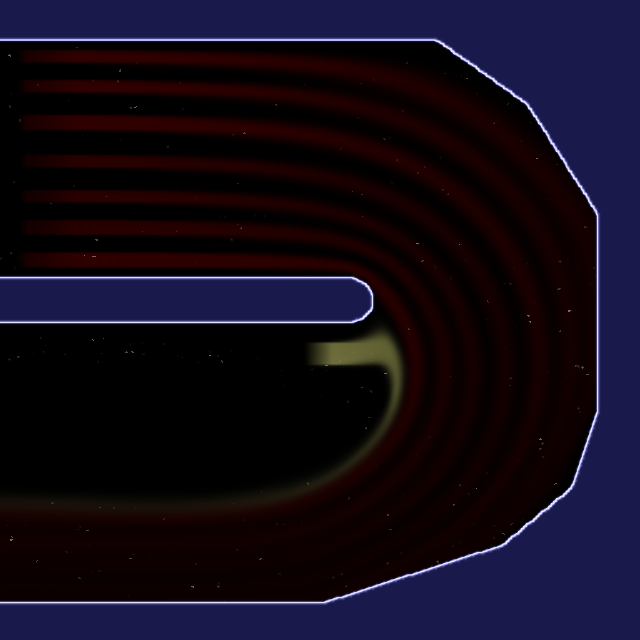
In an attempt to fix this, I spent a few hours implementing circular and polygonal shapes as well. Now we give the level designer the freedom to create a more rounded setup, which will lead to less vortices and eddies in the current. As you can see in the screenshot below, it works quite well: the vortices in the corners are gone (because the corners are gone). The obstacle in the middle still causes a large vortex underneath it, but with fluid flowing so fast around a still relatively sharp corner, this cannot be prevented.
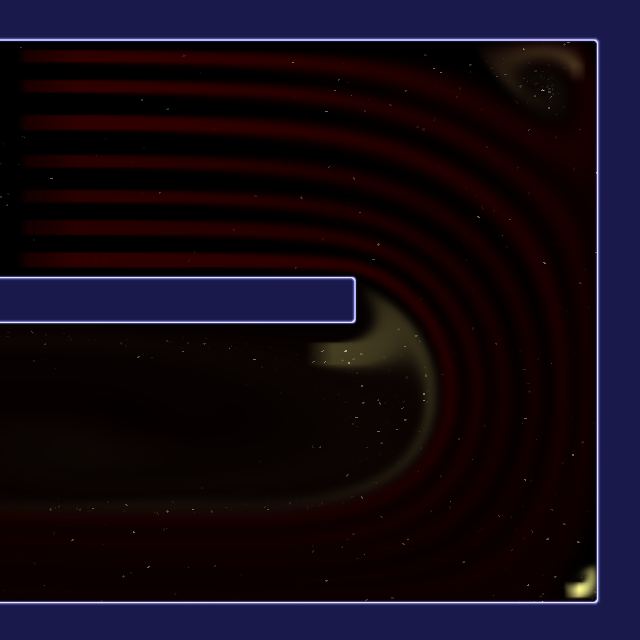
Or can it? Maybe a higher viscosity will cause the fast-moving fluid to drag the slow bits along? It turns out that it does not, probably again due to shortcuts in the fluid solver, but a low viscosity shows that it was the right idea. Look at those beautiful vortices!