Around The World, Part 31: Clear blue sky
This post is part of a series about Around The World, a game of exploration and discovery at sea. The game is currently in early development. If you're new to this project, you can read up on it here.
Around The World will be played from a third-person chase camera, so most of the time, about half the screen will be filled with sky. How do we make that sky look good?
You may already seen some pretty skies in previous screenshots, but I wasn’t completely satisfied and decided to start over. I’ll do this in three phases:
- Make a clear sky that works up to and including sunset.
- Implement a night sky with stars.
- Add clouds.
This post is about the first step, clear skies. That may sound dull, but in fact even a clear sky has a surprising amount of colour variation, especially when the sun is low. I want those pretty sunsets!
Now if you’re into computer graphics at all, you may be aware that rendering realistic skies efficiently is a solved problem. So I won’t be creating anything ground-breaking today. I am however going to implement this from scratch, because it helps me understand the implementation and tweak it to my needs.
Also, it’s fun, dammit. I can barely go outside anymore without gazing at the sky, and wondering how I’m going to implement it. Especially clouds. Clouds! But I’m getting ahead of myself.
Godot’s built-in options
First off, the game will have dynamic weather and a day-night cycle, so anything like a static sky box is out of the question. It needs to update in real time.
Godot offers two built-in options for this: a fast one named ProceduralSkyMaterial and a slightly slower one named PhysicalSkyMaterial.
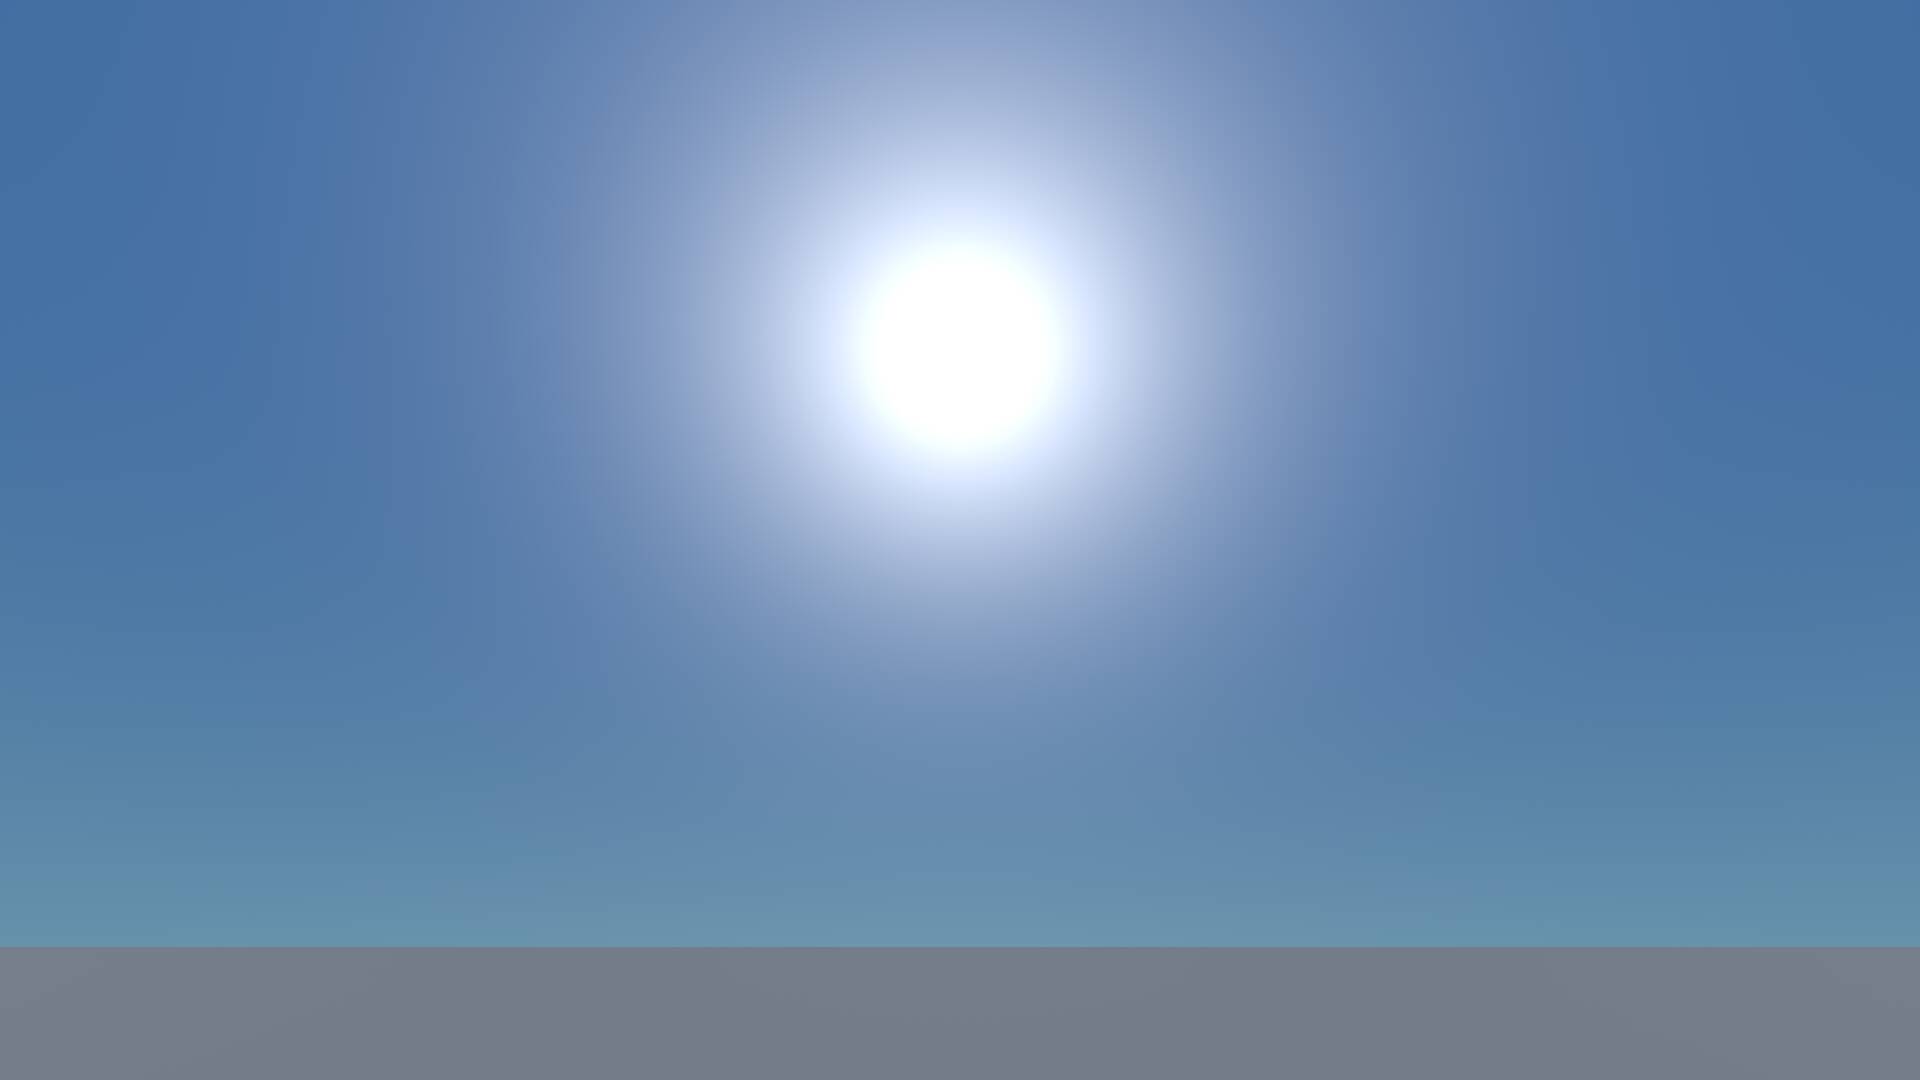
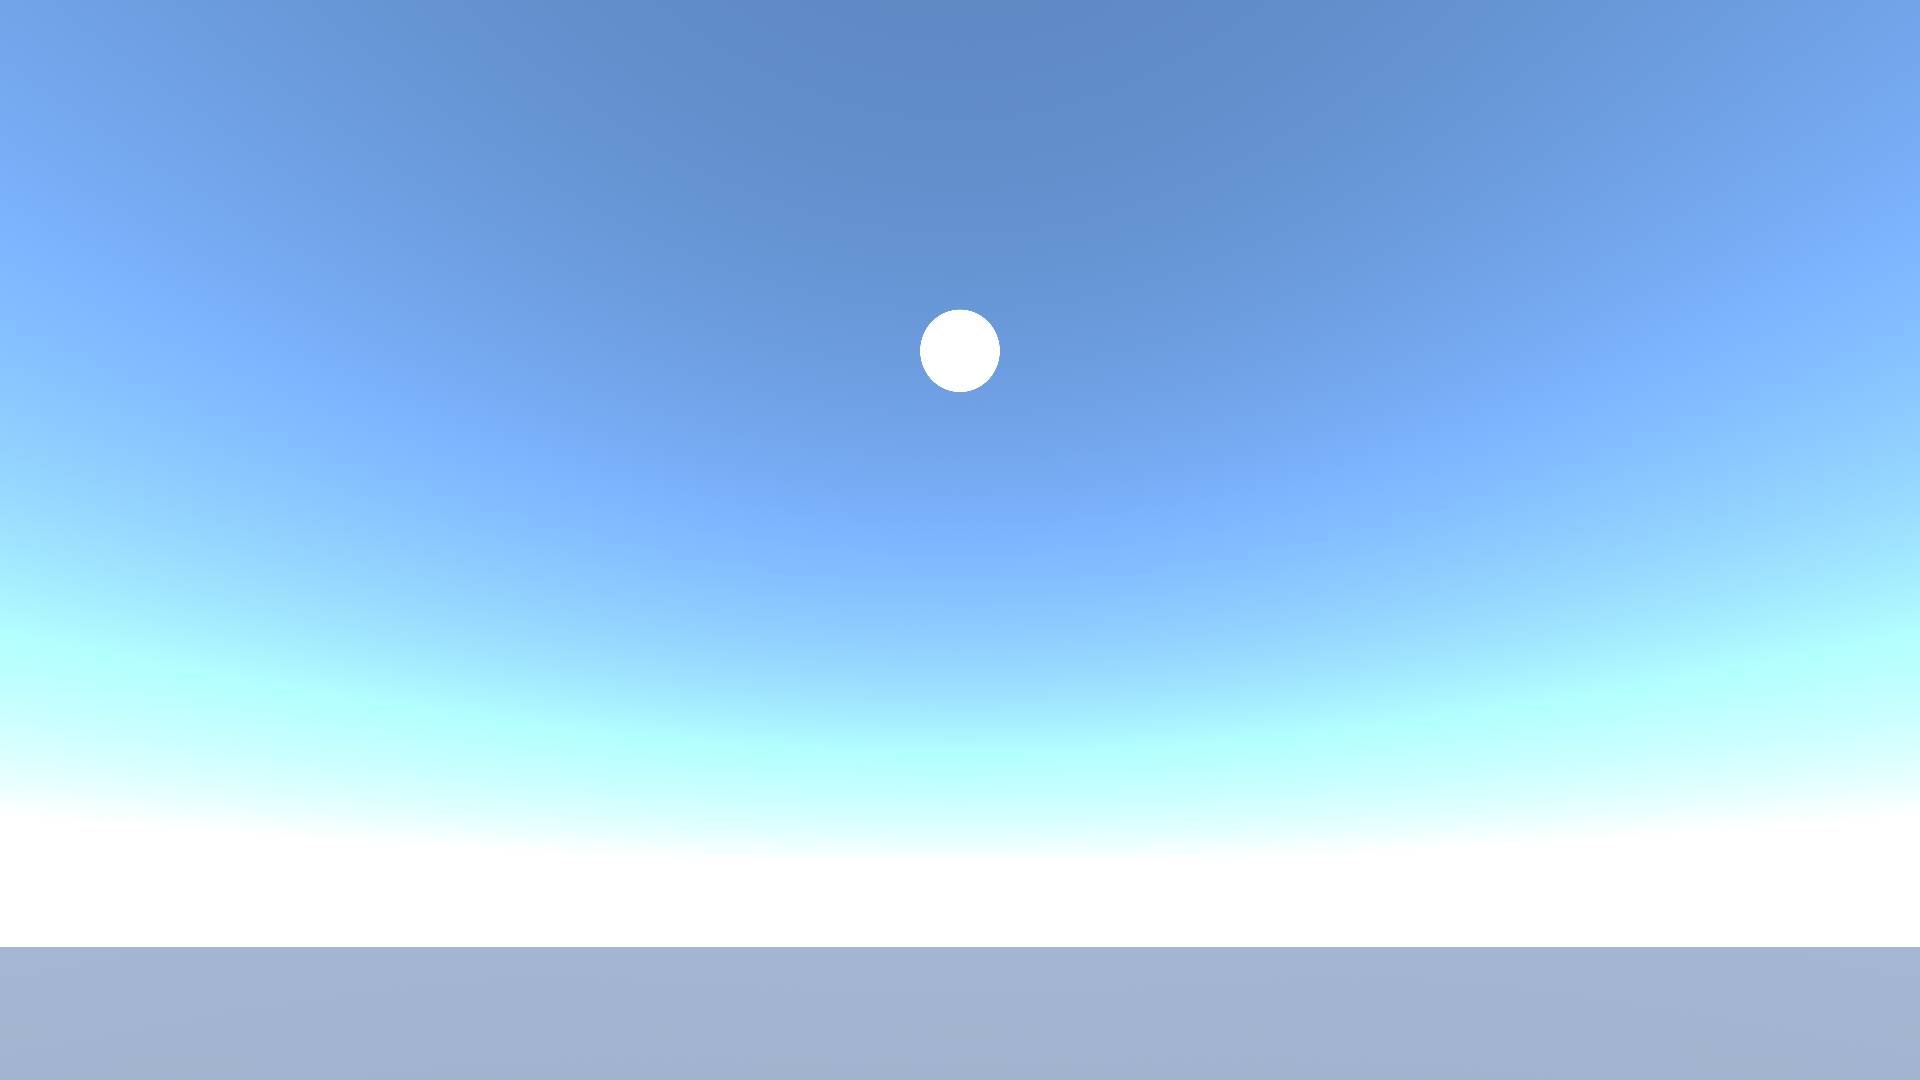
This is what ProceduralSkyMaterial looks like:
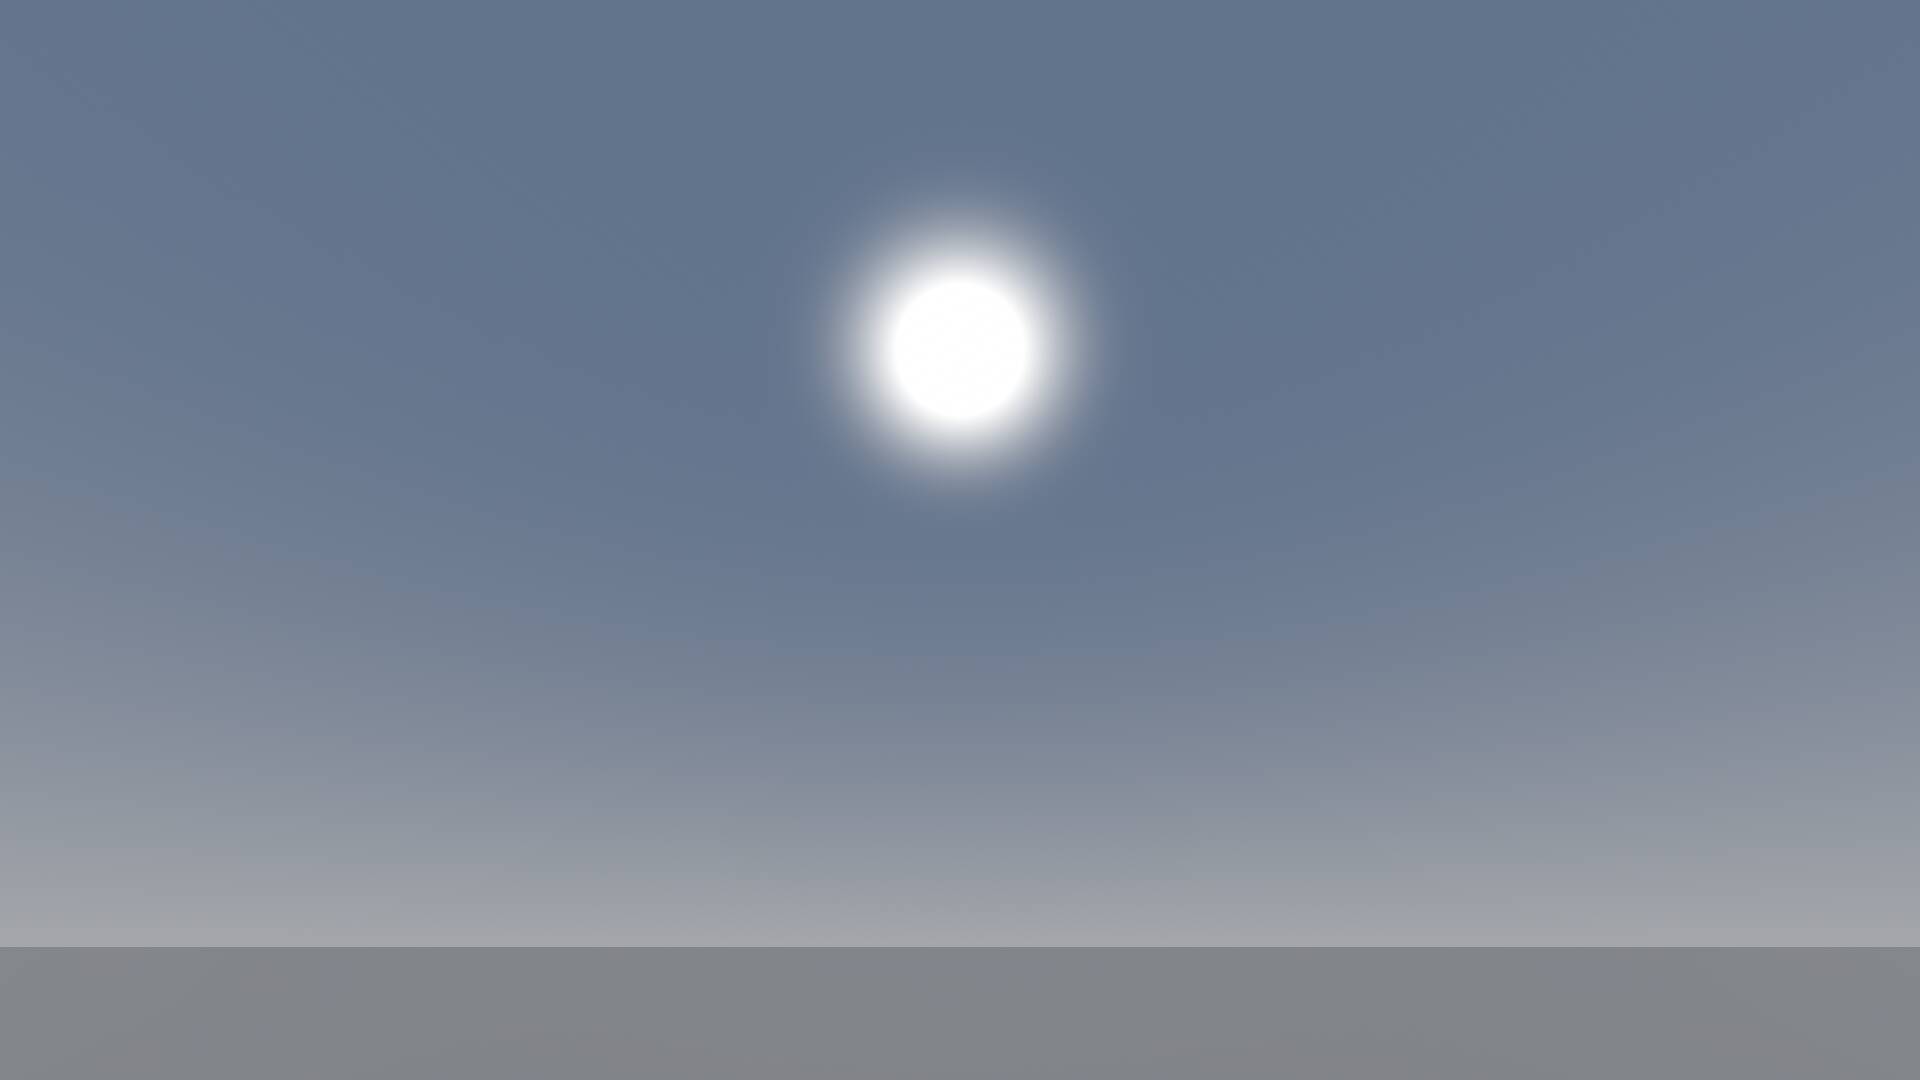
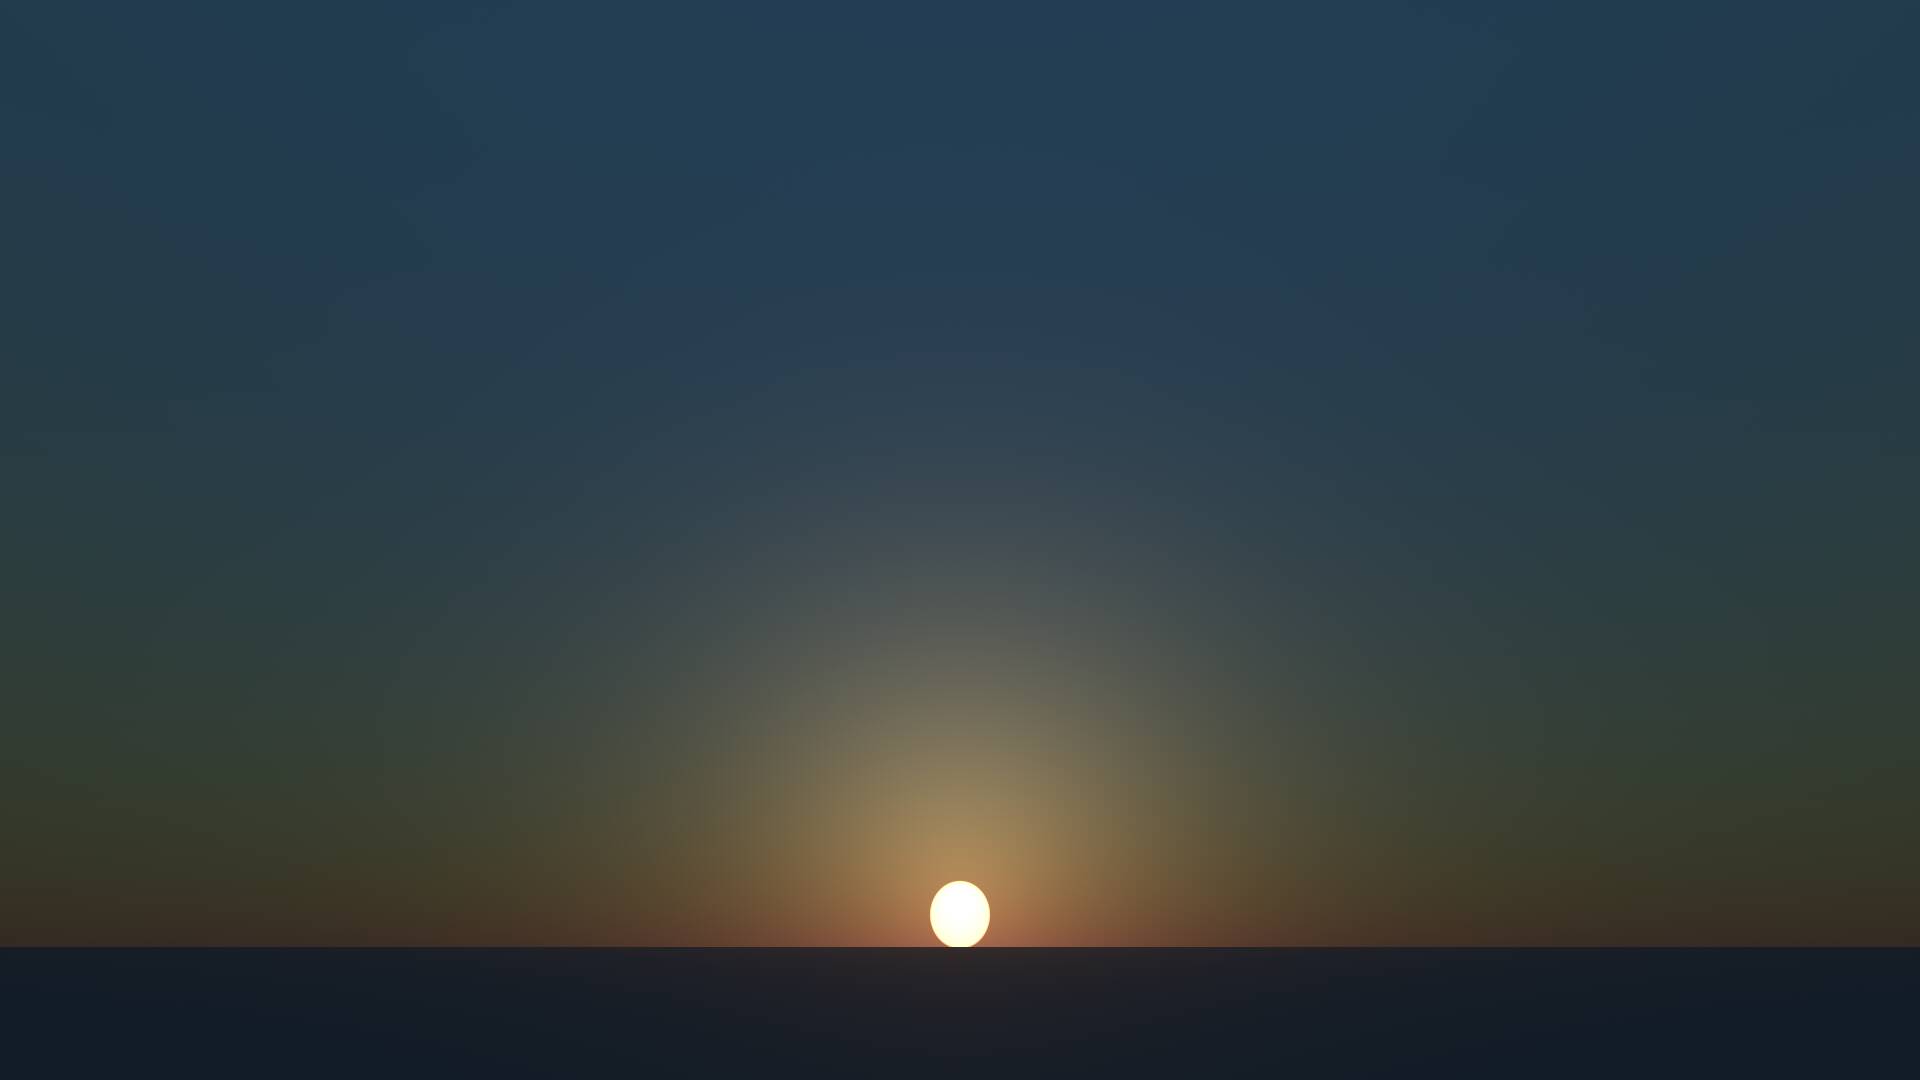
That’s quite bland when the sun is high (here, 45°), and it doesn’t get better at sunset:
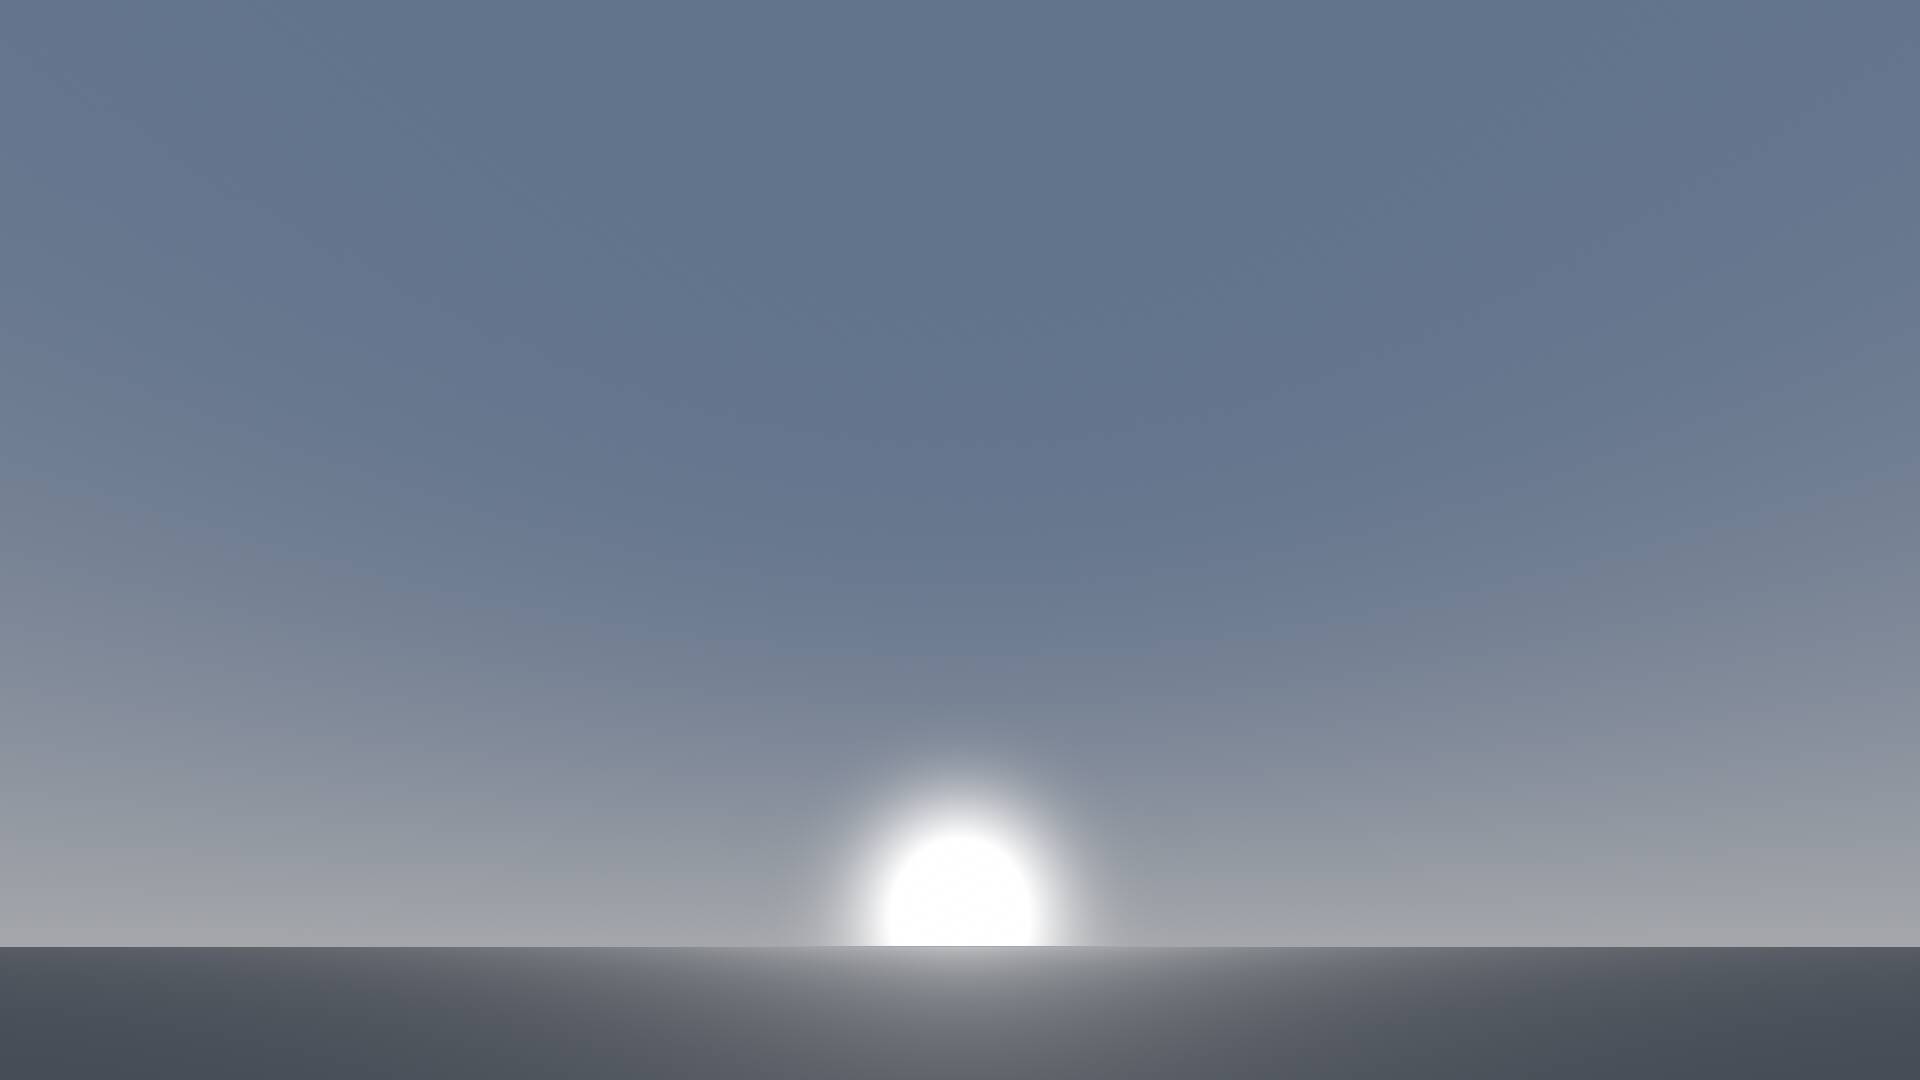
This implementation is just too simple; it’s basically a gradient towards the horizon, and a radial gradient around the sun. That’s not going to cut it.
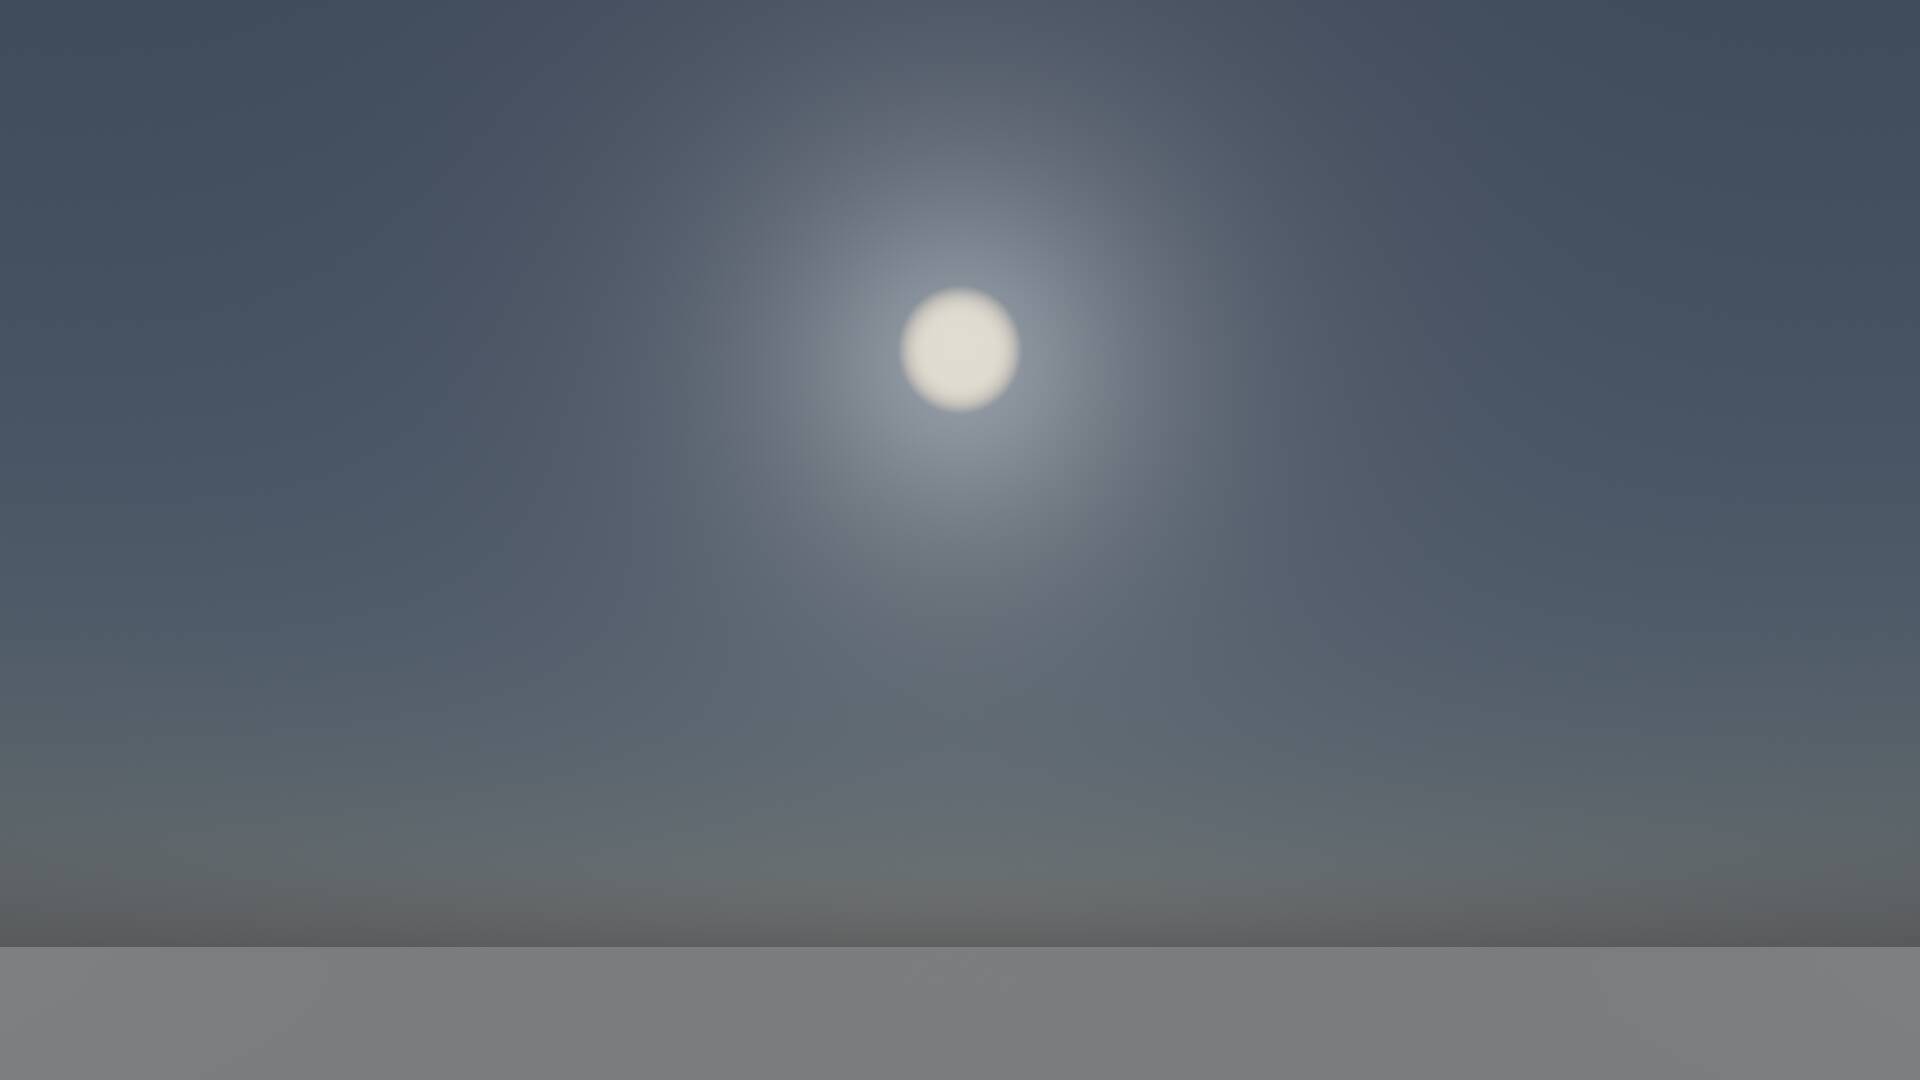
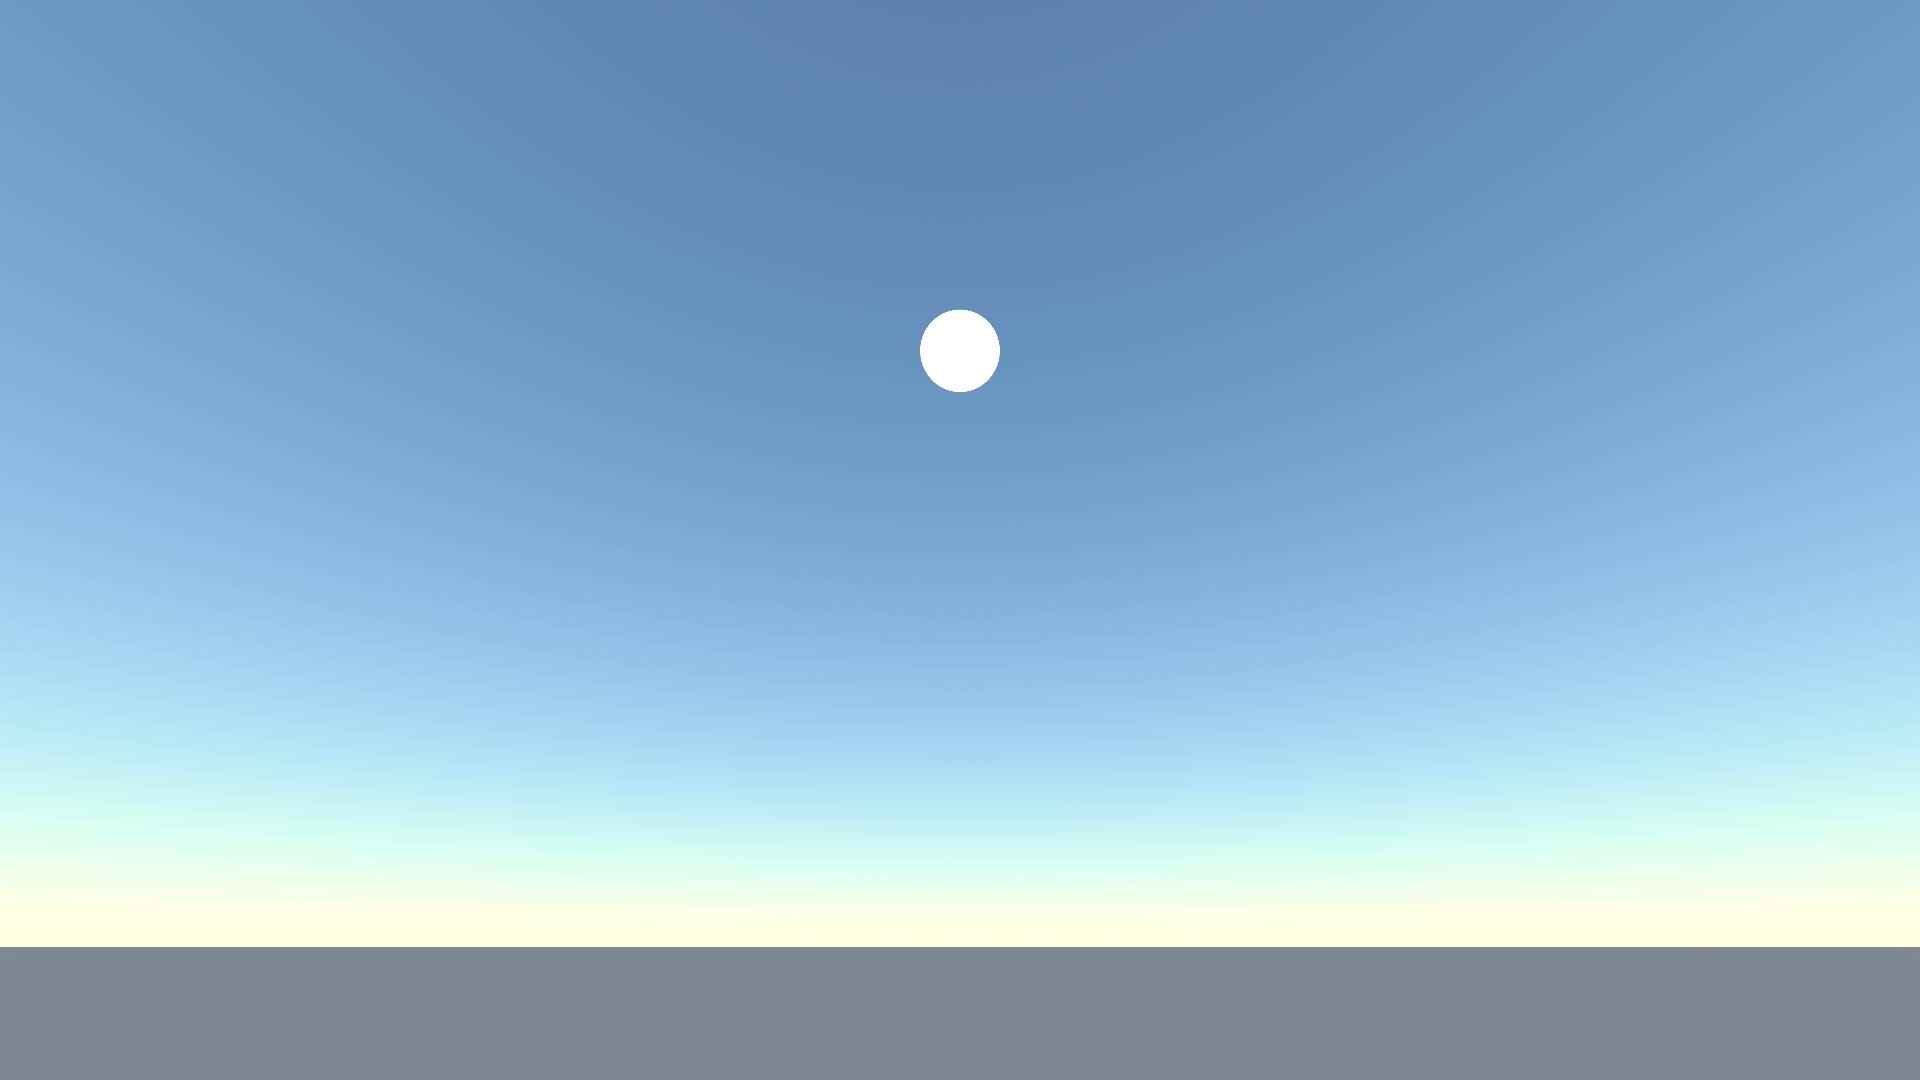
How about its big brother, PhysicalSkyMaterial? It’s based on an analytical model of Earth’s atmosphere by Preetham et al. (1999), which means it’s somewhat realistic but above all still very efficient. Here’s what it looks like:
And at dusk:
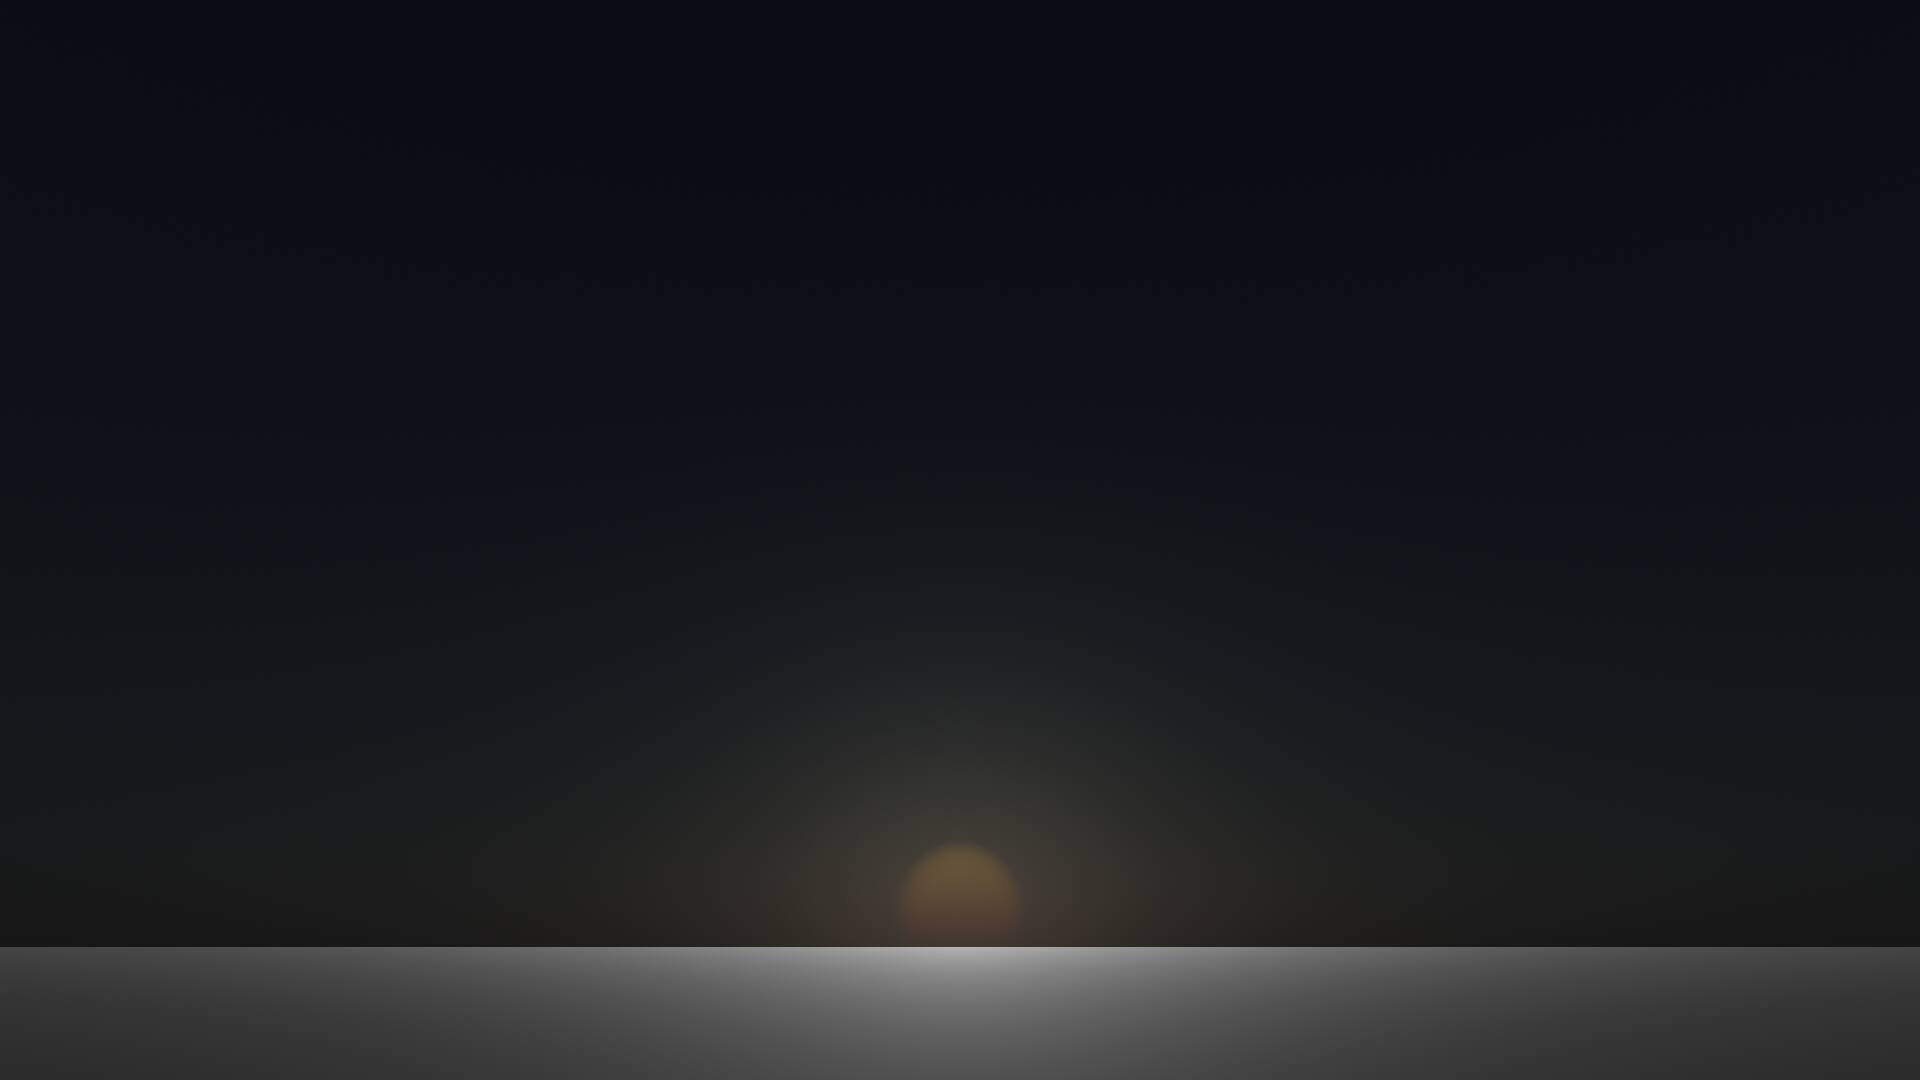
It’s better, but still not great. Tweaking the parameters (especially boosting the brightness) got me some slight improvements, but it still felt underwhelming.
QuickSky
My game’s art style uses low-poly models and coarse, pixelated textures; is not based on maximum realism. So we don’t necessarily need a very realistic sky. Artistic control is arguably more important. It needs to be pretty.
So I set out to do something like Godot’s ProceduralSkyMaterial: just slap some gradients and equations together until it looks good. I called this approach “QuickSky” and here’s how far I got with it:
I don’t think this is bad at all for how simple it is:
- Start with a uniform sky-blue colour.
- Towards the horizon, fade exponentially to a paler, light blue.
- Draw the sun disk in white, with a white halo around it.
- Pass the result through a Rayleigh outscattering function. This is just an orange colour raised to some power, with a higher exponent closer to the horizon. Tune down this effect the higher the sun is in the sky.
It’s yet another step forward, but I felt it had reached its limits. To make it look better (in all directions, under all conditions) I would need to add more tweaks, more parameters, all under artistic control. But in this case, I found that nature itself is the best artist: it does make pretty sunsets! So I would prefer to just do what it does. More realism after all!
SingleScatteringSky
The sky gets most of its colour from an effect called Rayleigh scattering. When sunlight travels through the atmosphere, it sometimes hits an air molecule and gets bounced (“scattered”) in a different direction. Shorter wavelengths get scattered more often than longer wavelengths, so blue light bounces around a lot more, whereas red more often travels straight on. This is why the sky is blue.
This is often implemented in shaders on the GPU by marching along the view ray and computing what happens at each point along the ray:
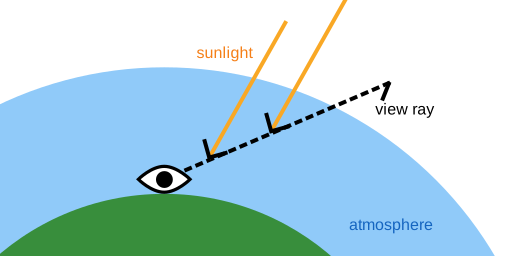
So that’s what I implemented: break up the view ray into a number of same-sized intervals, and compute how much direct sunlight would be scattered into the view ray along that segment. This is only “single scattering”: we assume that each photon is scattered no more than once until it hits something.
Even with such a simple approach, we already get a blue sky:
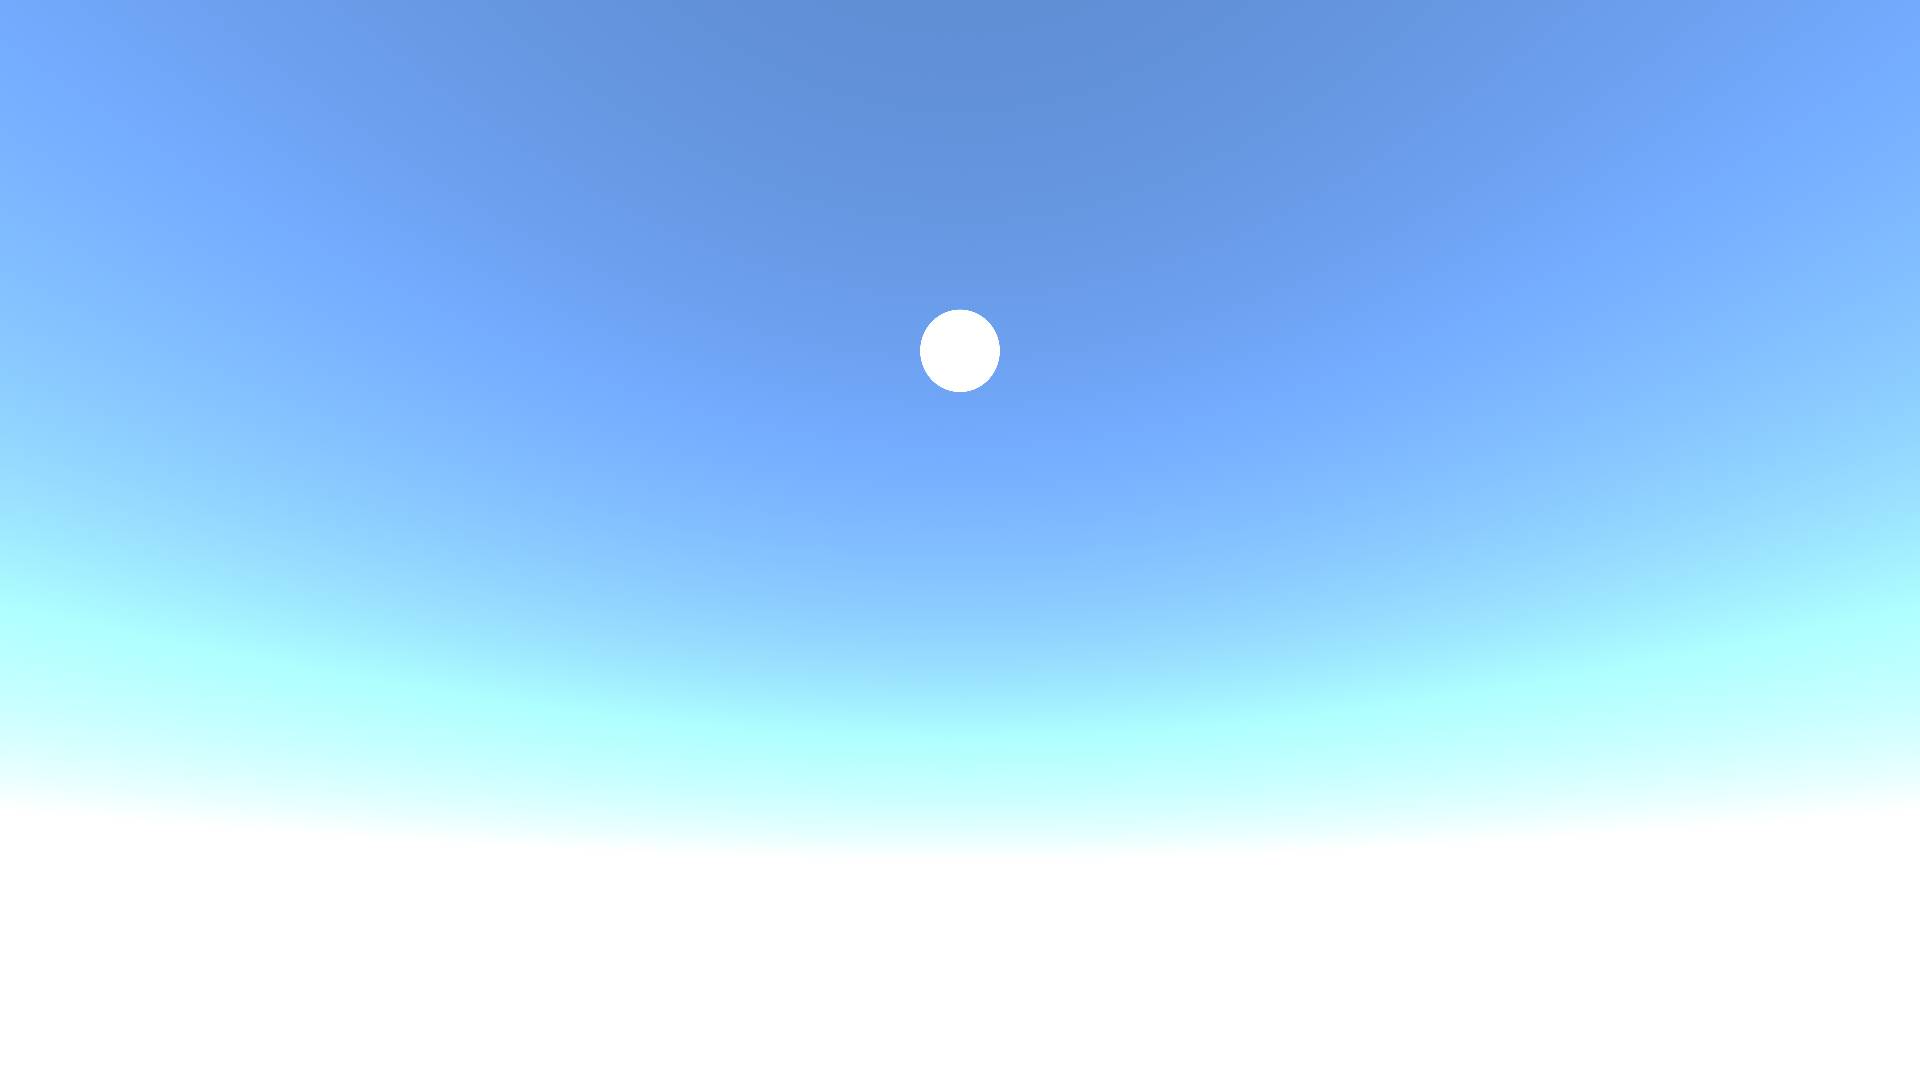
It’s very bright because I have set the sunlight strength to 20.0, where 1.0 is full white. This is needed to get a good balance in brightness between the sun and the rest of the sky, otherwise the sky will be way too dark later.
Obviously, the real sky doesn’t look like this; there are some effects that I haven’t taken into account yet. First, before the sunlight reaches the view ray, it has already travelled through a part of the atmosphere, and so some of it will have scattered out in other directions. We can simulate that by marching another ray from each point along the view ray in the direction of the sun, tallying up how much atmosphere is encountered along the way, and applying attenuation accordingly.
This has a darkening effect, but mostly on the ground which is no longer lit from below:
A similar thing happens to light after it has been scattered into the view ray, while it travels along the view ray to the camera. Technically, this light has already been scattered once, and so we shouldn’t scatter it again, so I guess my implementation may not be energy-preserving, or something? But you can’t argue with results:
This approach is already enough to get reasonable sunsets:
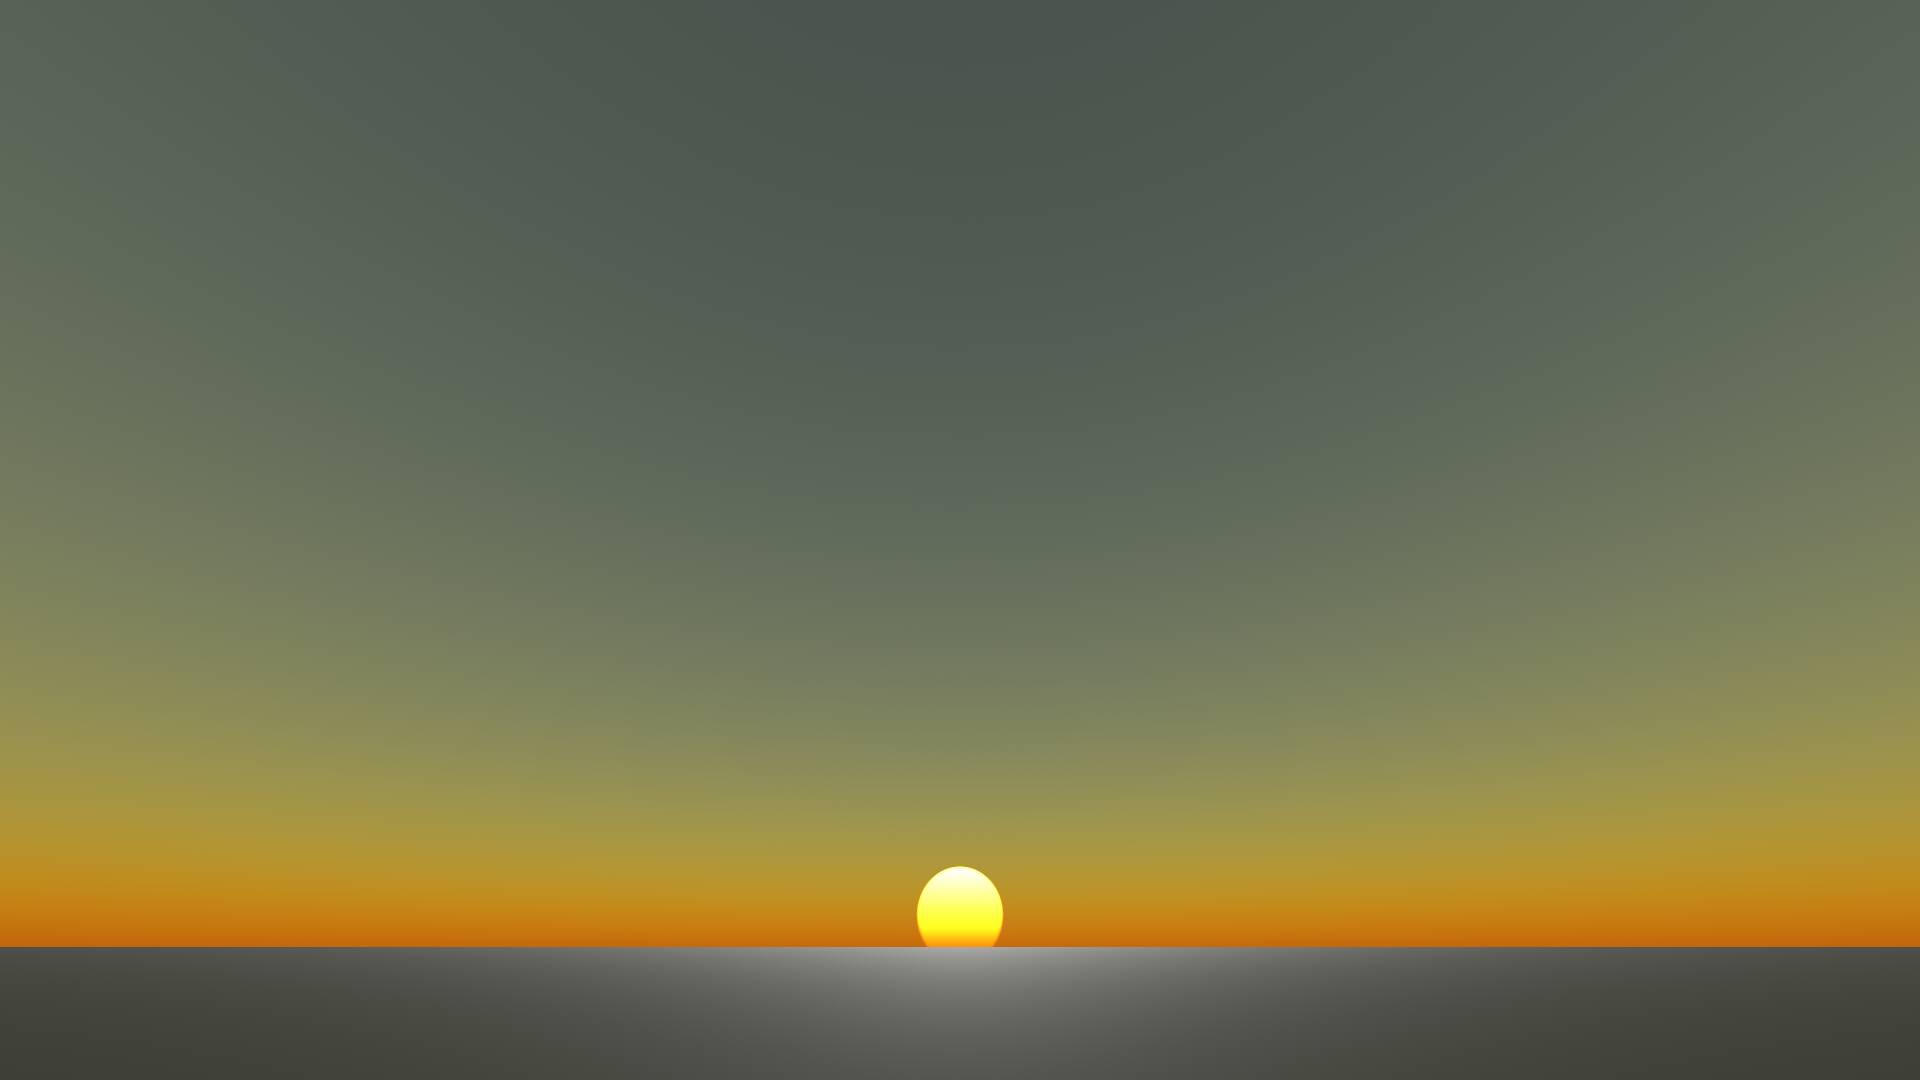
All these ray marches take into account that the world and the atmosphere are round, so you automatically get the effect of a “planet shadow” where the sky is still dark opposite the sunrise.
But wait, there’s more!
Mie scattering
Besides molecules, the atmosphere also contains larger particles called aerosols, and these also cause scattering. This is called Mie scattering and it differs from Rayleigh scattering in some key ways:
It’s strongly directional, meaning that a scattered ray is much more likely to be scattered in a forwards direction than backwards. The physical processes are complex, but thankfully they can be approximated well by simple formulas like the Cornette-Shanks phase function.
It happens mostly in the lower part of the atmosphere, and barely above 5 km or so.
It doesn’t depend on wavelength, scattering all colours in the same way.
It also performs some absorption, meaning light just disappears.
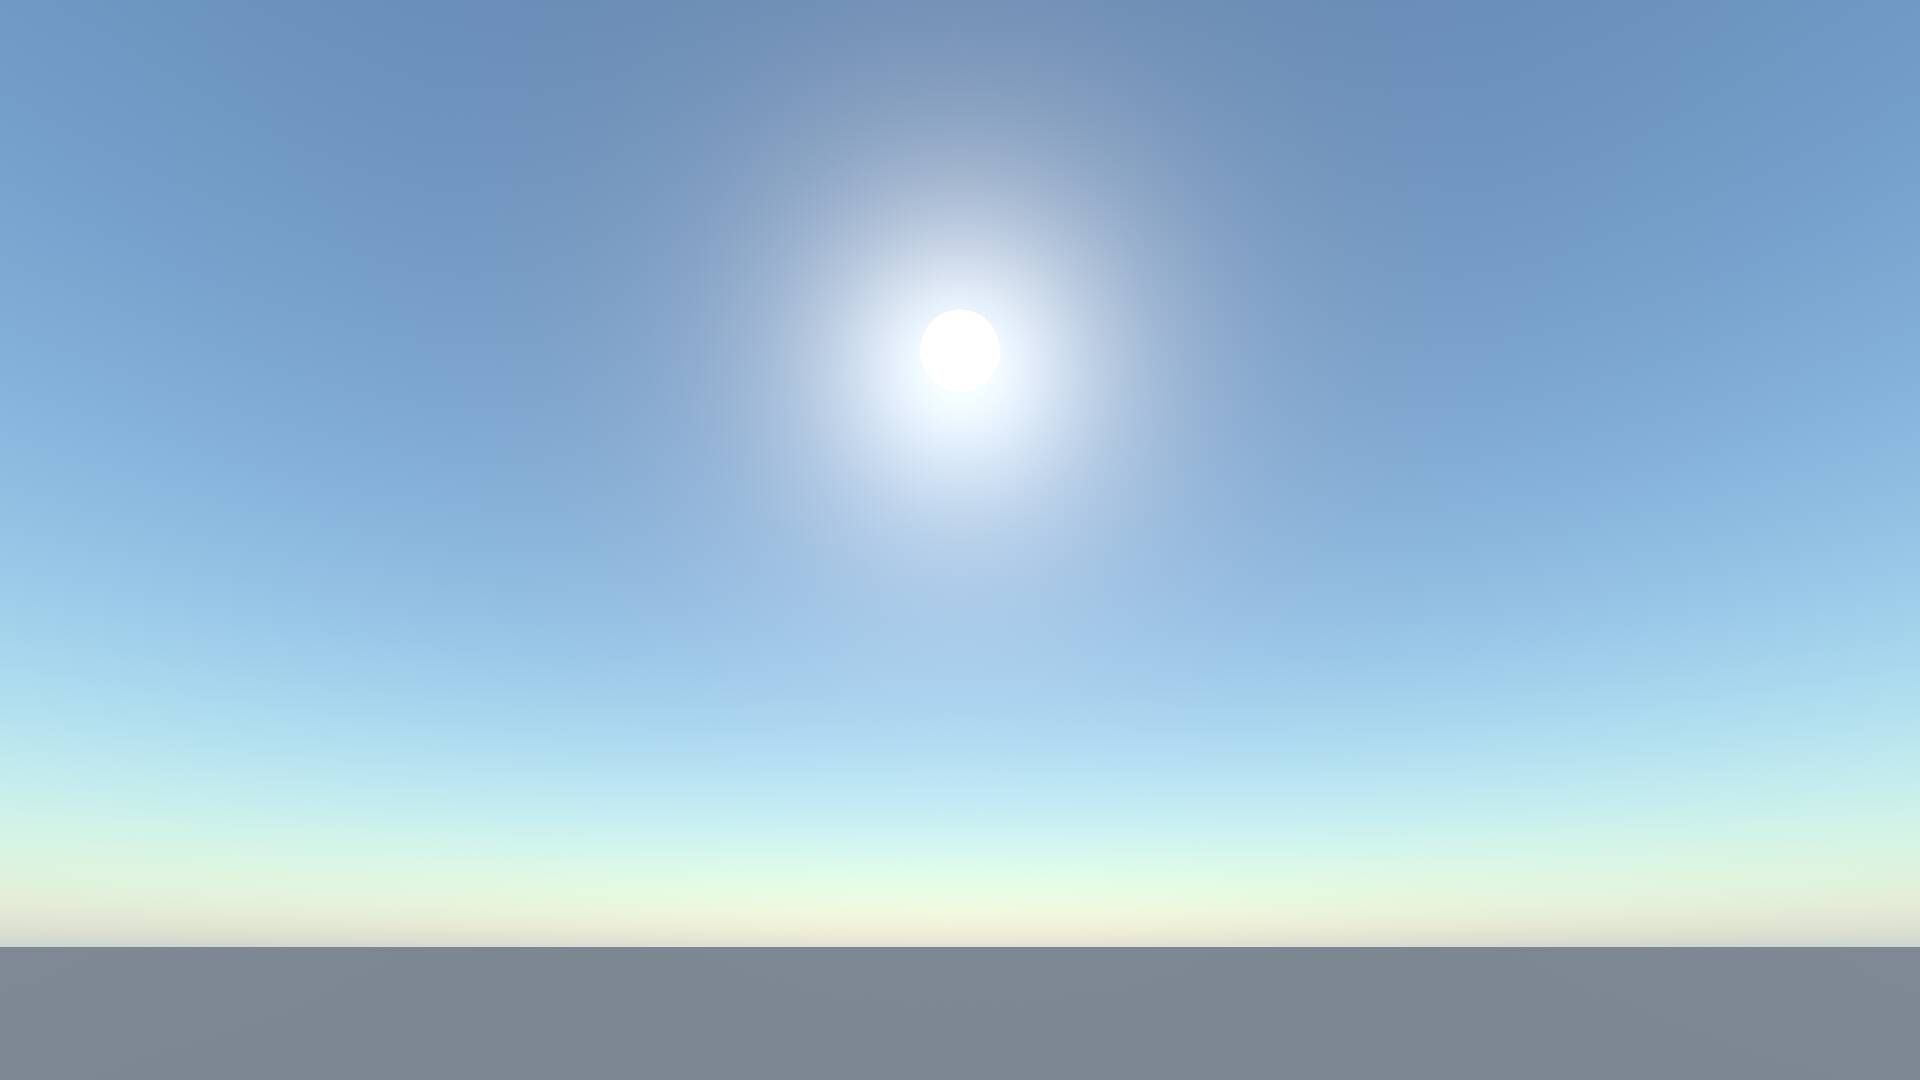
The strong directionality of Mie scattering is what causes a bright halo around the sun; this is sunlight being scattered almost straight ahead. Its presence in the lower atmosphere is responsible for the colour of the horizon, which was still quite blown out when using just Rayleigh scattering.
Here’s the result of adding Mie scattering and absorption in all places where Rayleigh scattering is also being applied:
And the obligatory sunset:
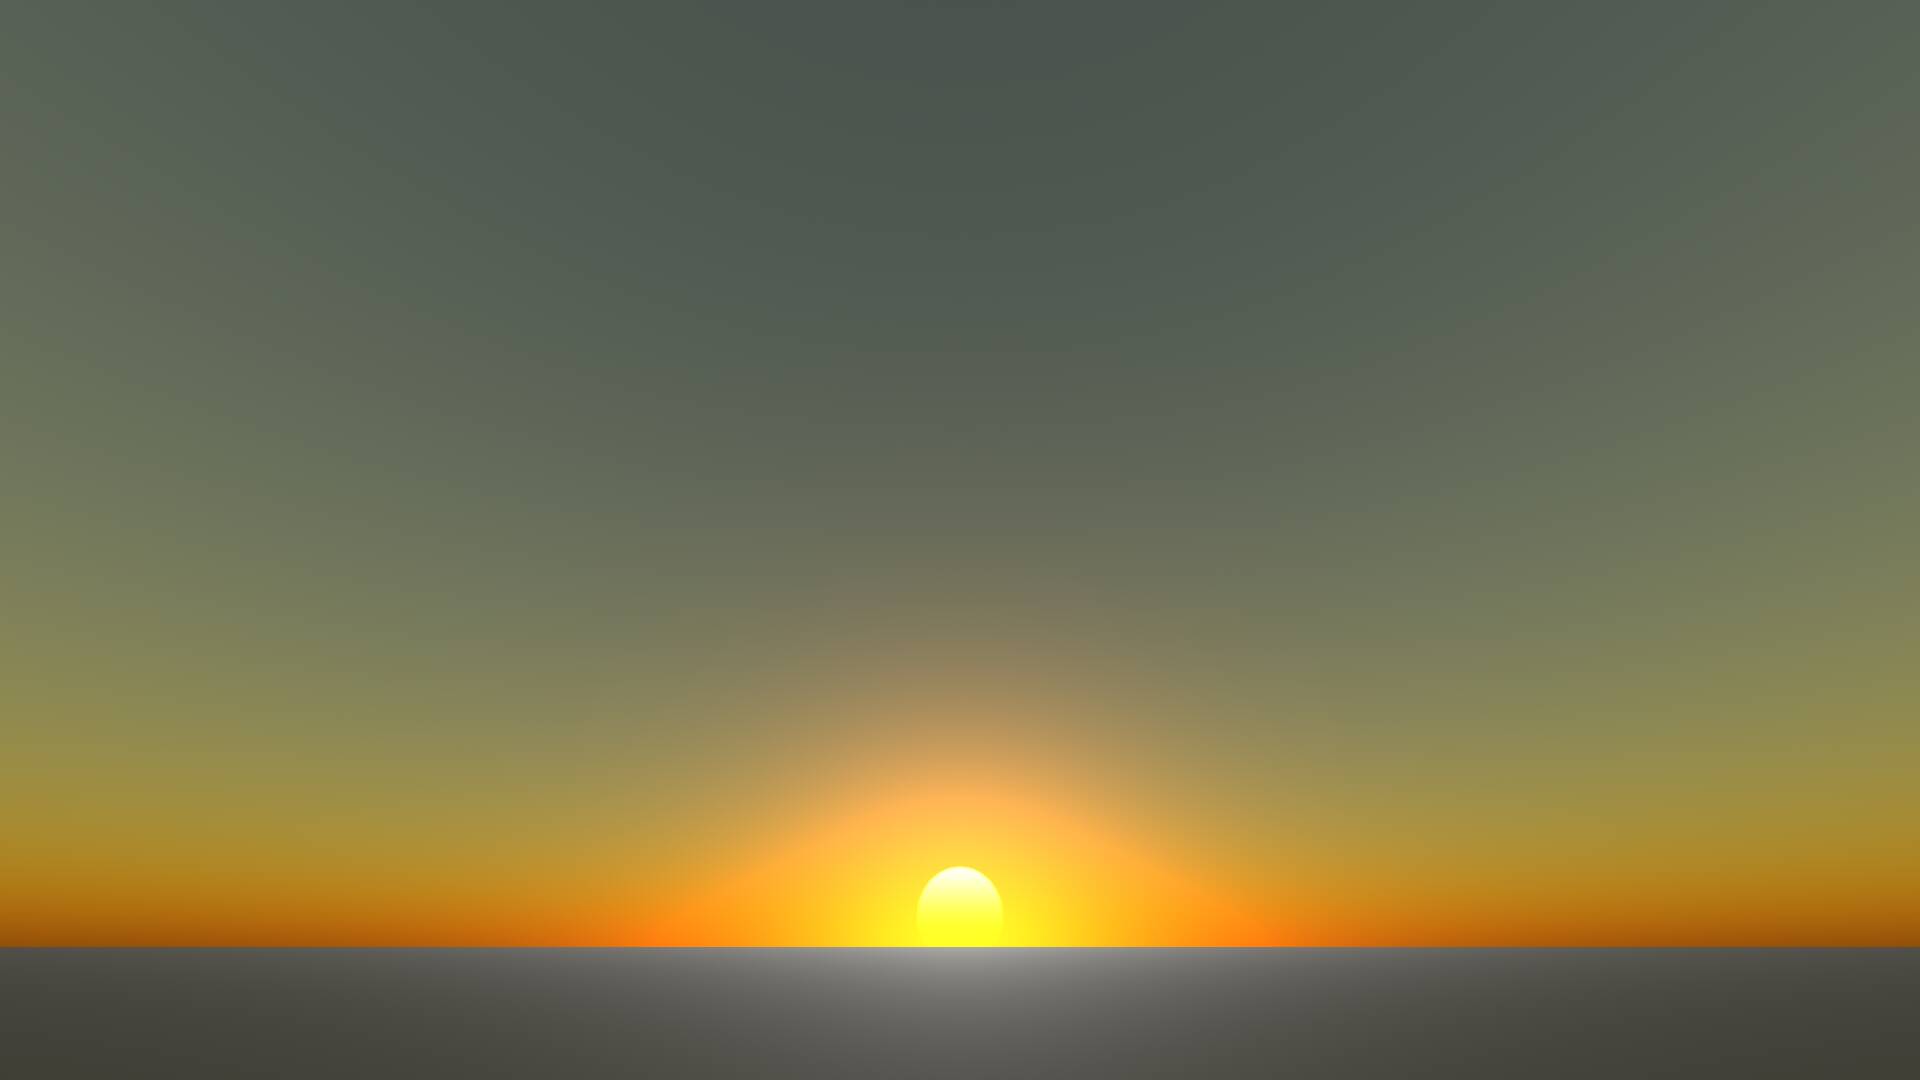
Very nice! You can clearly see how Mie scattering causes the area around the sun to be bright, while Rayleigh outscattering colours it orange. Some of the colours are a bit oversaturated, but I think this can be fixed later with tone mapping (which is not enabled on these screenshots right now).
Ozone
In this classic paper by Nishita, Dobashi et al (1996), I found this interesting tidbit:
For visible wavelengths, absorption in the ozone layer is negligible compared to absorption by air molecules and aerosols.
However, ozone does strongly affect the sky colour during twilight, as pointed out by Peter Kutz and cited by a more modern classic, Hillaire (2020). So let’s follow Hillaire’s following of Bruneton and add absorption in the ozone layer:
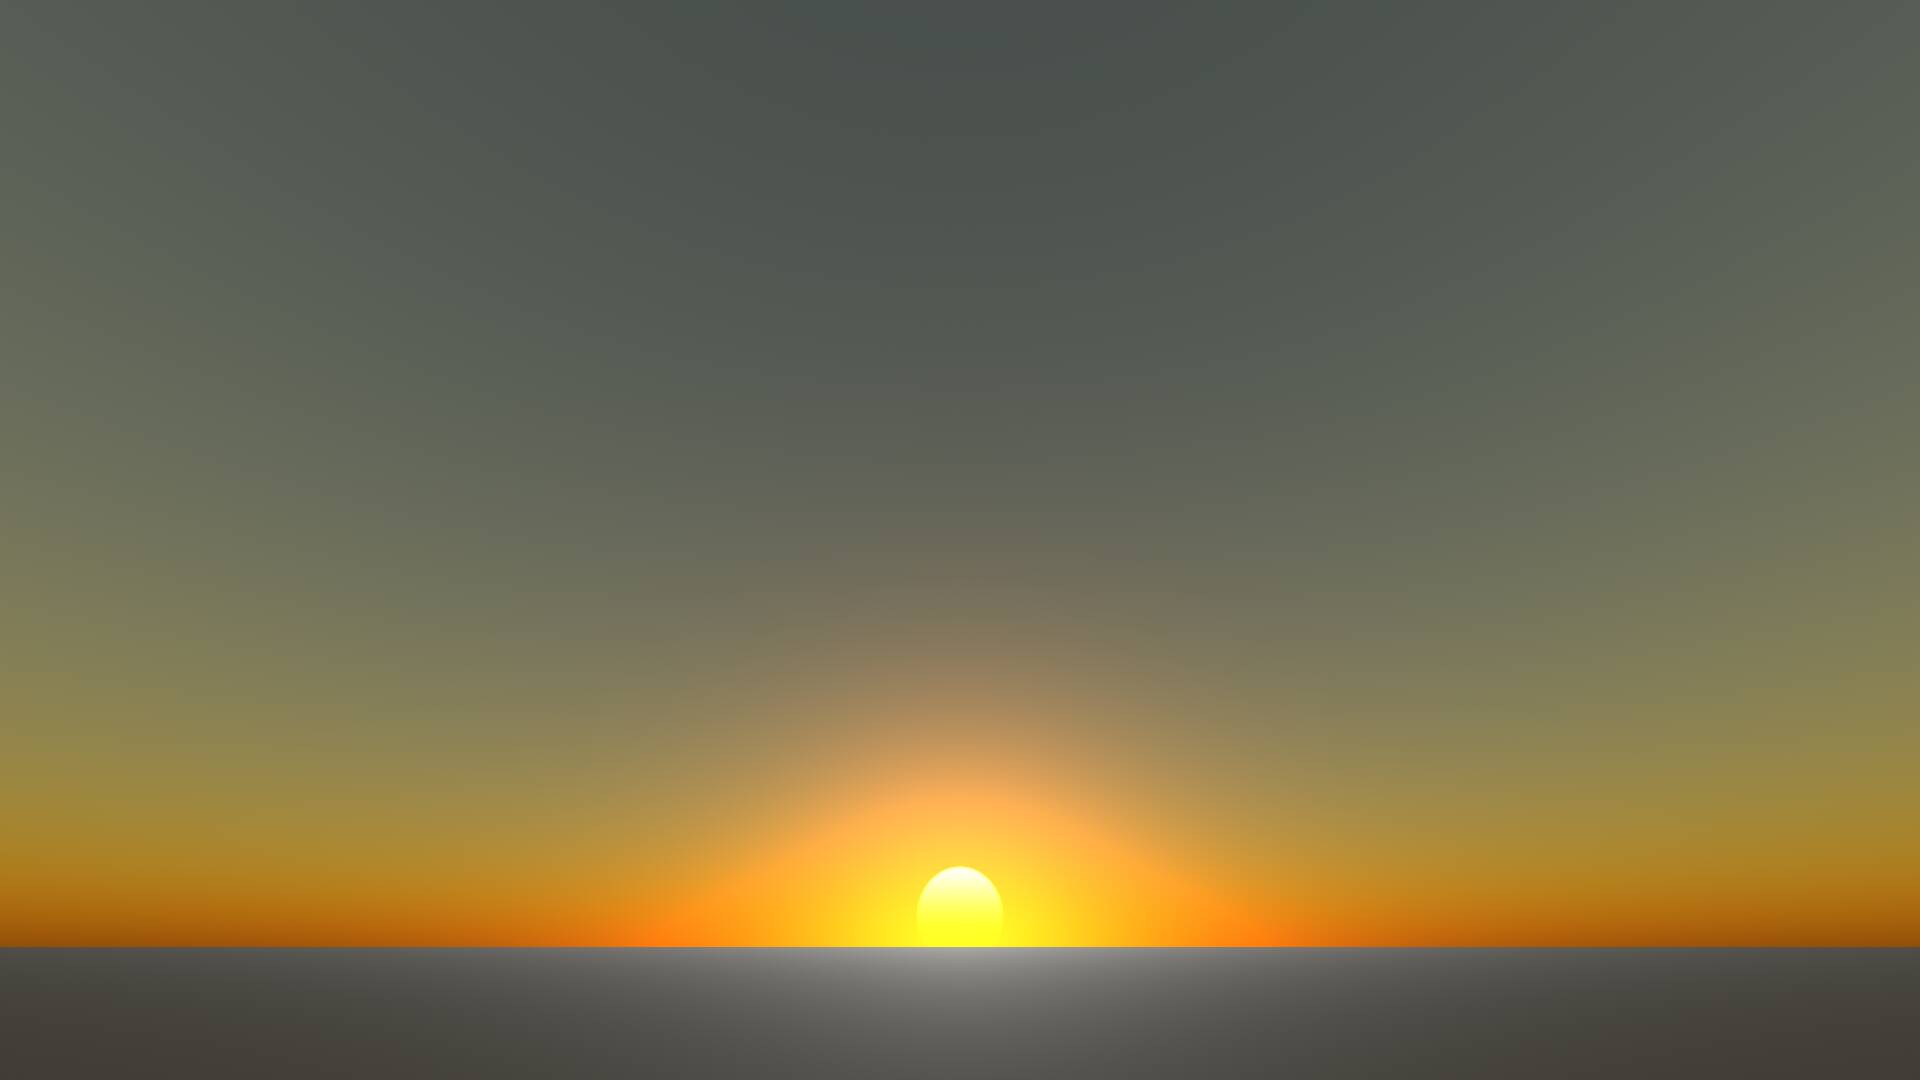
Compared to the version without ozone, this gives the twilight sky a much more natural purple hue, rather than greenish. This makes sense given Hillaire’s coefficients: green is absorbed most strongly.
Final tweaks
I suggested previously that Rayleigh scattering (unlike Mie scattering) happens equally in all directions, but it turns out that’s only mostly true. Rather, it has a slight preference for the forwards and backwards directions. Let’s implement that. The effect is too subtle to show in screenshots, but it does help break up the uniform horizon a bit.
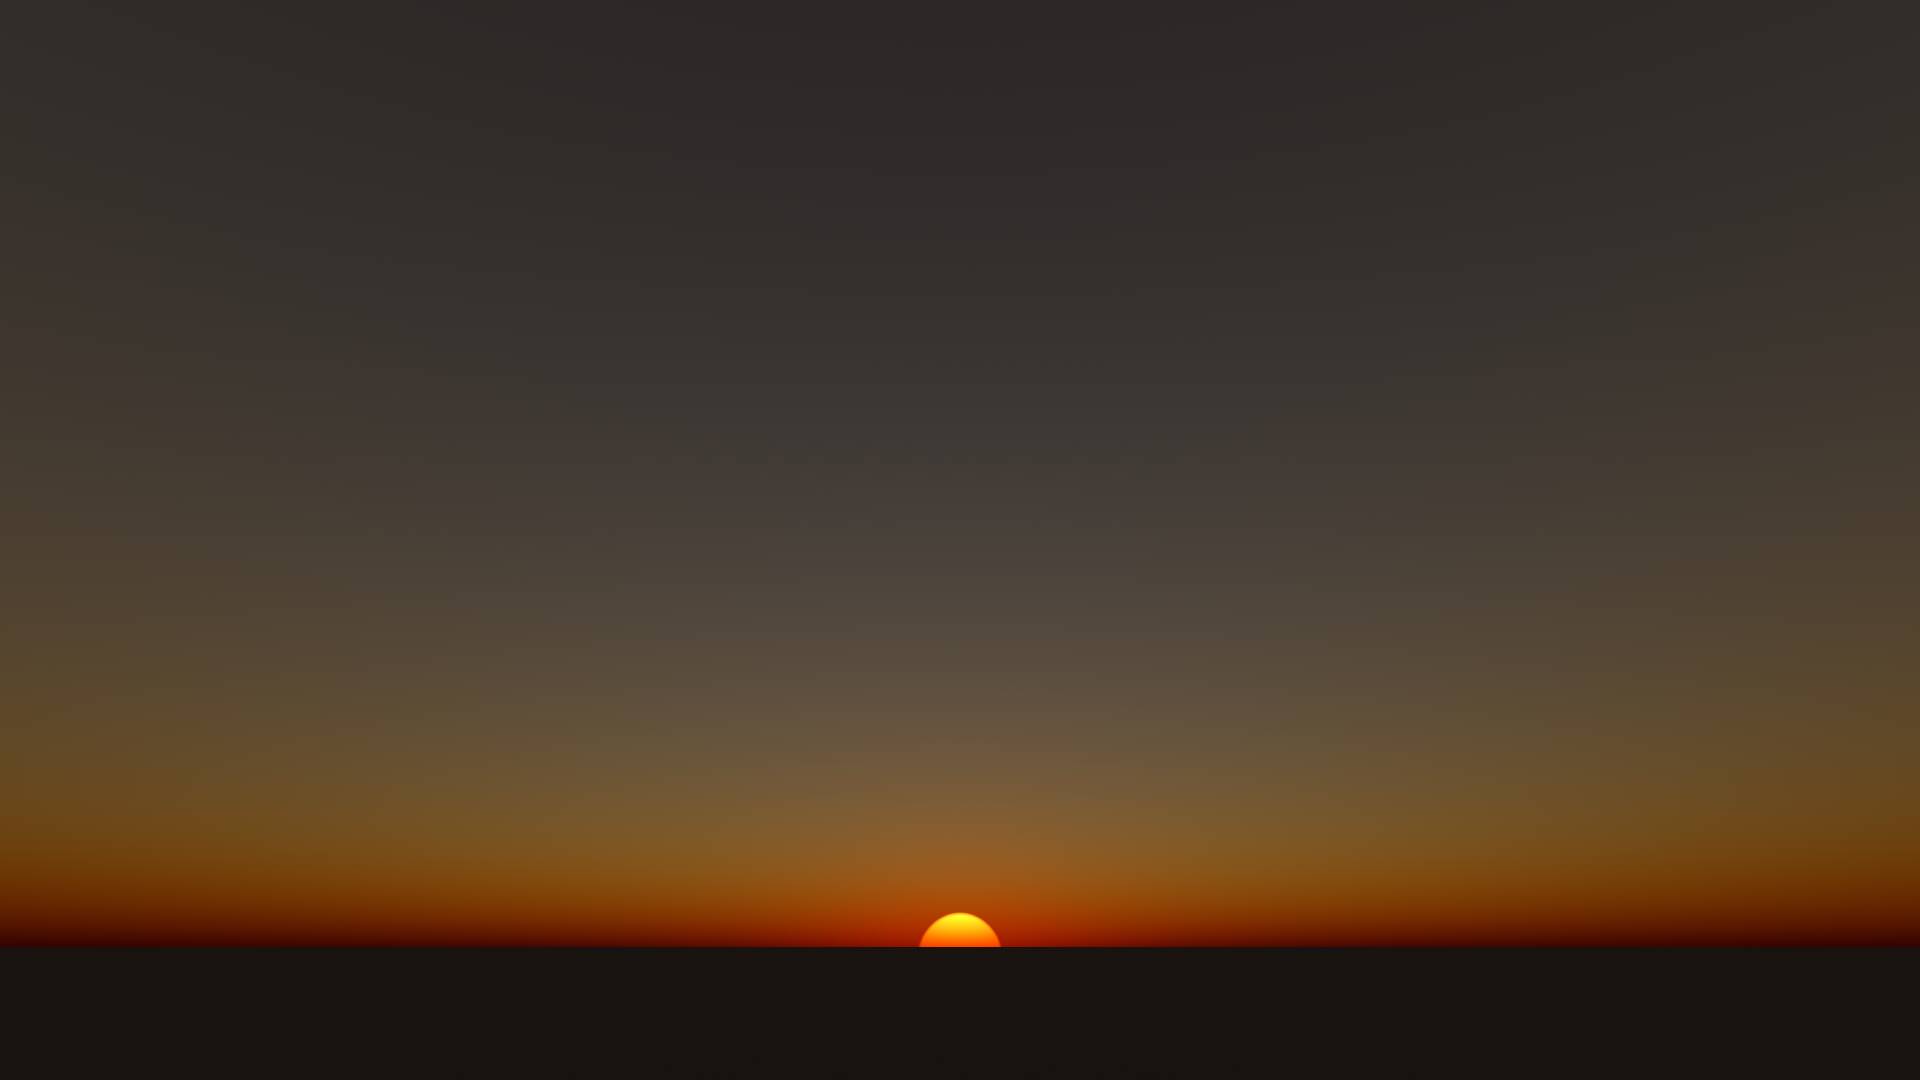
Also, I darkened the sun disk a bit around the edges, an effect called limb darkening. Without tone mapping, the effect is only visible just before the sun disappears, and even then it’s pretty subtle — the reddening at the bottom is due to atmospheric scattering:
Performance optimizations
So far, I’ve been showing static pictures, but how does this rendering technique fare in a real-time game? Actually, not bad at all! Remember that we’re doing a march along the view ray, and for each step in this march, we spawn a secondary ray march towards the sun. Even when setting the former to 64 steps and the latter to 8, causing 64 × 8 = 512 evaluations, my RX 7600 did not take more than a few milliseconds per frame (out of a budget of 16 ms to reach a smooth 60 frames per second).
However, there was some low hanging fruit to bring this number down further, and not needlessly heat up PCs or the planet:
Most of the action happens in the lower regions of the atmosphere. So it makes sense to focus our efforts there. By using smaller steps early on in the ray march, and exponentially larger ones higher up, the step counts could go down to 8 × 3 = 24 without notable loss in quality.
The atmosphere is generally considered to end at an altitude of 100 km, but Rayleigh scattering has a scale height of only 8 km, meaning at 8 km there’s only 1/e = 37% as much of it as at sea level, and at 24 km it’s less than 5%. So it makes sense to end our atmosphere earlier so we can focus even more samples where it matters. I chose a cutoff of 40 km, where the Rayleigh density is down to a mere 0.7%. This let me bring down the number of samples to 6 × 3 = 18.
The sky is pretty smooth, without sharp edges. Godot has built-in machinery to render it at ¼th resolution, then scale it up. Let’s use that. (This is not applied to the sun disk, which we want to remain sharp.)
For the Mie phase function, Cornette-Shanks turns out to be overkill. The slightly simpler and thus slightly faster Henyey-Greenstein function does the job just as well; the difference is barely visible.
It’s hard to even measure frame time after these changes, but I think it’s around 0.1 ms.
It would be possible to get rid of the secondary raymarches, by either:
Precomputing them in a lookup table (2D texture), as in Nishita, Dobashi et al (1996). The drawback is that the LUT needs to be updated whenever the parameters change (e.g. as a result of changing weather).
Finding an analytical approximation, as Sean O’Neill did in GPU Gems 2. However, his approximation is only valid for one particular set of parameters as well, and I don’t think they match mine.
Since the secondary raycast is only doing 3 iterations and we’re already running so quickly, I didn’t bother trying either of these.
Morgenstimmung
Let’s apply a tone mapper to get rid of the oversaturated colours, and see a sunrise in motion. I’m using the ACES tone mapper here, because the more modern AgX barely leaves any contrast intact:
I think that’s pretty good for a day’s work! Next up: a starry night, probably?