Around The World, Part 32: It's full of stars
This post is part of a series about Around The World, a game of exploration and discovery at sea. The game is currently in early development. If you're new to this project, you can read up on it here.
In the previous post, I implemented a pretty daytime sky. But as soon as the sun sets and any remaining glow disappears, it’s pitch black. Of course, our procedurally generated world deserves to have procedurally generated stars in it!
My initial hunch was to implement stars by adding them into the sky shader. That is, given a pixel of sky, we need a piece of code that tells us whether a star is present there, and adds its light if so.
But then it occurred to me that there’s a much simpler way: just render the stars as a separate point mesh! We can write a custom shader that sets the depth to the camera’s far plane – so behind any other geometry. Since this shader runs once per star (for about a thousand stars), rather than once per sky pixel (for about 1 million pixels), it should be vastly more efficient. It’s also much easier to implement.
Stellar nursery
The number of stars visible with the naked eye varies depending on light pollution, but since we’re at sea in the fifteenth century, we should have as good a view as it gets. On Earth, this is about 9000 stars for the entire sky dome, including the hemisphere under your feet. Let’s start with that, and sample 9000 star positions randomly distributed across the unit sphere:
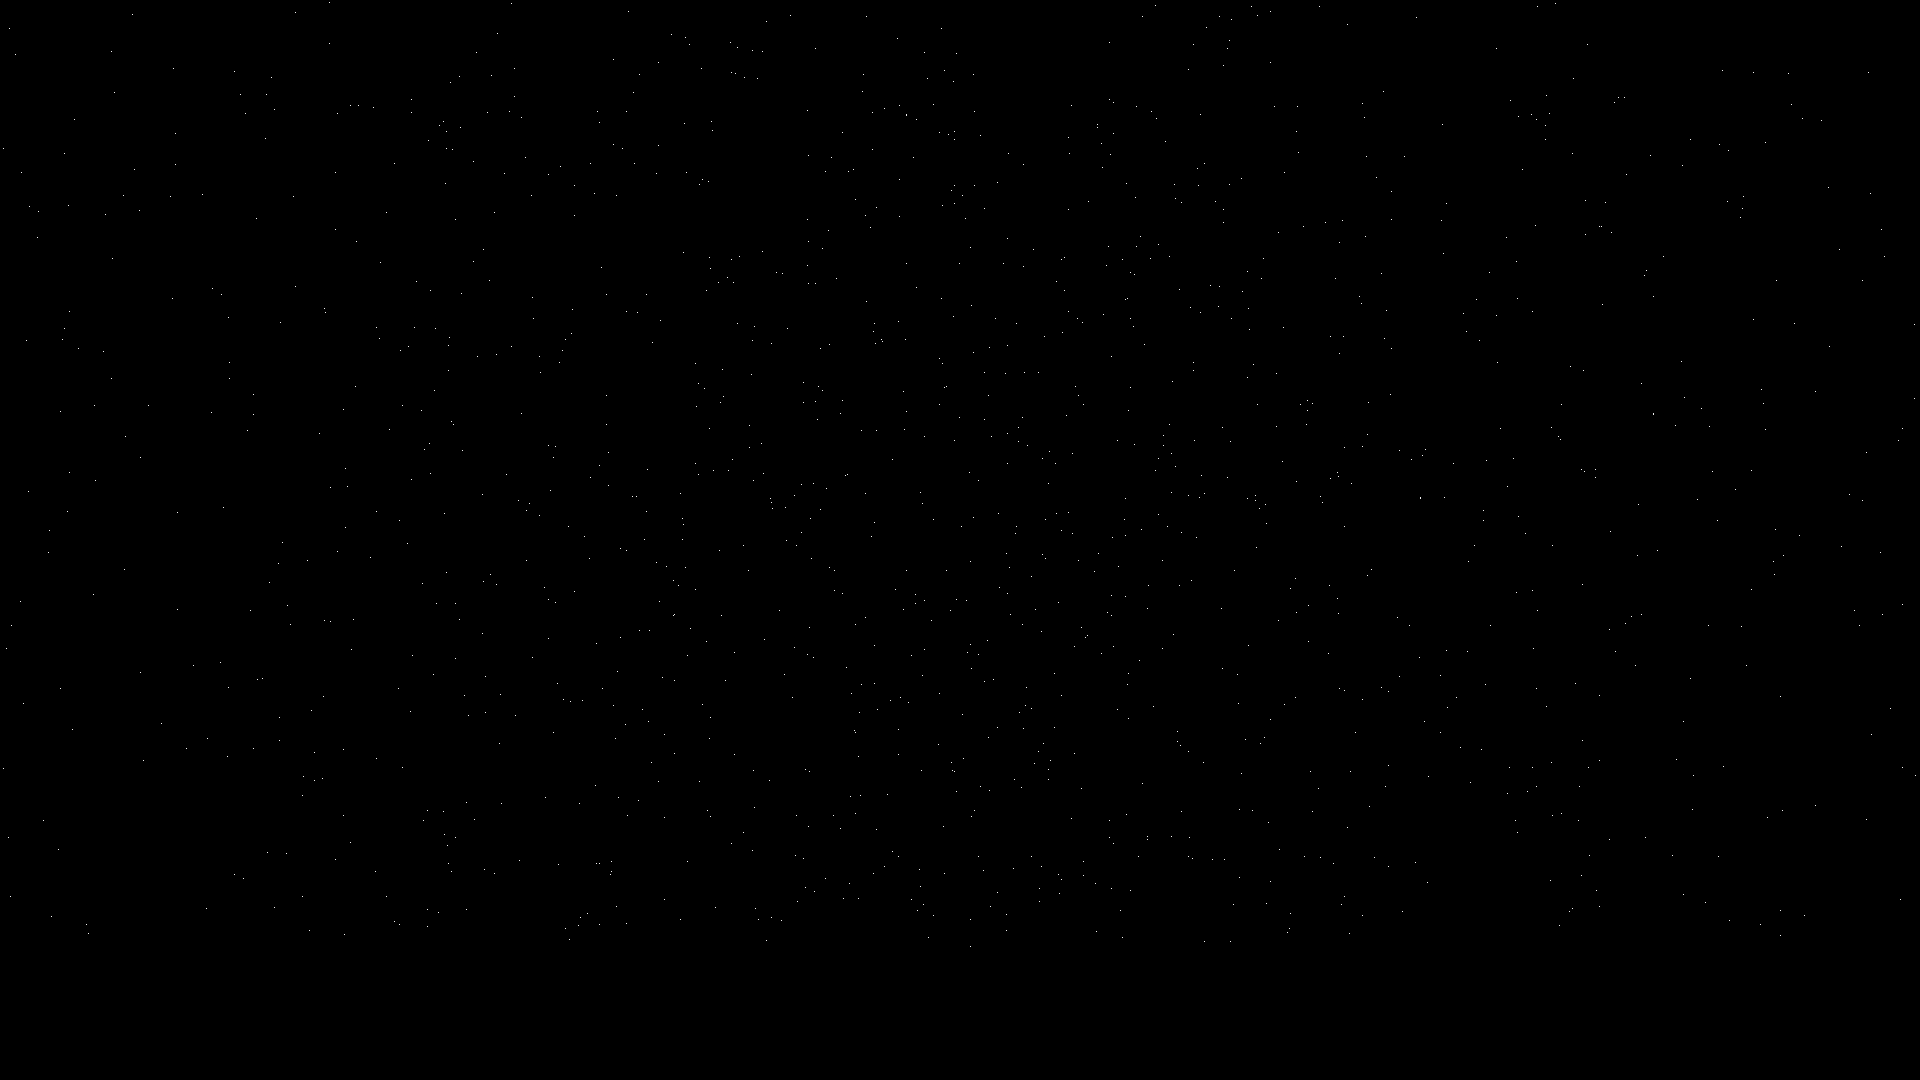
Note: you may need to right-click or long-press to view each image in full screen and zoom in on it. Some day I might add a zoom feature to my blog, but today is not that day.
I thought I’d have to introduce some noise to get a non-uniform distribution of stars across the sky, but just uniformly random seems to introduce enough “clumping” to make it look plausible.
The first thing you’ll have noticed, though, is that all stars have the same brightness. That is of course wildly unrealistic.
Brightness distribution
But how should the different brightnesses be distributed? Since brightness falls of quadratically with distance, I would expect that there are many more dim stars than bright ones.
Astronomers measure brightness using apparent magnitude, which corresponds to perceptual brightness. The brightest stars are magnitude 0, slightly dimmer ones are magnitude 1, and so on; magnitude 6 is barely visible during optimal conditions. Wikipedia has a nice table tallying the number of visible stars by apparent magnitude. If we plot that on a logarithmic scale, there is a nice straight line:
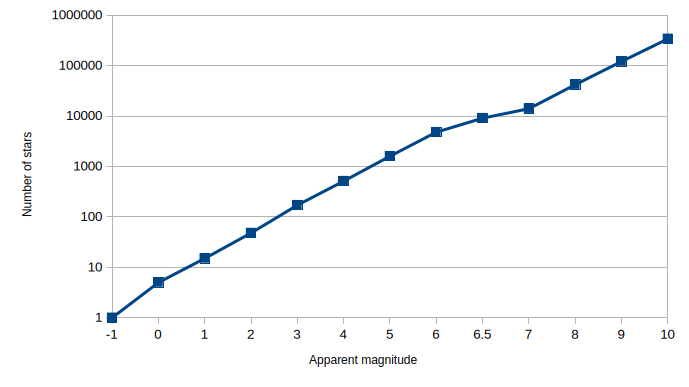
We can fit a function to that, but it’s fairly easy to eyeball it from the table as well: the number of stars of magnitude m or brighter is proportional to 3^m. That is, each next magnitude has three times as many stars as the previous one. I could try to come up with a way to sample from such a probability distribution, but there’s a simpler way: start by generating the brightest stars, and progressively reduce the magnitude of subsequently generated stars, depending on the current magnitude. This gives me a distribution reasonably close to Wikipedia’s table.
However, GPUs do not deal in apparent magnitude, so we’ll need to convert it to a linear brightness value. For historical reasons, apparent magnitude is measured on a logarithmic scale with an exponent of 2.512. So we can simply translate it into a linear RGB value between 0 and 1 using pow(2.512, -magnitude):
Well, that’s not great. There are barely any visible stars now. This is because the bulk of them (all but the first 100 or so) have a magnitude of 3 or more, resulting in a linear brightness value of 0.06 or less. In fact, we’re only generating about 2000 of those 9000 stars until brightness drops below 1/255, which is the minimum nonzero value we can display on a non-HDR monitor. This is probably realistic, but the dynamic range of our computer screens just can’t handle it!
But we have a way out that’s still somewhat grounded in physics. Remember that I’m aiming for a low-poly art style with chunky, pixelated textures. What if the stars themselves were also rendered as chunky, pixel-like squares? We can fit a much larger range of brightnesses into this, by giving brighter stars both a larger RGB value and a larger size. The “apparent brightness” of a star is now its RGB brightness, multiplied by its surface area; we can trade off one for the other to get the desired style. Here’s what I settled on:
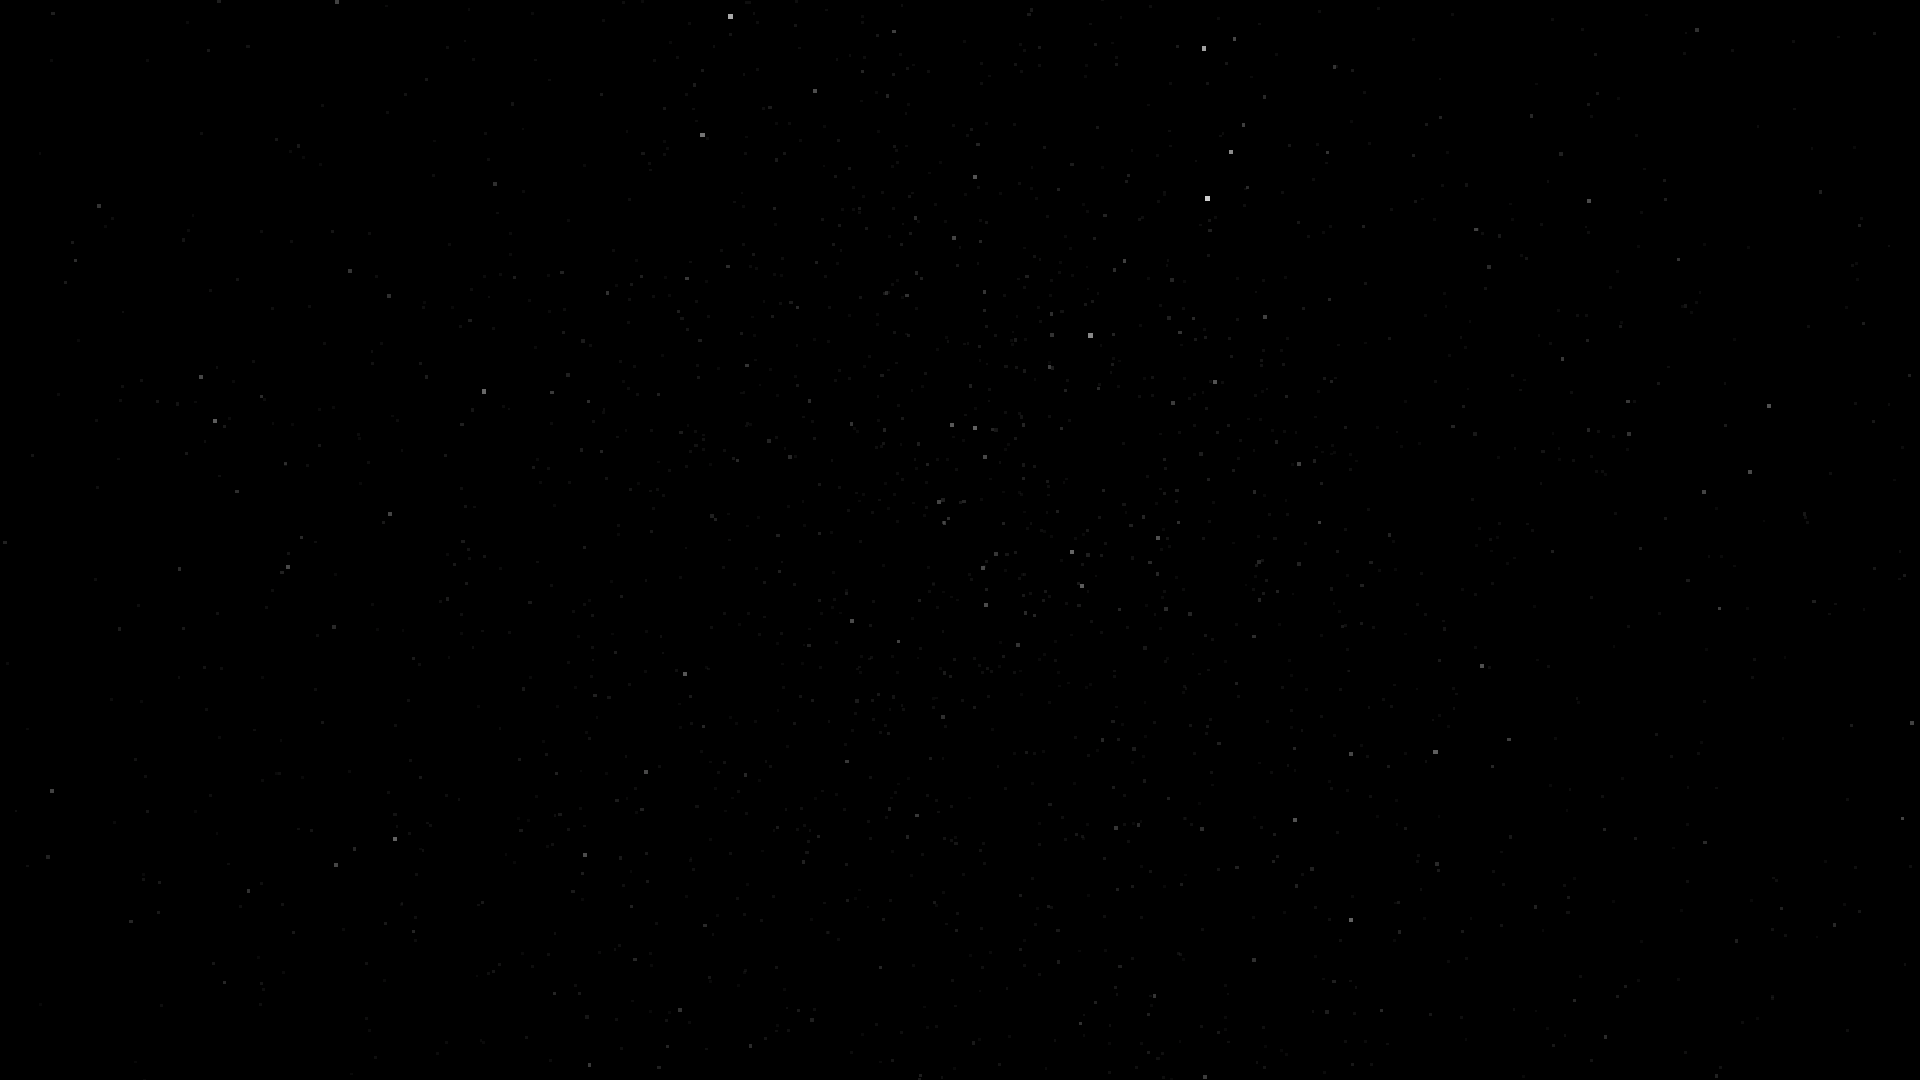
I think this has sufficient depth and variety; you can easily pick out the brightest stars and even start dreaming up constellations.
Colours
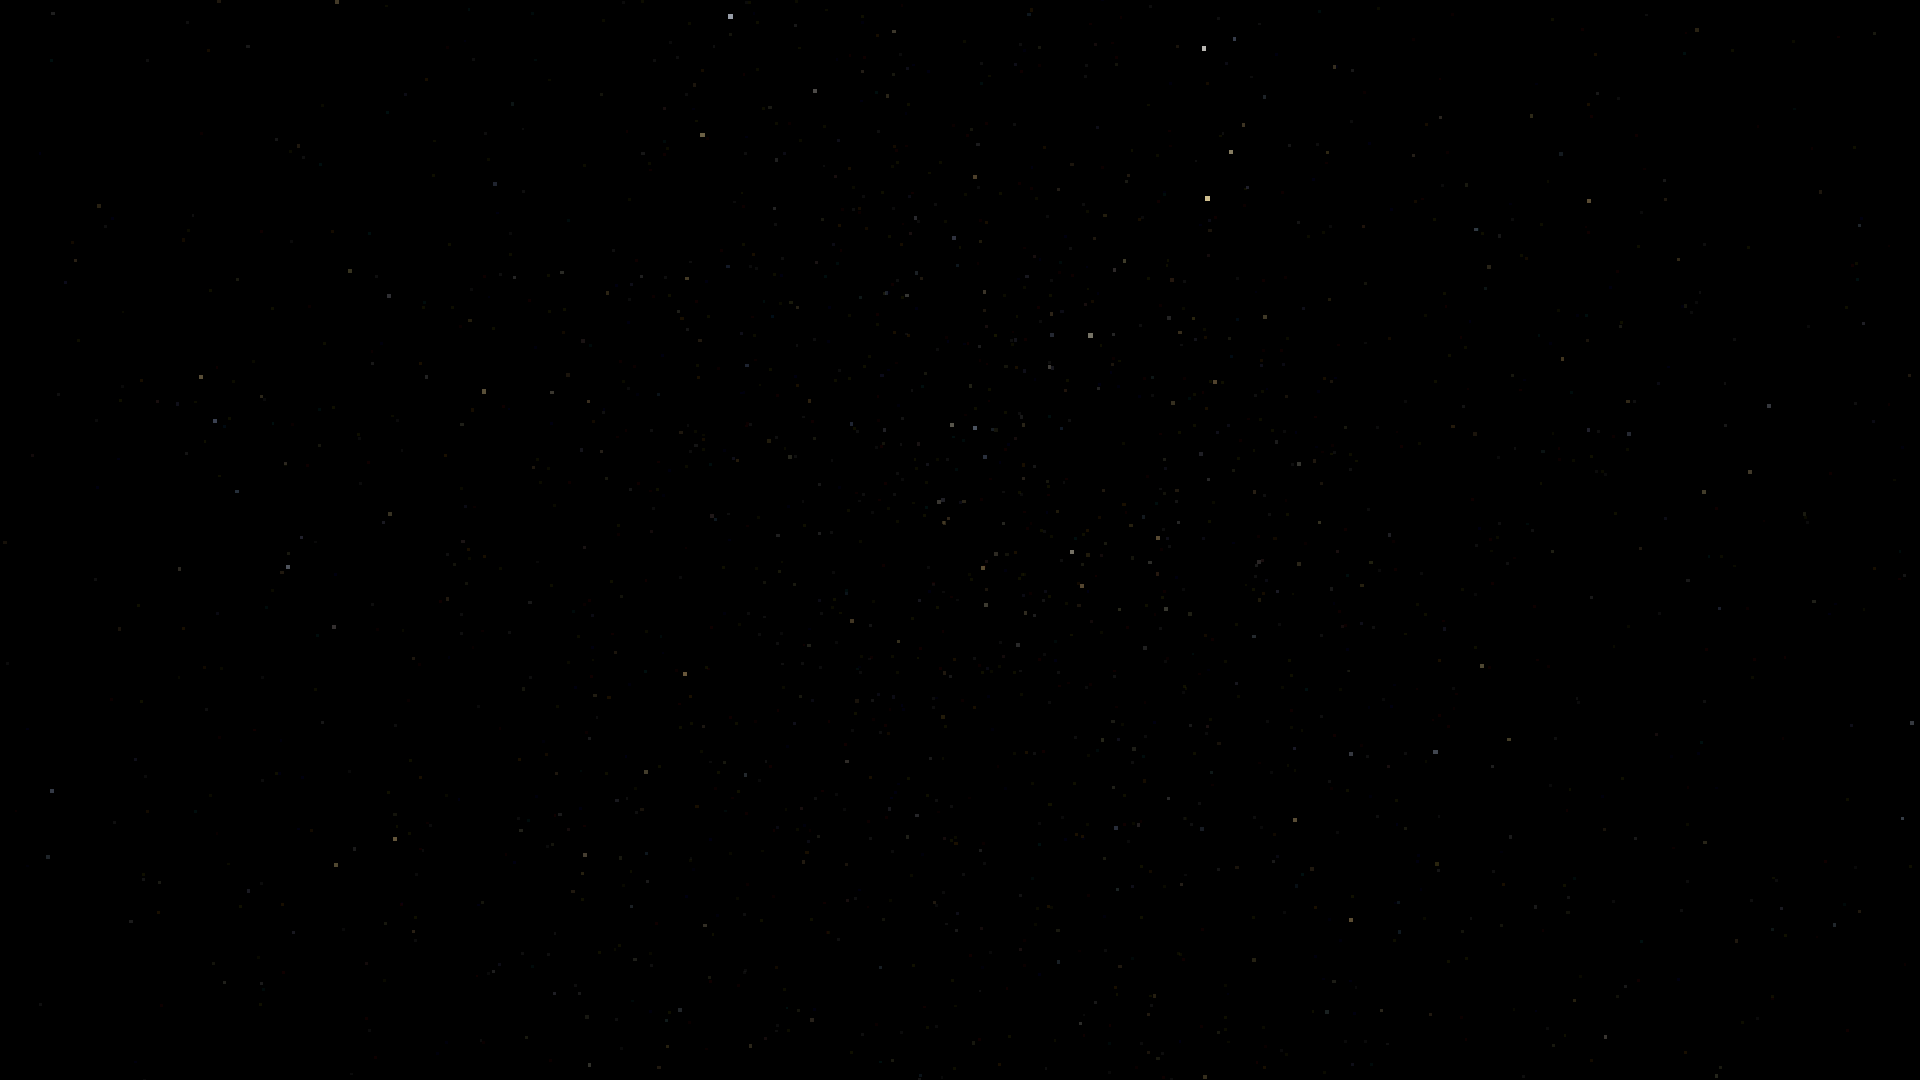
If you look closely at stars in the night sky, you might notice that they’re not all white. Some have a more blueish hue, some are more yellowish or reddish.
Wikipedia again has a useful table, but it shows that blue stars are actually very rare (less than 1%). So in this case I chose to exercise artistic freedom to come up with this gradient to sample from:

The effect is subtle, as it should be:
Twinkle, twinkle
Because stars are so small in the sky, tiny fluctuations in the atmosphere make them look as if they are twinkling. Let’s add that!
This took me a couple of false starts with sine waves and such, until I gave in and based the twinkling on a texture lookup. The texture is just a horizontal slice of some octaves of tiling simplex noise:

Each star cycles through this texture from left to right in 16 seconds, then wraps around. To make sure they don’t all twinkle in sync, each star also gets a random phase offset, calculated as the PCG32 hash of its index.
The value (0 to 1) read from the texture is mapped to the range -1 to 1, multiplied by a strength factor, and then added to the brightness of the star. Because rays near the horizon travel through more air, the strength factor is larger close to the horizon, and smallest at zenith.
I assume this is very hard to capture in a compressed video, so you’ll have to take my word for it: it looks nice.
Night and day
One glaring problem remains:
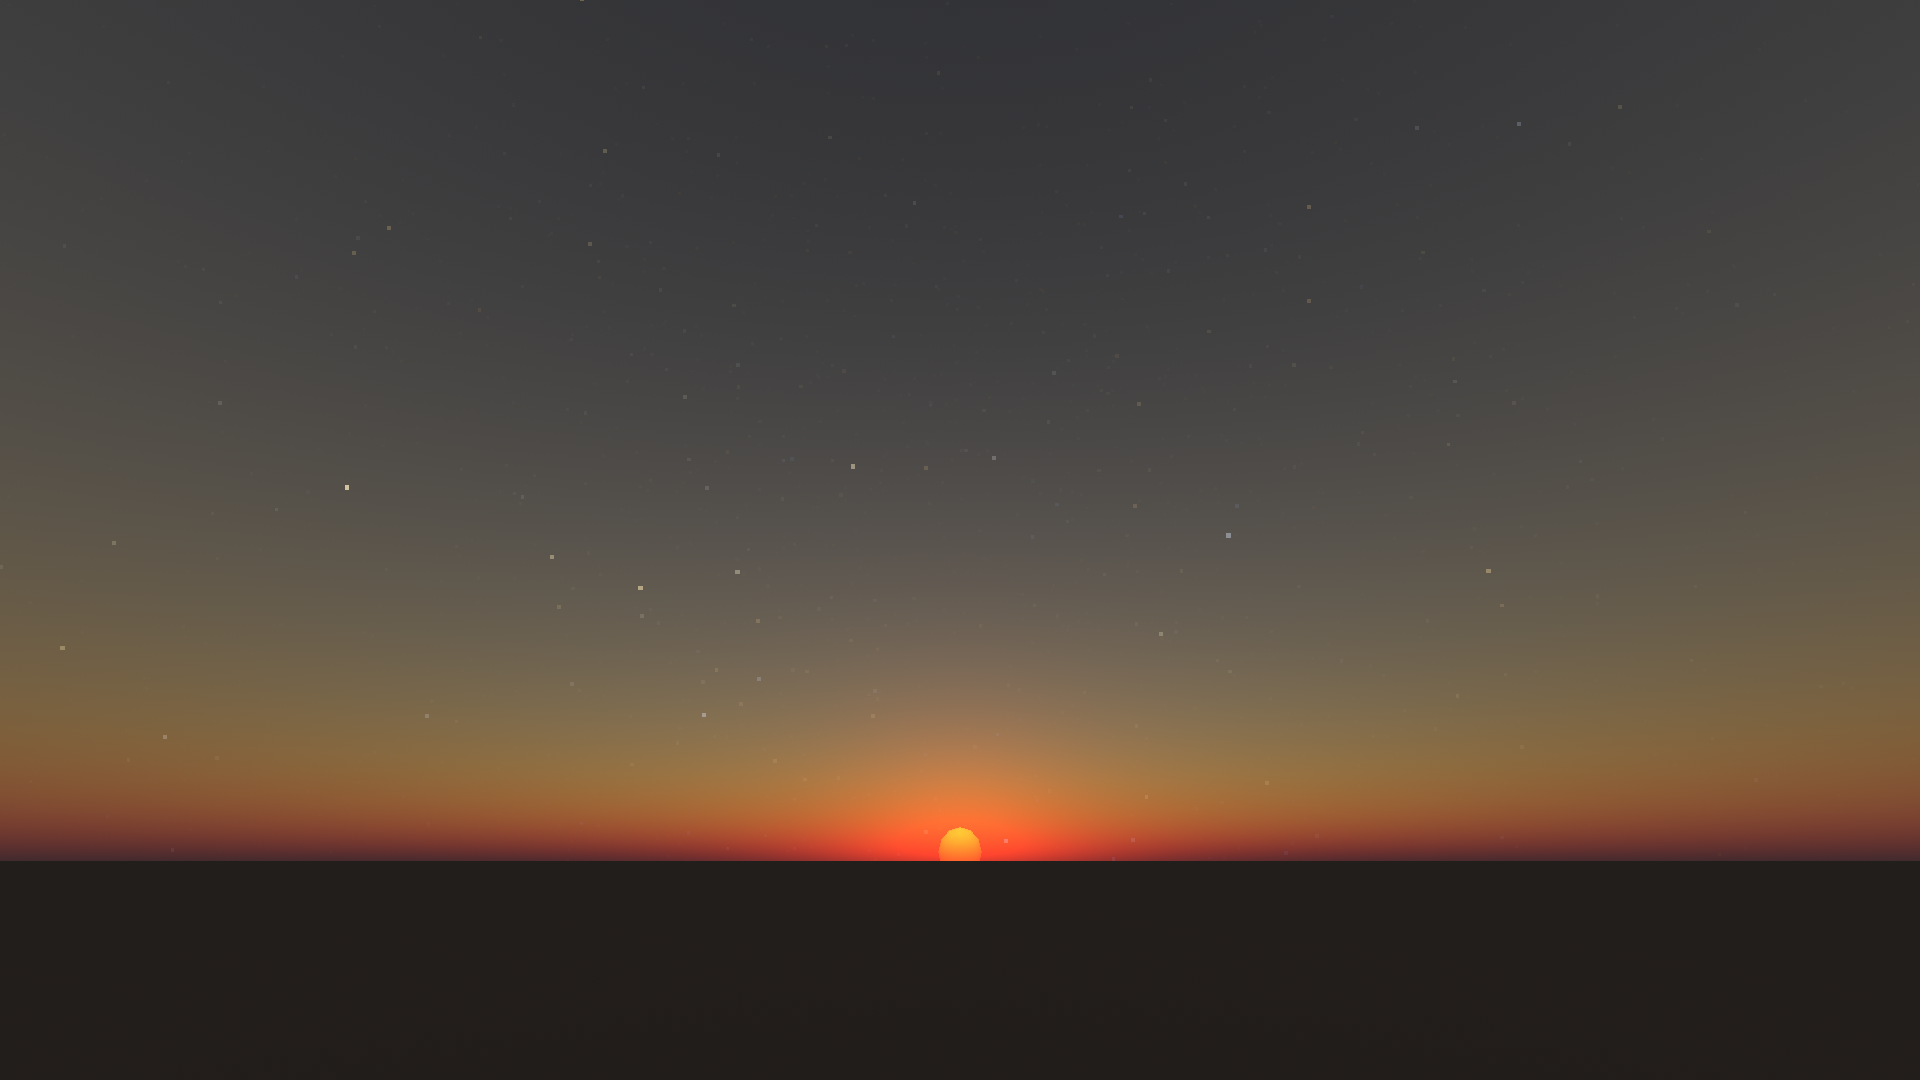
That’s right, I haven’t done anything yet to make the stars disappear at daytime! This happens due to “light pollution” by that one pesky star we call the sun.
The physically correct approach would be to rely on HDR (high dynamic range) rendering. I could render the stars very dimly, and adjust the camera exposure at night to make them visible. However, I prefer a more WYSIWYG approach, rather than relying on the full rendering pipeline to see anything at all.
We could also inspect the brightness of the sky, and only render stars where it falls below some threshold. But figuring out the brightness of the sky at each star’s position is difficult, because the sky hasn’t been rendered yet at this point, and relies on many variables not available when the stars are being drawn.
So let’s just hack it with some formulas: as the sun approaches the horizon from below, fewer and fewer stars will be visible, with an additional penalty for being close to the direction where the sun is going to rise.
On top of that, after all that talk about atmospheric scattering, I would be amiss if I didn’t take that into account. But rather than using the raycast machinery from the atmosphere shader, I’ll just use a simple approximation instead: Rayleigh scattering only, with a fixed parameter for the atmospheric mass measured vertically, and assuming a flat (not curved) atmosphere. This causes any stars exactly at the horizon to become fully extinguished, but that looks fine to me.
Milky Way
Since it’s dark at sea, of course we’re going to have to show the Milky Way across the sky, or another galaxy that looks much like it. I’ll take a similar approach to star rendering and render it as a cylinder of geometry, using a shader to center it on the camera and set its depth to the far plane.
It’s not difficult to find reference photos of the Milky Way, but because it is so dim, these must all have been taken with long camera exposures. This causes them to be much brighter and show many more stars than you would see with the naked eye. I’ll have to tone it down a bit, otherwise it might get overwhelming.
From these photos, I get the impression that the visible colour of the Milky Way is also affected by Rayleigh scattering — not just of the atmosphere, but of interstellar dust clouds! At least, that’s how I interpret the visual evidence:
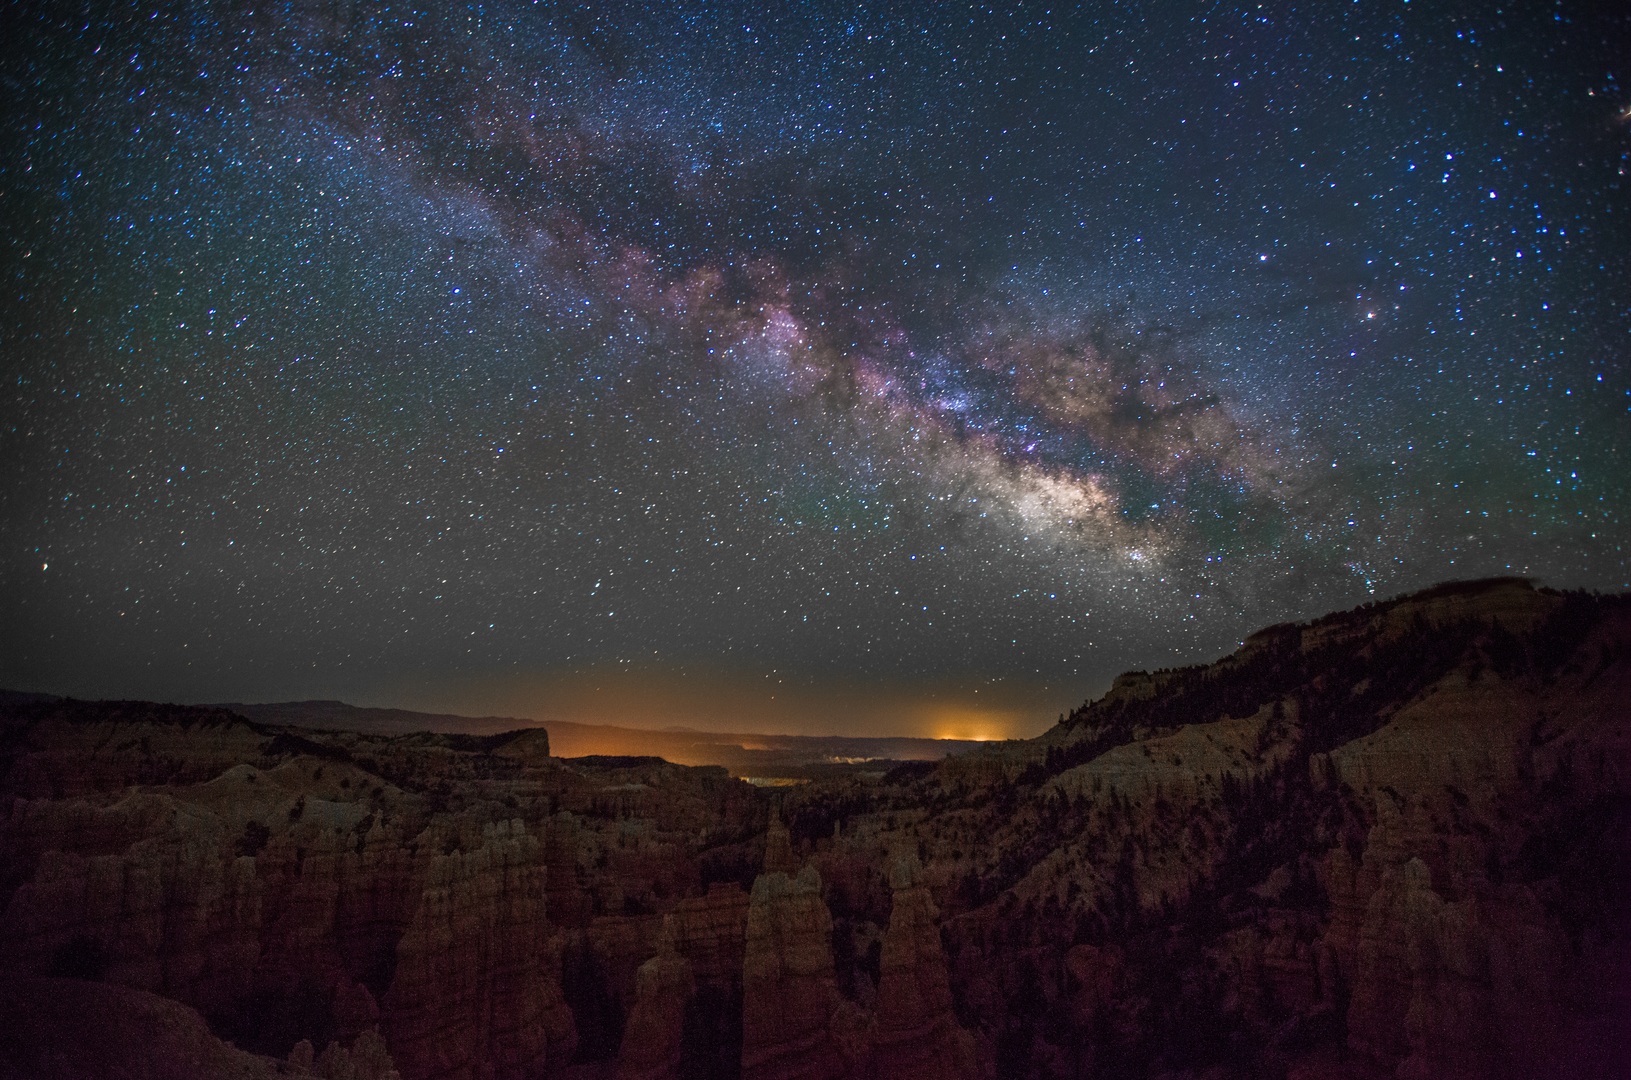
You can see that the center band is obscured by dust, but next to that are reddish and yellowish colours, transitioning to bluer tints in the outer regions. So I can use the same simple equations I used for the atmosphere to get proper colours here as well.
Staying with the low-resolution style, I ended up with this:
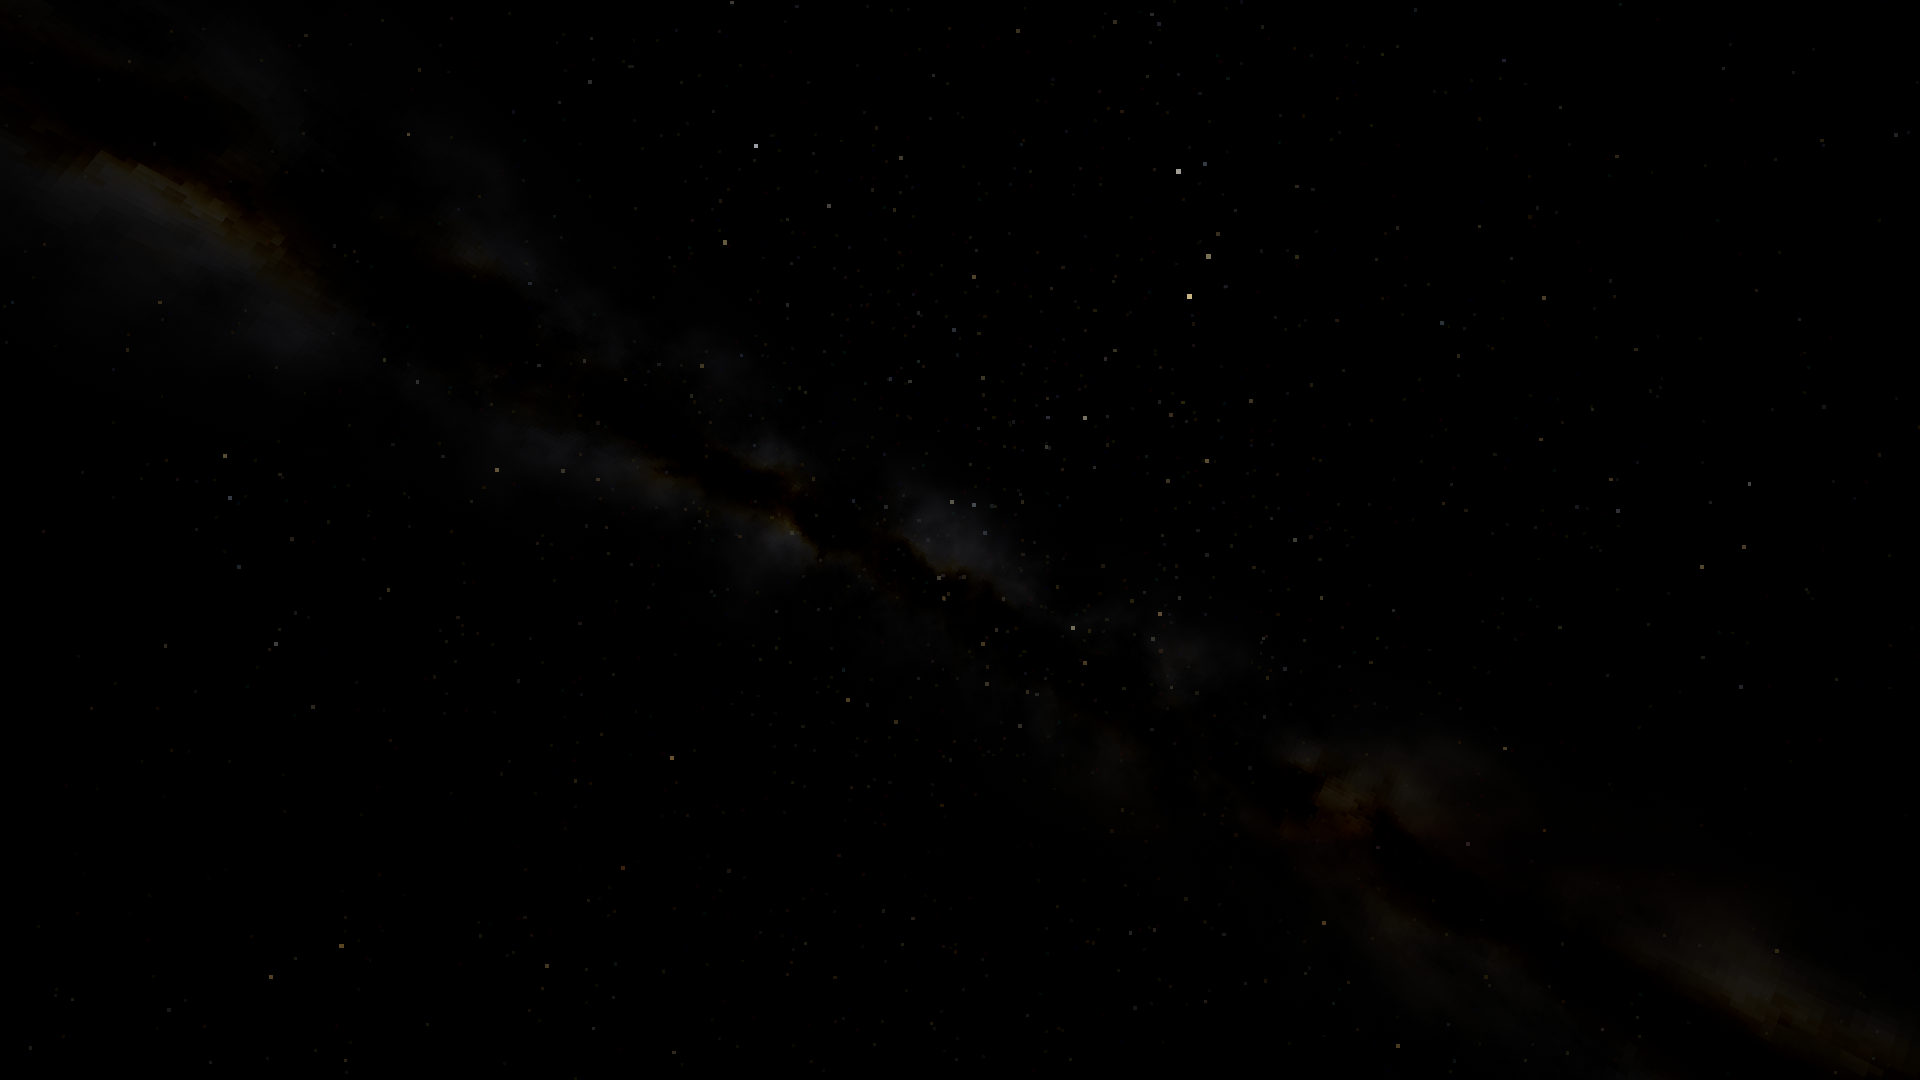
It definitely shouldn’t be any brighter, and probably a fair deal dimmer. Really it should only be visible during a nearly new moon, or when both moon and sun are well below the horizon. This will make it a bit more special when you see it during the game, too. I’ll get to that when I put all the pieces together and start tweaking the tone mapping.
It’s built from three noise layers. First, one layer of simplex noise for the overall brightness. To that, I add a higher-frequency cellular noise warp to get the smaller details. This then gets multiplied by an envelope curve to make the brightness fall off smoothly towards the edges.
On top of that is the dust layer. This is based on strongly domain-warped simplex noise, also with an envelope applied to it, but a narrower one. The result (after some more transformations) is the amount of “dust mass”. This is then fed into an exponential function to get the RGB extinction coefficient for absorption by the dust.
Finally, I apply similar fading and atmospheric attenuation as with the stars.
There is no moon
Everyone’s favourite night-sky dweller is still conspicuously absent! So let’s add a moon to the scene.
Like the stars and the Milky Way, I’ll render it as actual geometry: a low-poly sphere. Regular lighting calculations will then take care of drawing the moon phases correctly, no matter where the sun and moon are relative to each other.
I initially started with a subdivided icosahedron, created in Blender because Godot doesn’t have it, but then I realized that an icosphere produces a slightly lopsided silhouette:
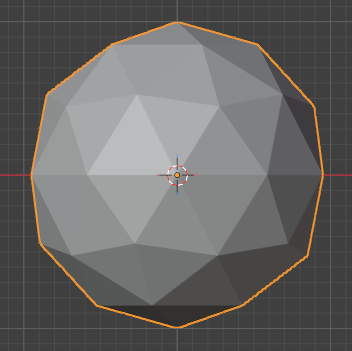
A UV sphere with its pole pointed towards the camera gives a more regular look. But even then, I cannot really use flat shading like in the rest of the game, otherwise the crescent moon ends up looking like this:
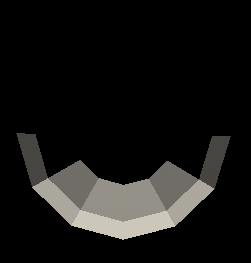
Smooth shading makes quick work of this mess:
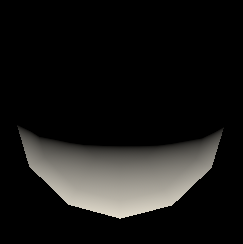
So far, I haven’t really decided whether the game takes place on an alternate, very Earth-like planet, or on Earth itself in an alternate history and geography. Since I’ve already made procedural non-Earth stars and Milky Way, it seems like I’ve already started down the “alternate planet” route. But for reference, let’s quickly slap a downsampled moon texture from NASA on our sphere to see how this might look:
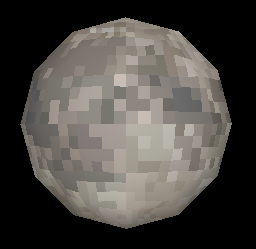
At this level of detail, I don’t need to worry about pinching at the poles; I can just generate a rectangular tiling 64×32 texture and wrap it around the sphere. I don’t need to bother generating actual craters and stuff either, since they’re not visible at this resolution; but cellular noise comes closest in structure to a cratered landscape, so that’s my noise function of choice. Apply a colour gradient with colours sampled from NASA’s image, and voilà, close enough:
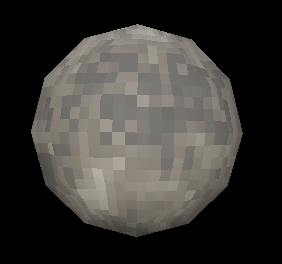
One thing that bothers me now is that the crescent shape is a bit too smooth:
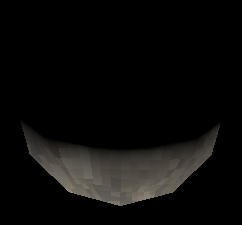
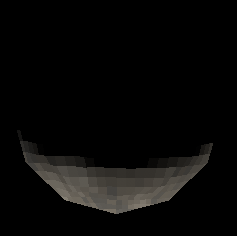
By using UV coordinates rounded down to the nearest texel, then reconstructing the normal vector from that, we can implement “per-texel lighting”. This gives a coarse, pixelated look that better matches the game’s aesthetic:
It took some fiddling to make the unlit side of the moon properly obscure stars, but not the daylight sky. I managed it by using additive blending for the moon, and writing an almost ‘infinite’ value to the depth buffer:
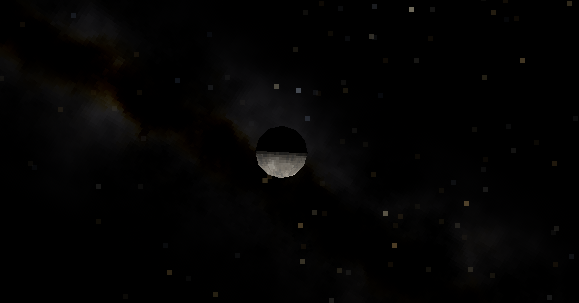
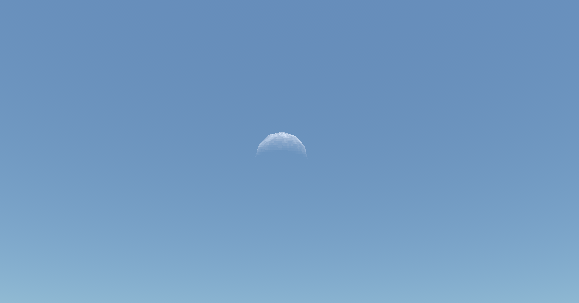
Finally, I tweaked the sky shader to also scatter moonlight. During a full moon, this makes the night sky ever so slightly dark blue, but during a new moon it’s still fully black.
What’s next?
Let’s conclude with a pretty picture of a crescent moon over a pine forest:
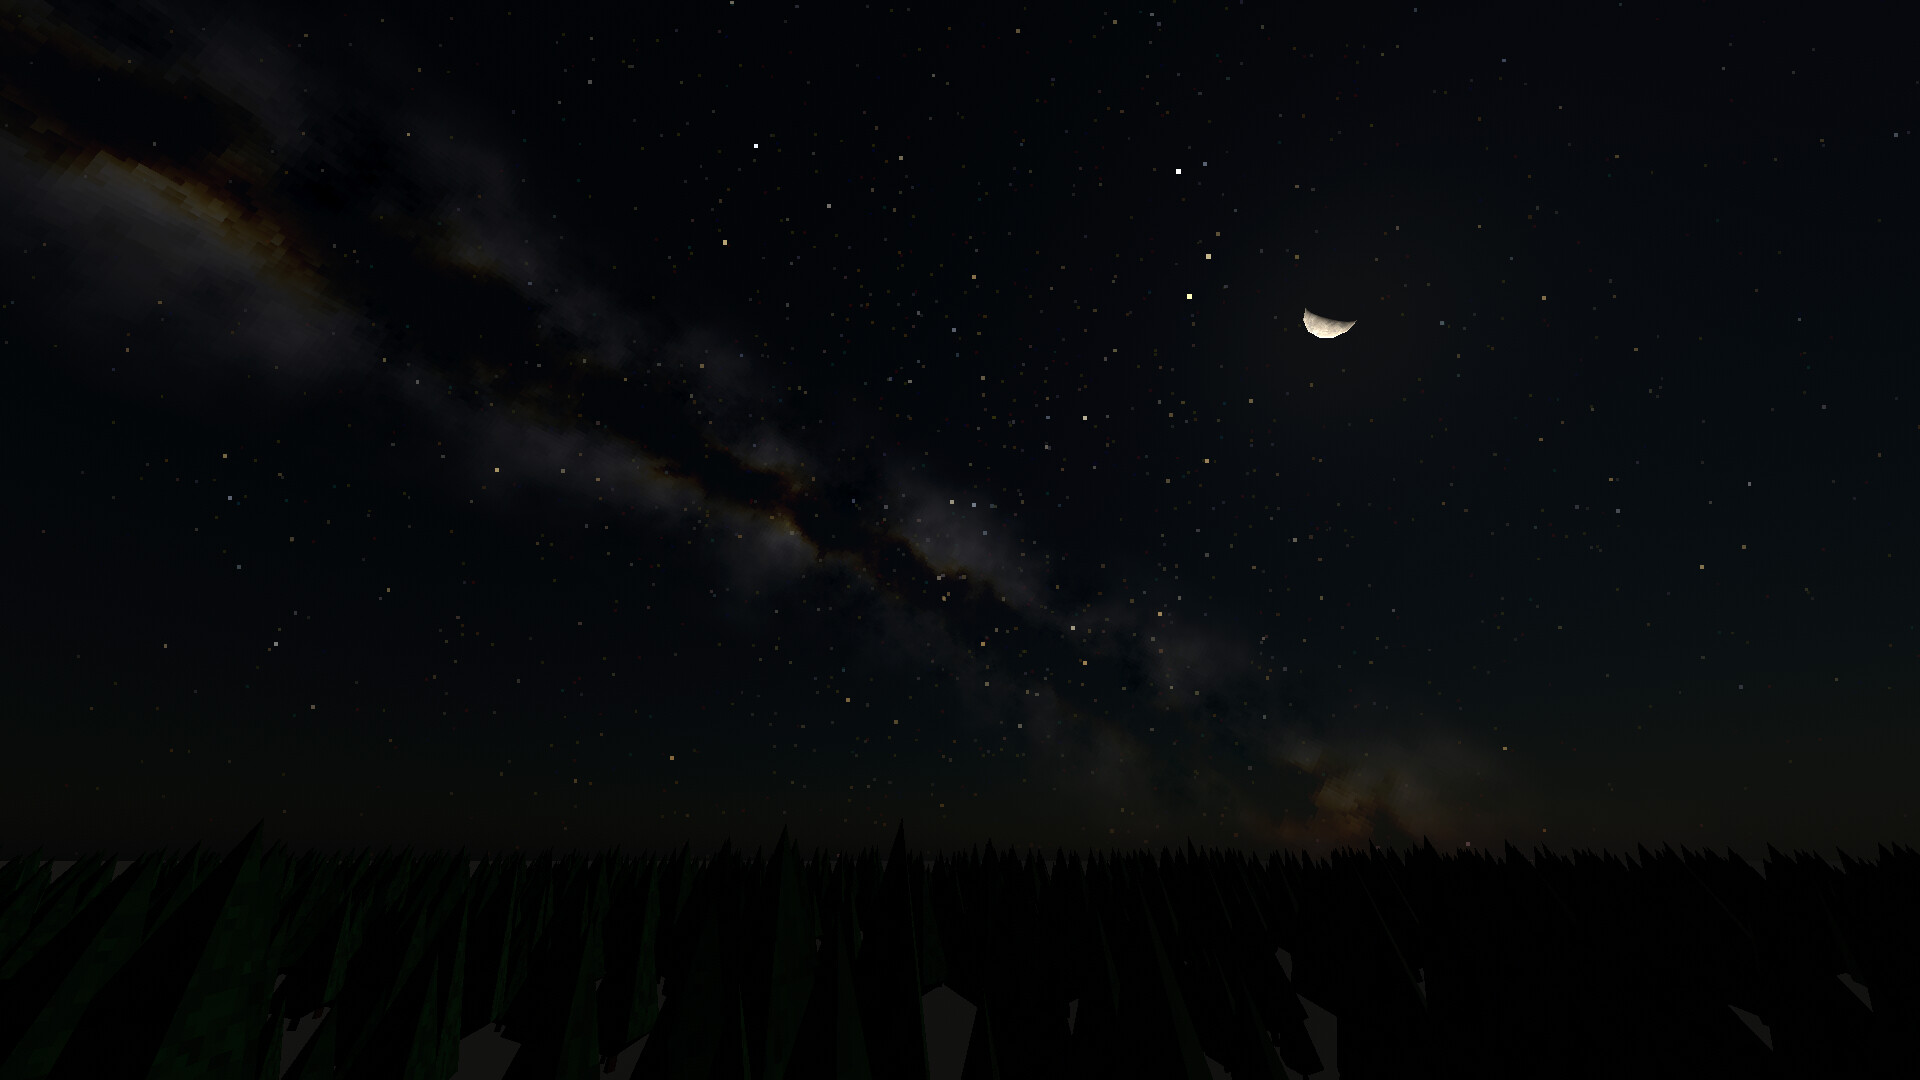
I’m not sure the positions are physically correct relative to each other, but I think this is plenty of astronomical detail for now.
Did someone say eclipses? I must have misheard. In any case, solar and lunar eclipses are going on the backlog for now; I have bigger fish to fry. Kilometer-sized, fluffy fish made of water vapour floating in the air.