Around The World, Part 33: Clouds
This post is part of a series about Around The World, a game of exploration and discovery at sea. The game is currently in early development. If you're new to this project, you can read up on it here.
Honestly, I’ve been looking forward to this for so long. Clouds are just so extraordinarily beautiful, diverse and interesting – not to mention technically challenging to get right. Just the right mix for the technical artist in me!
Clouds come in many different shapes and sizes:
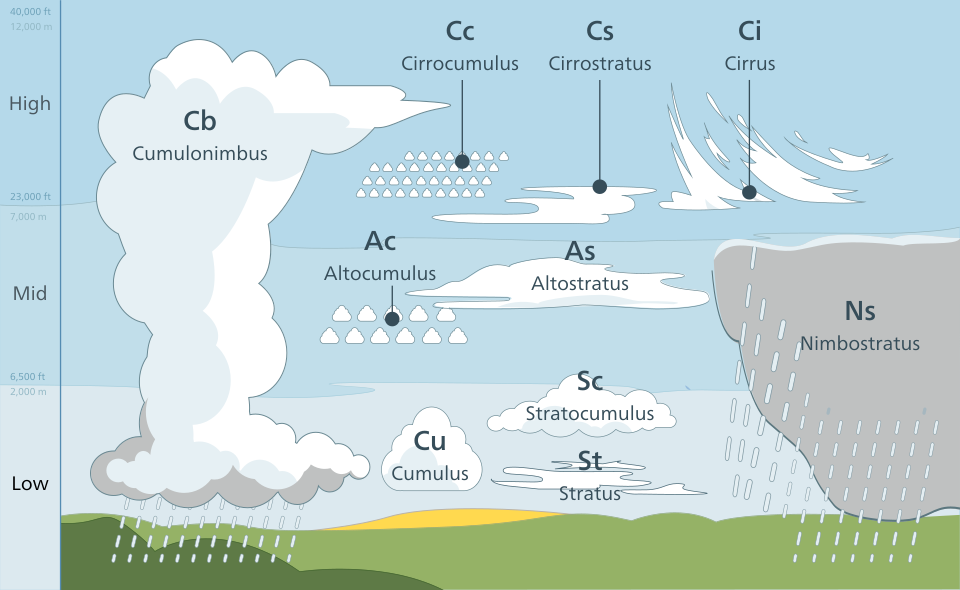
Source: Wikimedia Commons by Valentin de Bruyn, CC-BY-SA 3.0

In this post, I’ll be focusing on the prototypical cloud type, namely cumulus (Cu). With some parameter adjustments, the same approach can also be used for the other cumulus variants.
The aim is not to render the most realistic clouds possible. The state of the art in that department would be the absolutely stunning Nubis³ cloud system developed by Guerilla for the Horizon series of games. It is way out of my league, and doesn’t fit my game’s style anyway, but it’s still useful to understand how it works.
I want my clouds to be able to move with the wind, and to gradually evolve and change shape over time. Moreover, I need smooth changes in parameters (e.g. cloud coverage) to give smooth changes in the appearance of the clouds as well. For example, if I animate the cloud size over time, it will not do to have the entire cloud layer contract or expand around the origin.
False starts
The issue of cloud rendering has been on my mind for a long time – literally years now. I have done a few failed experiments during that time – “failed” in the sense that they didn’t work, but successful in the sense that they taught me things.
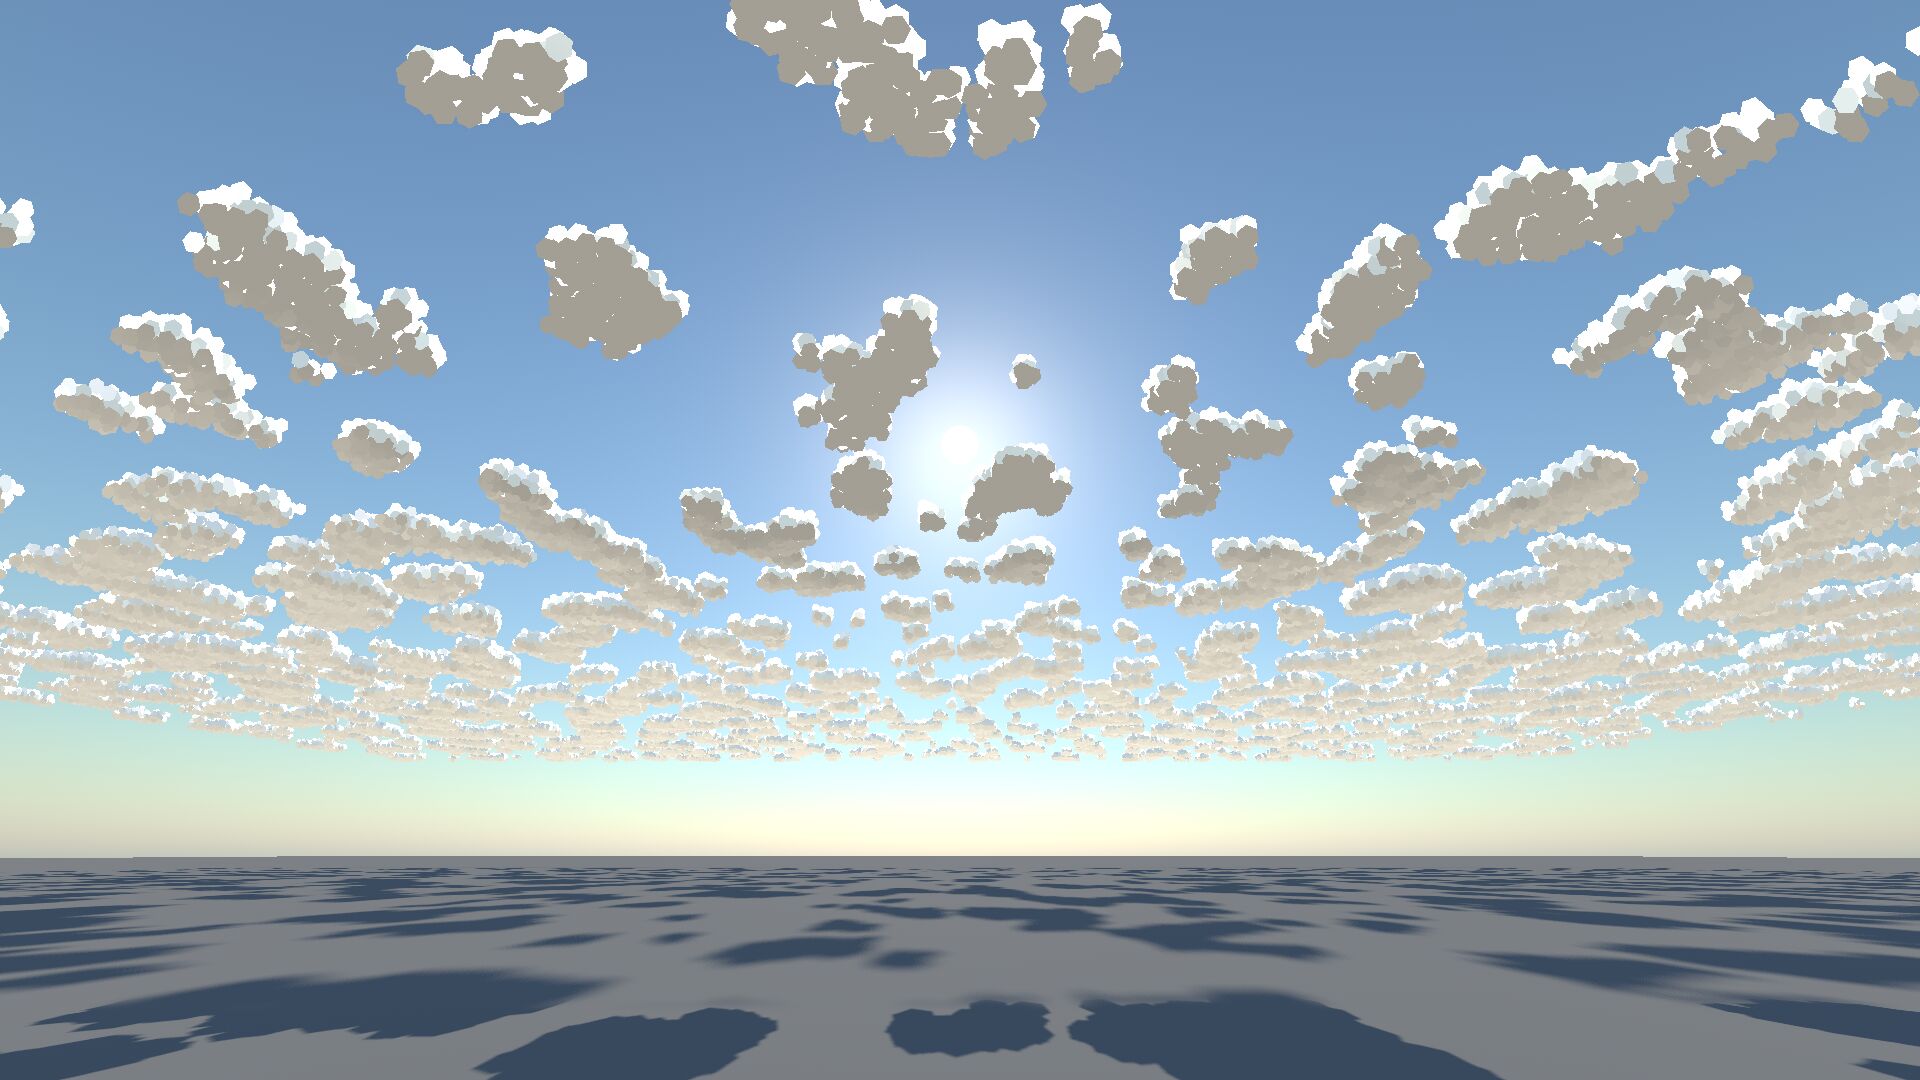
One idea was to render clouds as individual particles, generated as a point mesh. Code running on the CPU goes through voxels in a 3D noise field, and creates a particle wherever a transition from cloud to not-cloud occurs. It looks nicely fluffy, but renders slowly and scales badly.
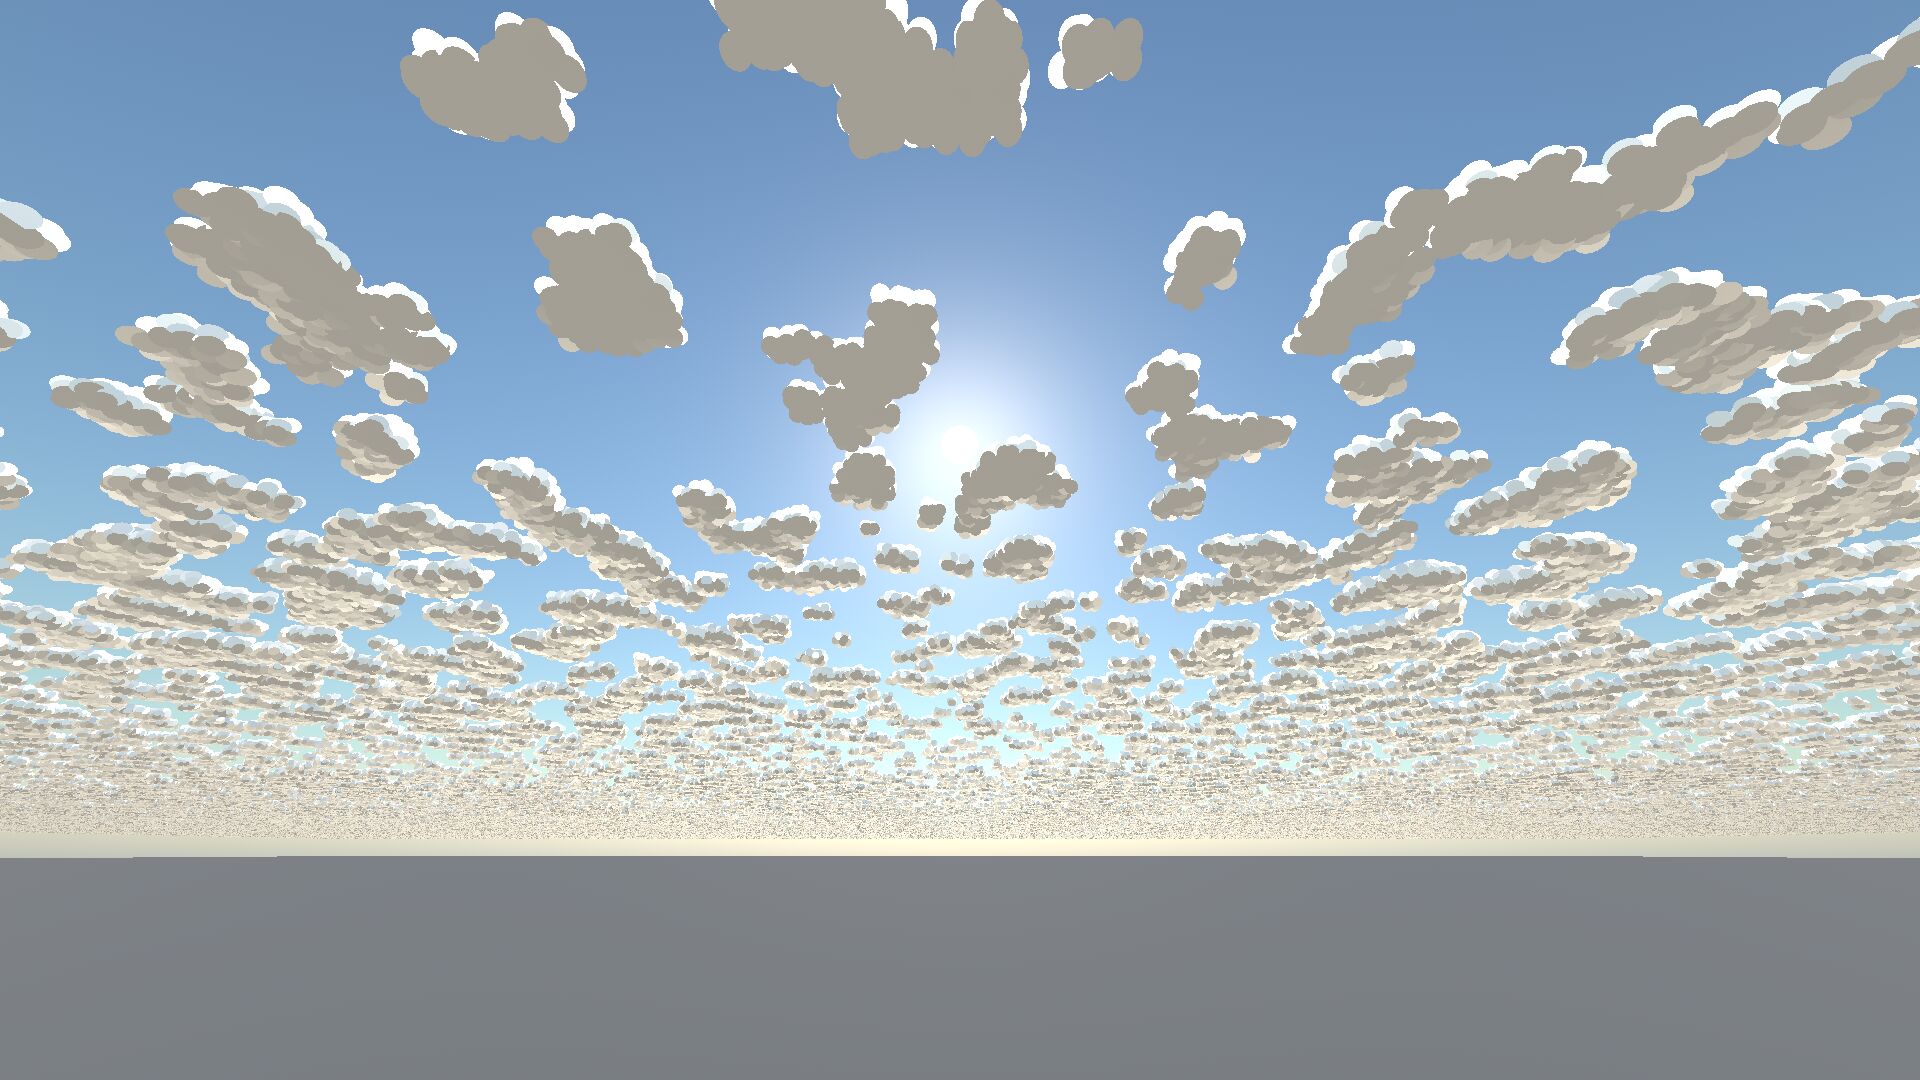
So maybe I can offload some of that work to the GPU? I can do a ray march through the voxels, detect transitions into the cloud, and render a disc at that point. This, too, is too slow, because near the horizon the ray march needs to traverse a lot of voxels before it exits the cloud layer at the top again.
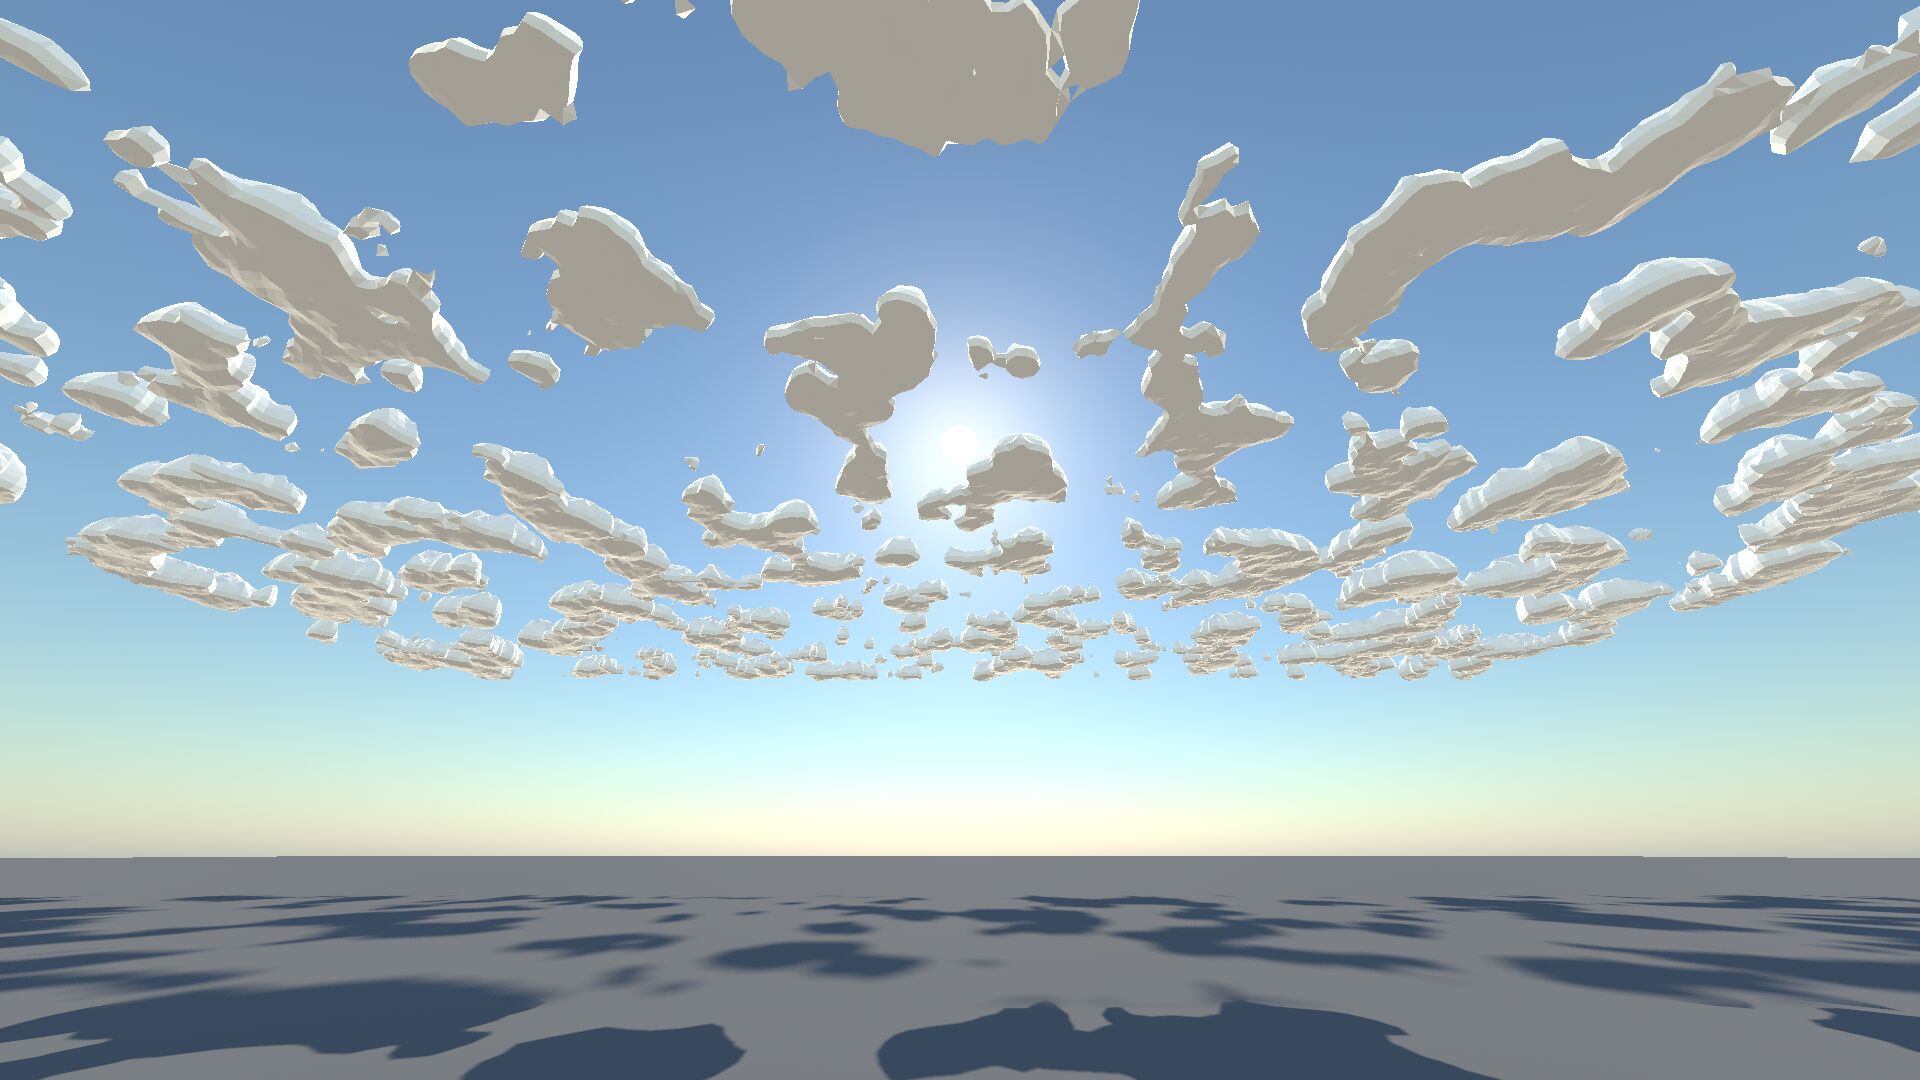
So then I thought: maybe we can render the clouds as an actual mesh instead? This would use marching cubes to create a surface out of the voxels. I’m not sure how to do that on the GPU since it requires appending to a buffer of triangles – but the CPU version is too slow, and pretty complicated.
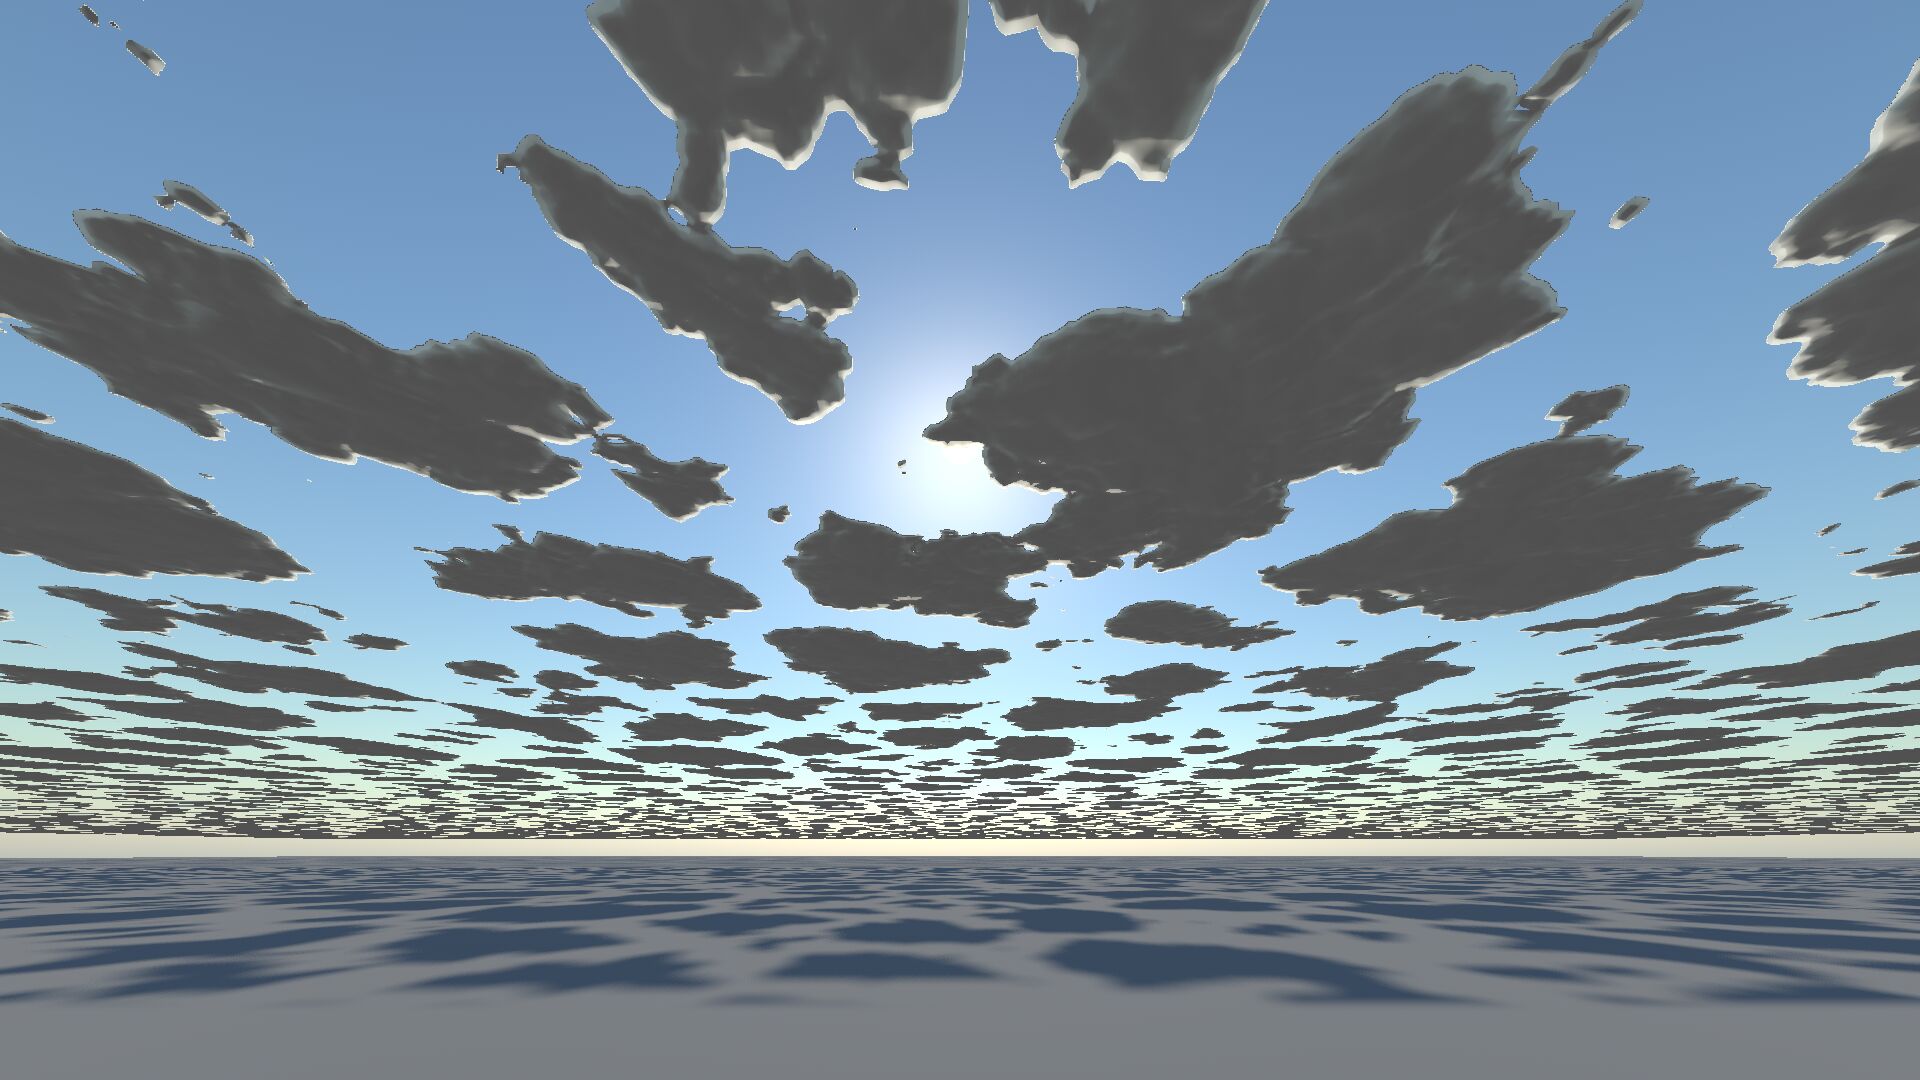
Okay, back to basics. How did they render clouds back in the days of software rendering? The typical approach was to use a texture-mapped plane. I hoped I could do some shader trickery involving the noise gradient to get decent lighting, but success was limited:
Finally, I thought of trying out Godot’s fancy volumetric fog rendering system. Unfortunately it can’t give sharp edges, so that experiment ended quickly.
In the end, I did settle on a system using meshes, but simpler than full marching cubes.
Mesh clouds
Let’s look at a single cloud layer first, for example cumulus clouds. These appear like well-defined objects, not whispy veils, so we’ll need to give them some height.
Here’s the idea. We’ll have a regular quad mesh that covers the entire sky. We’ll have a noise function that acts as a height map. And we’ll have a threshold to that height map; wherever the height falls below the threshold, no cloud is drawn. This gives us the top of the clouds; we’ll add a second mesh to represent the bottom, which is just a mirror image of the top but with a reduced height:
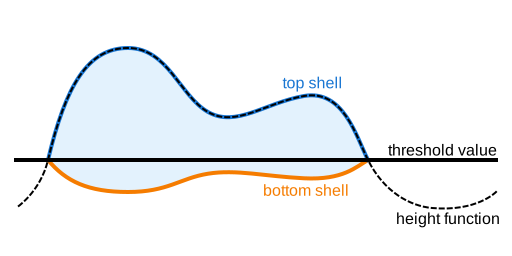
The vertical offsetting of vertices happens in the vertex shader; discarding parts of the mesh that are below the threshold happens in the fragment shader.
A tree in the clouds
How far away can you see clouds? In other words, what will our draw distance need to be? This, of course, depends on how high up they are; this differs per cloud type, but it’s generally up to 10 km. Assuming you’re on the ground and have an unobstructed view towards the horizon, the clouds you see just above the horizon are then a whopping 357 km away!
However, my procedural planet is not Earth-sized. Terrain features are scaled down by about 10×, and the faked ground curvature uses an assumed radius of 83 km, rather than Earth’s 6371 km. If we lower the clouds to 1 km (which is still above the tallest mountains) and use the same visual planet radius as the ground, we end up with a more reasonable draw distance of 13 km.
To have some visual detail in the clouds directly overhead (which may go as low as 100 m now for the cumulus layer, though I think they’ll have to be higher for it to look right), we’ll need a fairly high mesh resolution, let’s say 8 m per quad because I like my powers of two. That means we’ll have (2 × 13000 / 8)² quads × 2 triangles per quad × 2 meshes = 42 million triangles. This is way too much! I’d prefer to keep this around a hundred thousand, definitely not more than one million. So – like with terrain – we’ll need some level-of-detail (LOD) scheme to reduce detail in the distance.
The state of the art for this would be geometry clipmaps, and they are cool and efficient but a bit gnarly to implement. So I’ll go for a more old-school technique: a quad tree. And here, it’s a quad tree in two senses: the official sense that each interior node has exactly four children, but also that each child represents a quad of geometry.
I’ve made a flexible, reusable Godot node that instantiates a configurable scene for each leaf node, because I intend to start using this for terrain and water as well. It splits quads depending on distance to another configurable node, which will be the camera.
Importantly, I’ve made it so that the quad tree itself can be moved and updates accordingly, so that I can make the clouds move later on:
At a draw distance of 25 km, this produces 88 nodes of 32×32 quads each, for a total of 360 thousand triangles. Good enough for now.
Geometry
With that implemented, we can turn towards the actual cloud shapes. Cellular noise is the go-to noise function for this:
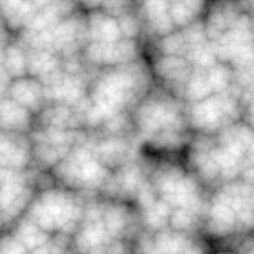
This is based on the squared Euclidean norm, giving a parabolic shape around each central point, but inverted to make the value at the central point the largest. It should make for nice round cloud shapes, and it does:
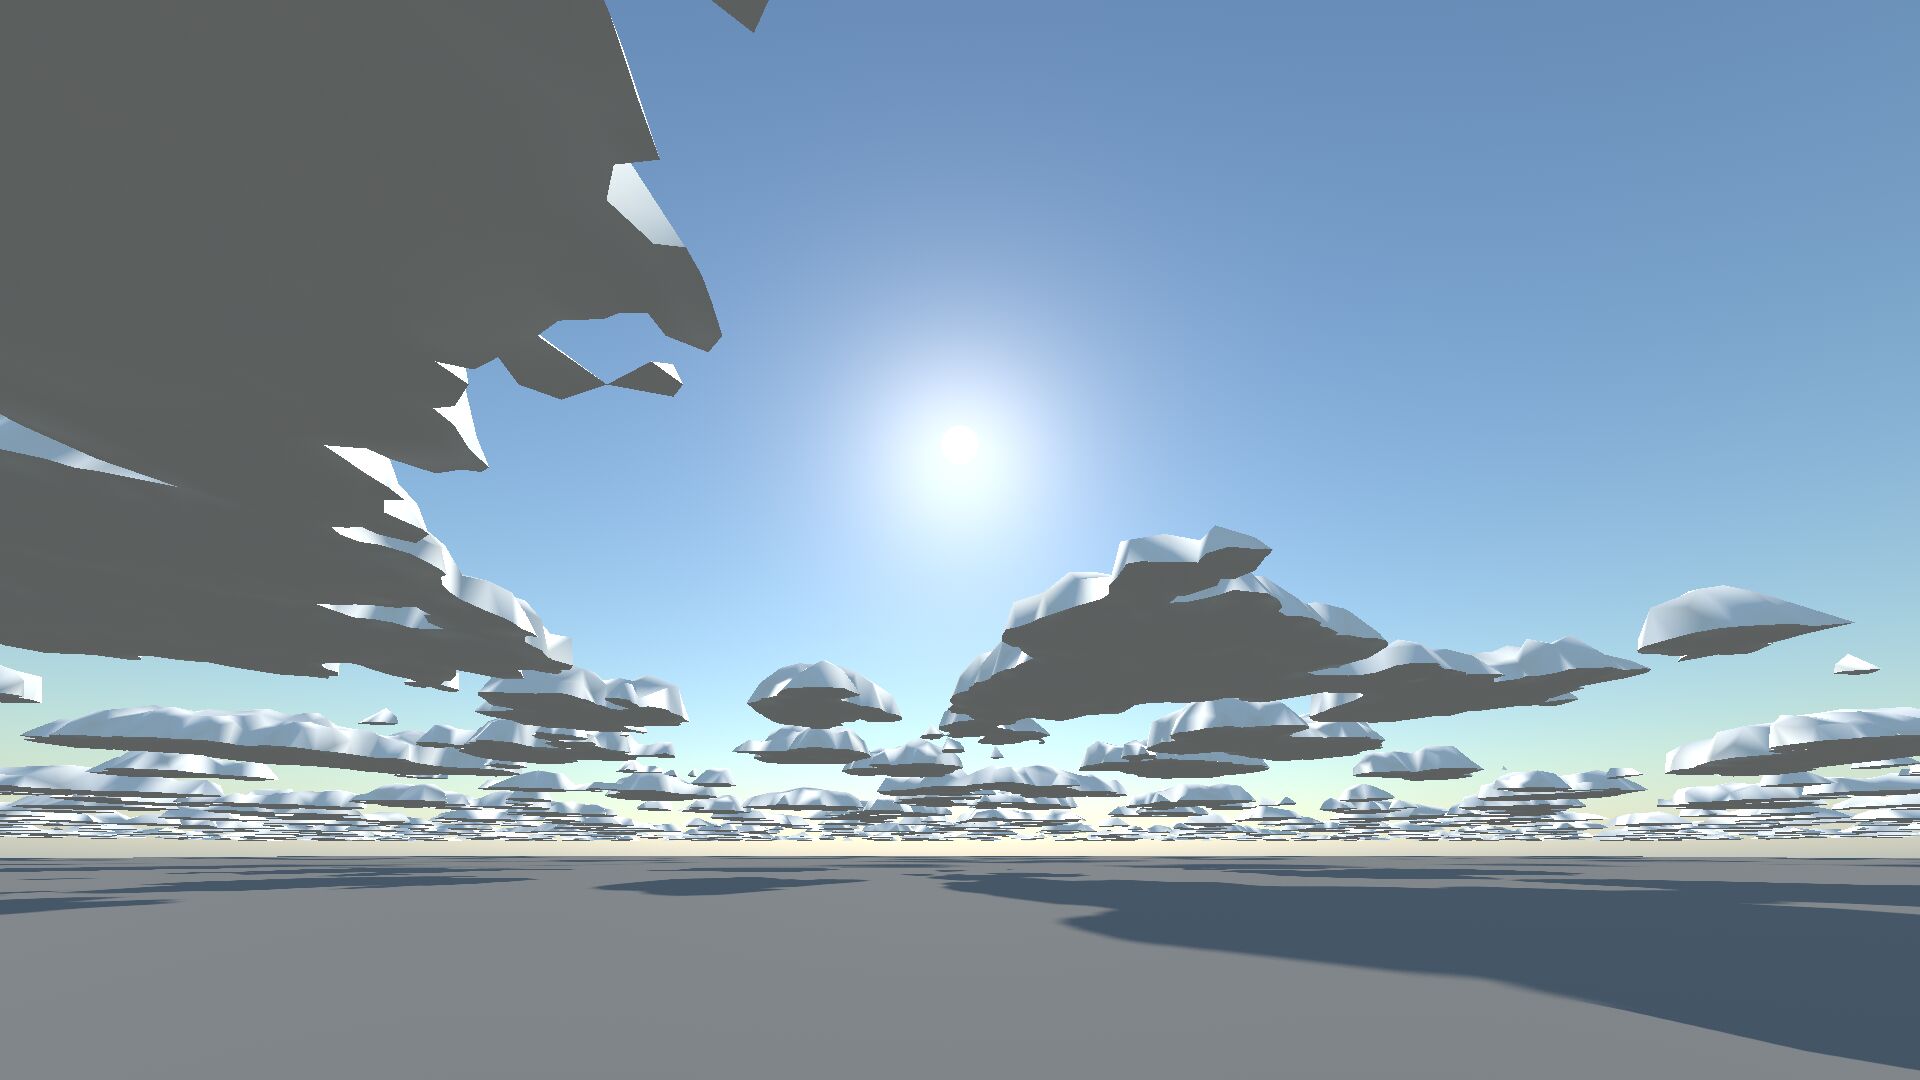
It’s nice that because we use geometry to draw the clouds, we get shadows for free.
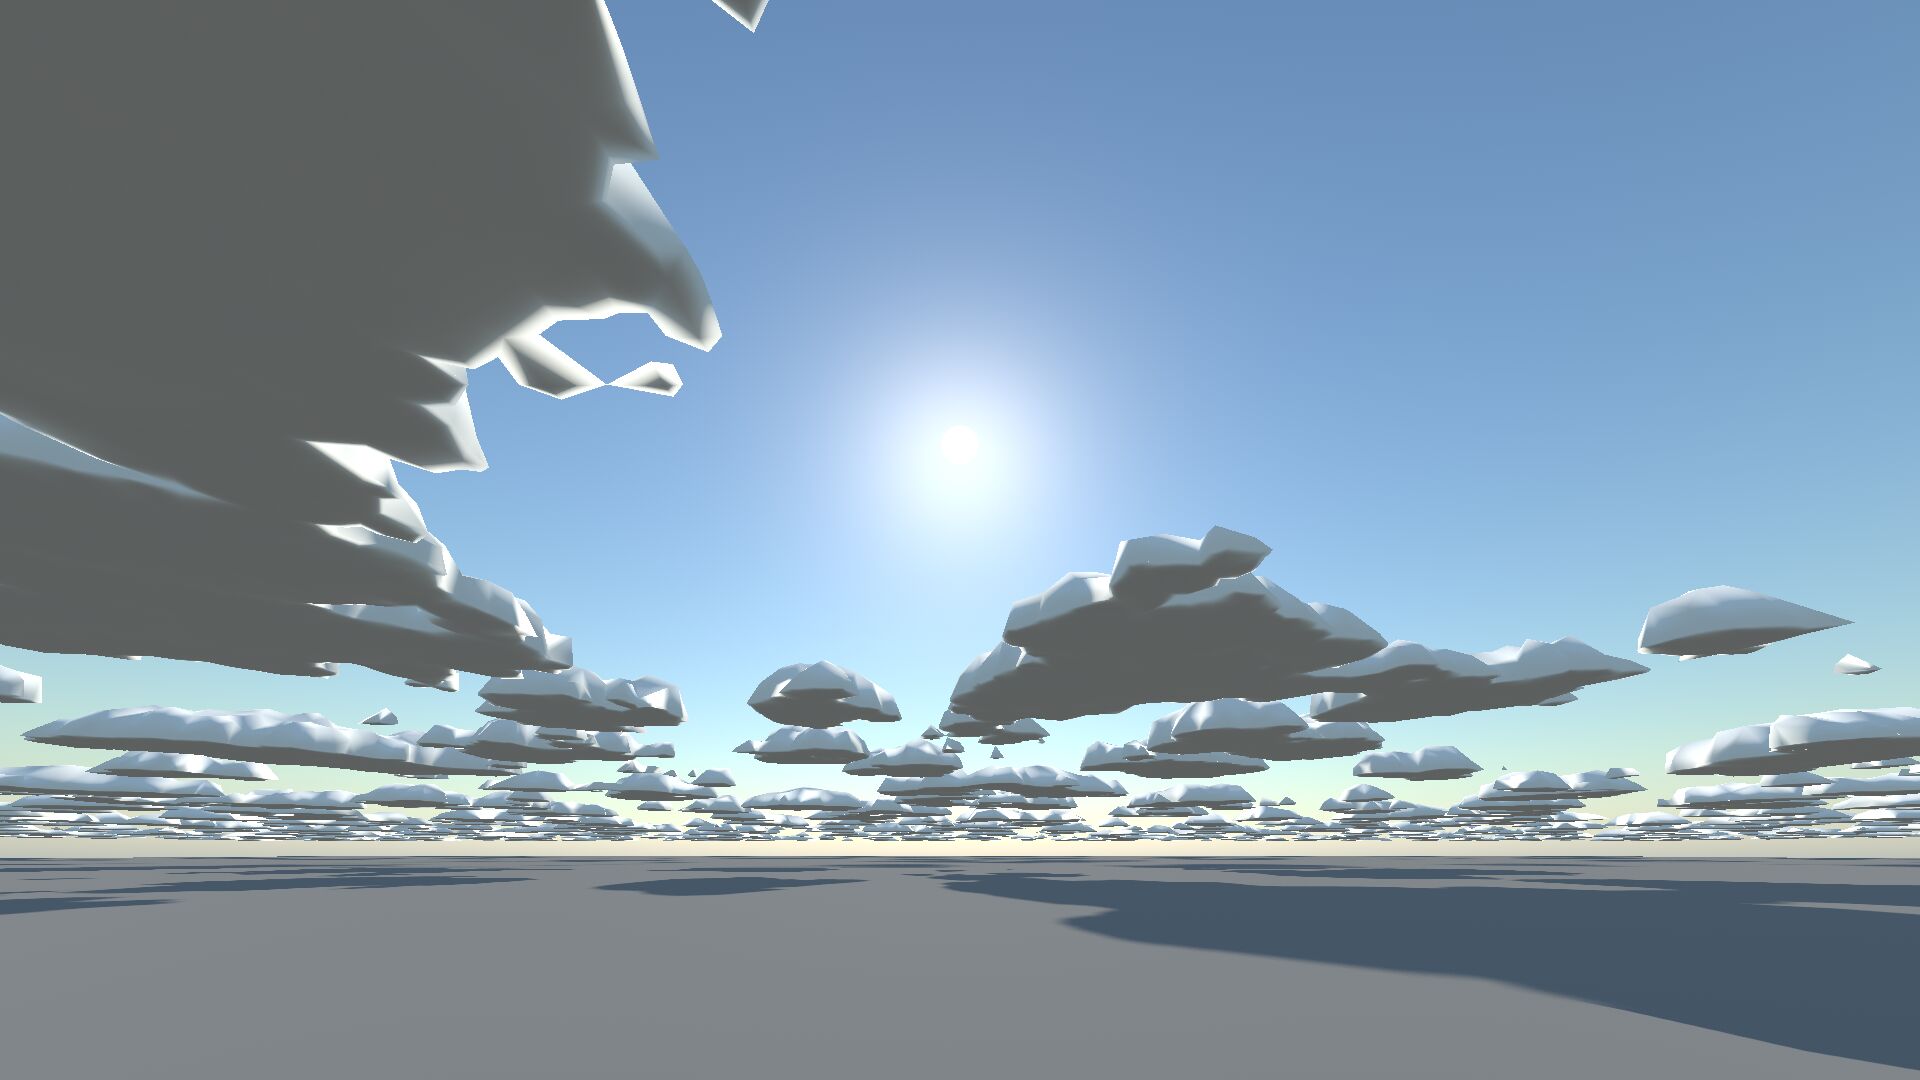
One thing that bothers me is the razor-sharp edge where the top and bottom shells meet. This is easy to fix: when the height map function is small, we bend the normal towards the horizontal plane.
Speaking of bending: let’s also move distant clouds farther downwards to account for the curvature of the planet. They now go all the way down to the horizon:
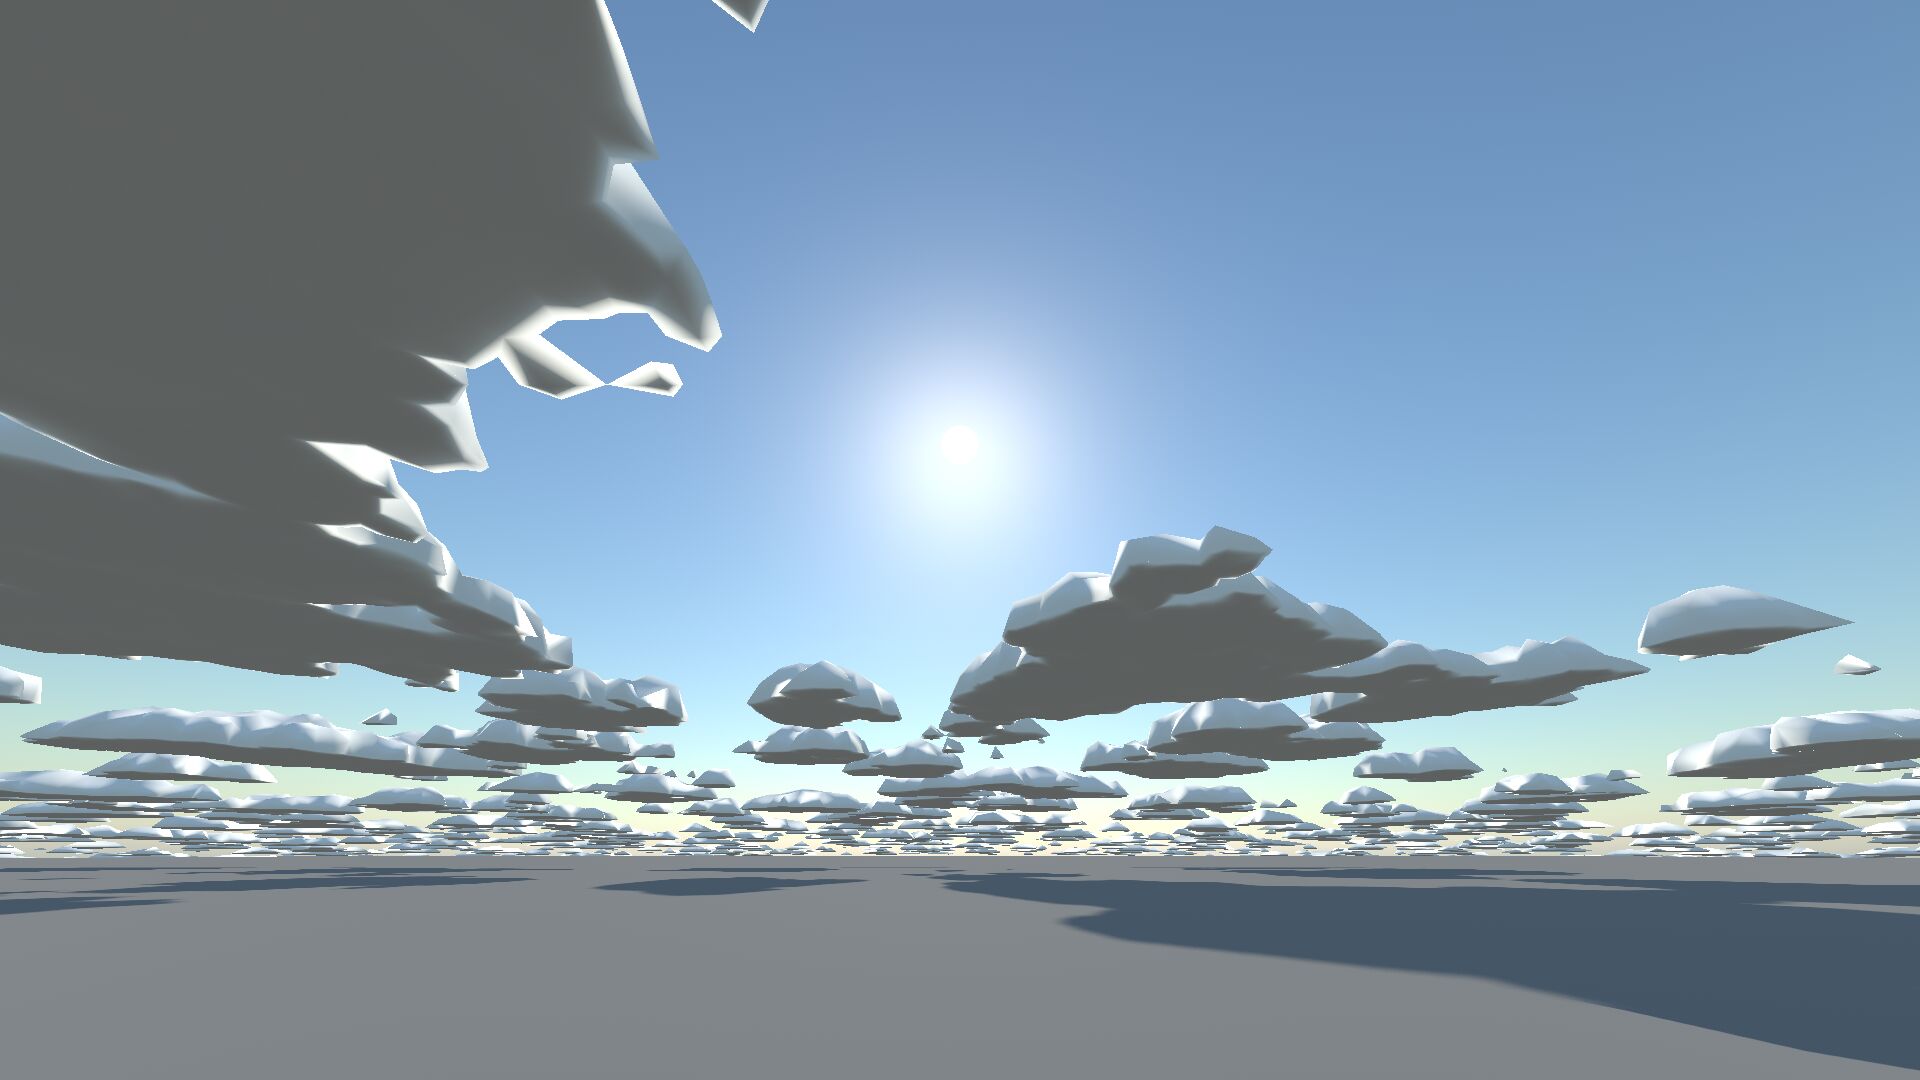
But the bottom side of the clouds is still a very dark grey. Let’s see what’s up with that.
Shading
Remember when I wrote about atmospheric scattering, that single scattering was enough to get realistic sky colours? Not so with clouds! Because of all the water droplets inside, light typically gets scattered many, many times before it leaves the cloud again. We can’t hope to simulate such multiple scattering cheaply, so we’re going to fake it.
First, let’s replace the default Burley shading by a wrapping Lambertian shading that is also supported natively by Godot:
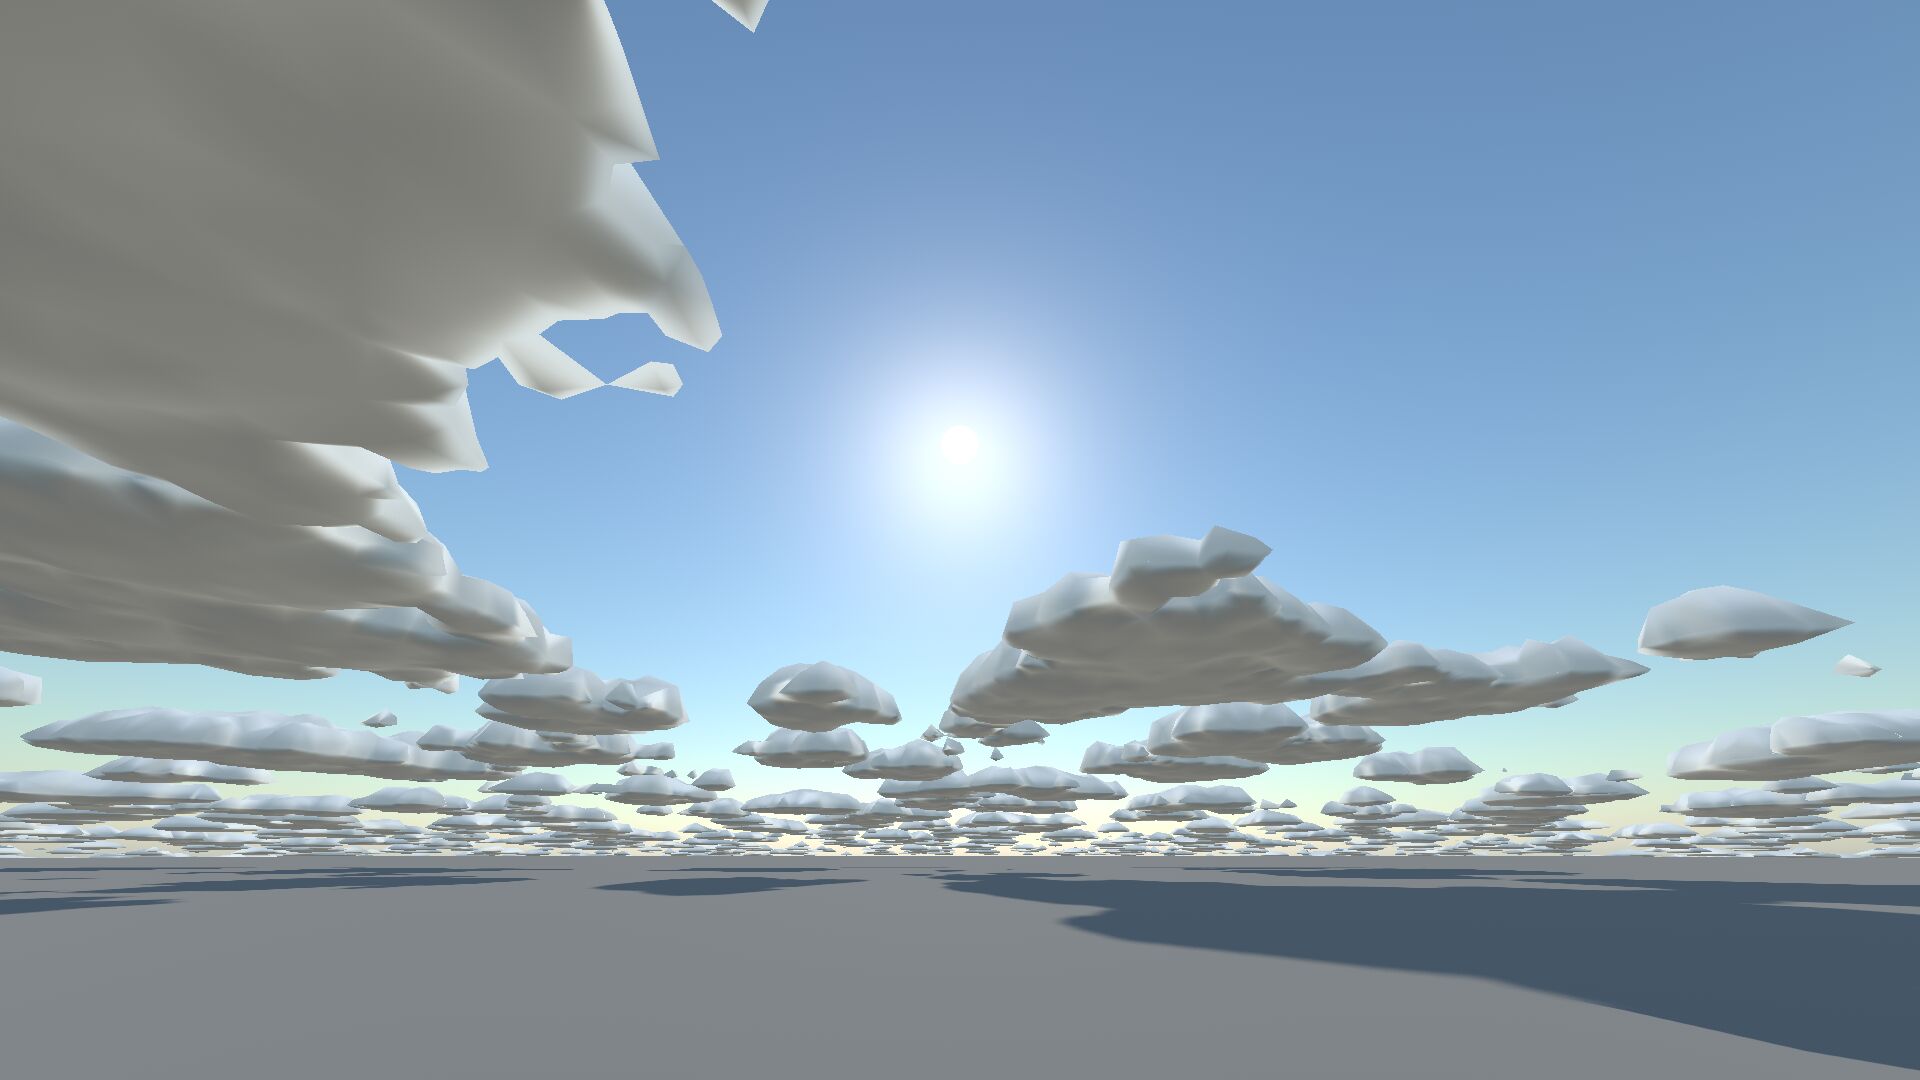
The effect is that light can travel around the edges to help illuminate the bottom of the clouds.
Another well-known effect that we should simulate is the “silver lining”. This is caused by light grazing the edge of a cloud. The strong forwards nature of Mie scattering then makes it go mostly straight ahead, and because the edge is thin, there isn’t enough scattering to completely cancel out this directionality. This should happen when the incoming light is almost orthogonal to the normal, and almost opposite the view vector.
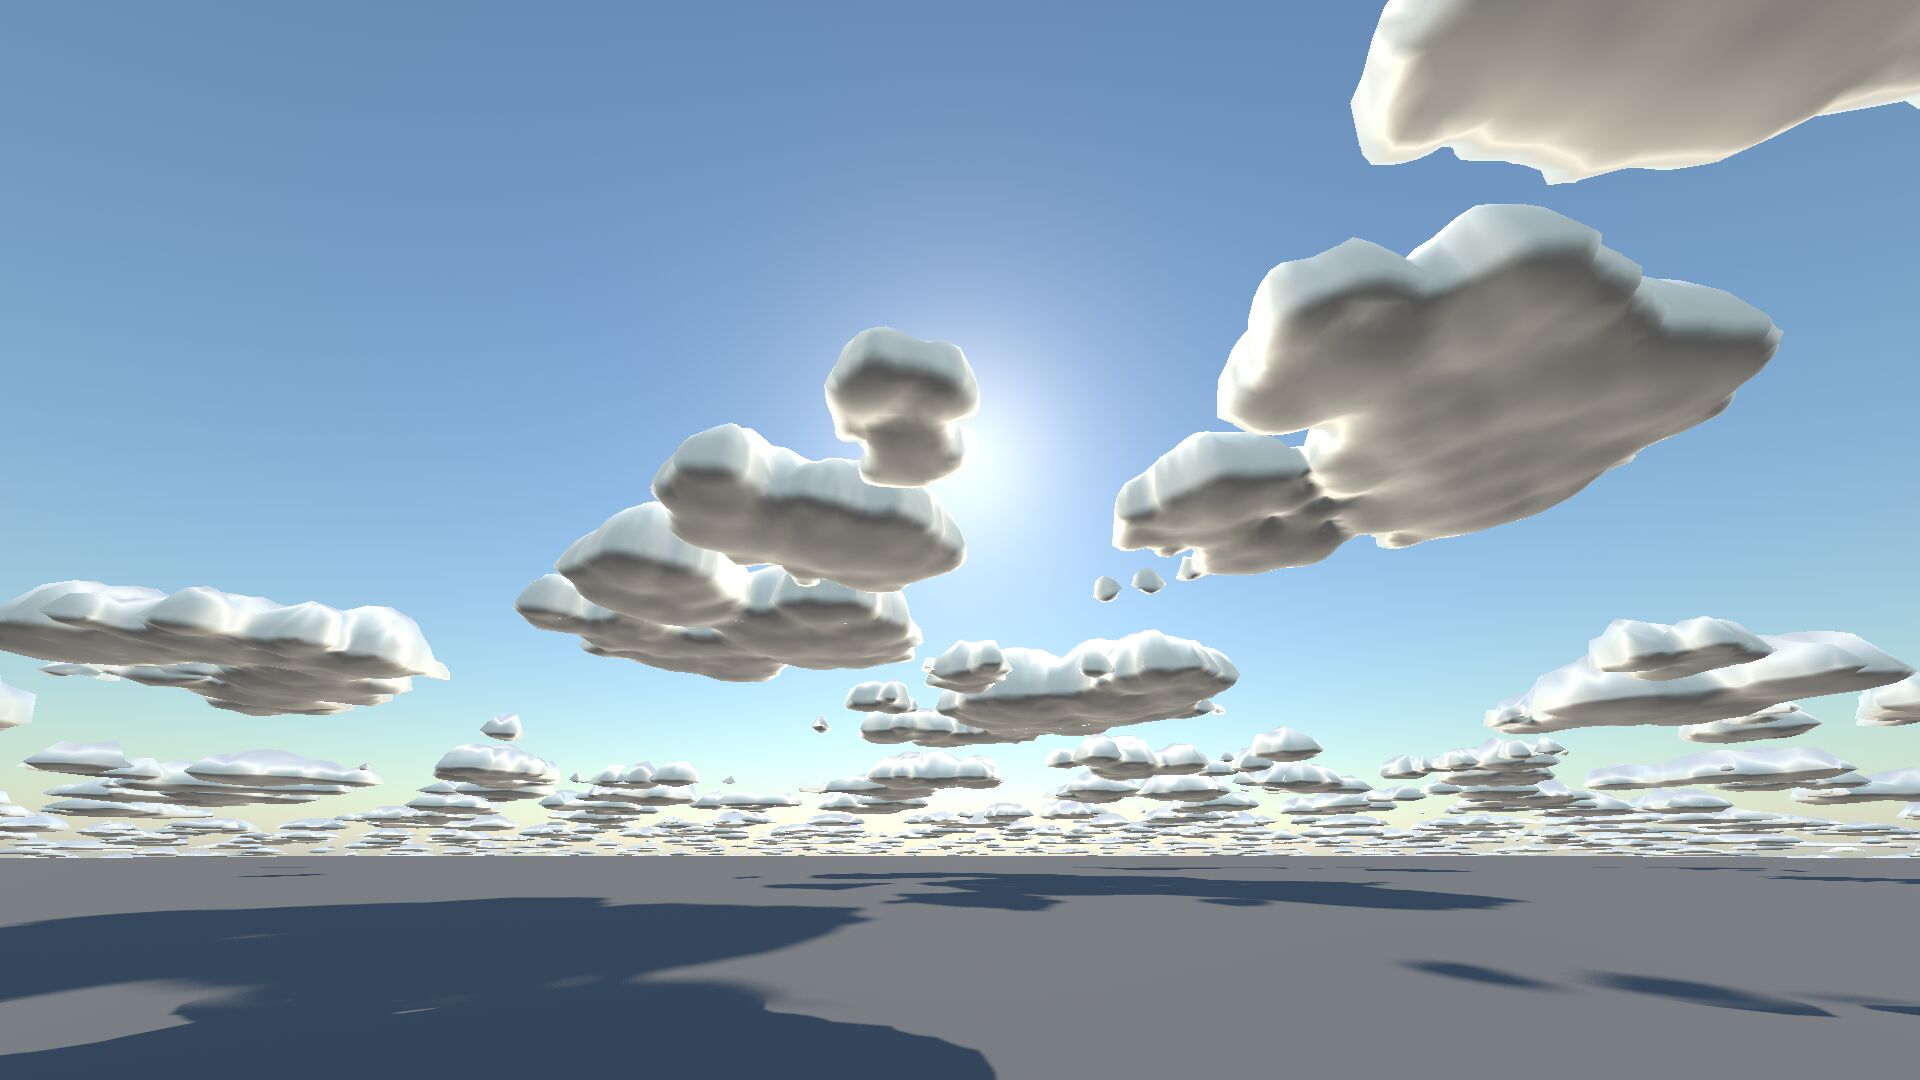
That’s nice, but the bottoms of the clouds are still quite dark. It turns out I could fix that by completely ignoring the normal vector and the direction of the incoming light, and just applying a uniform amount of light everywhere:
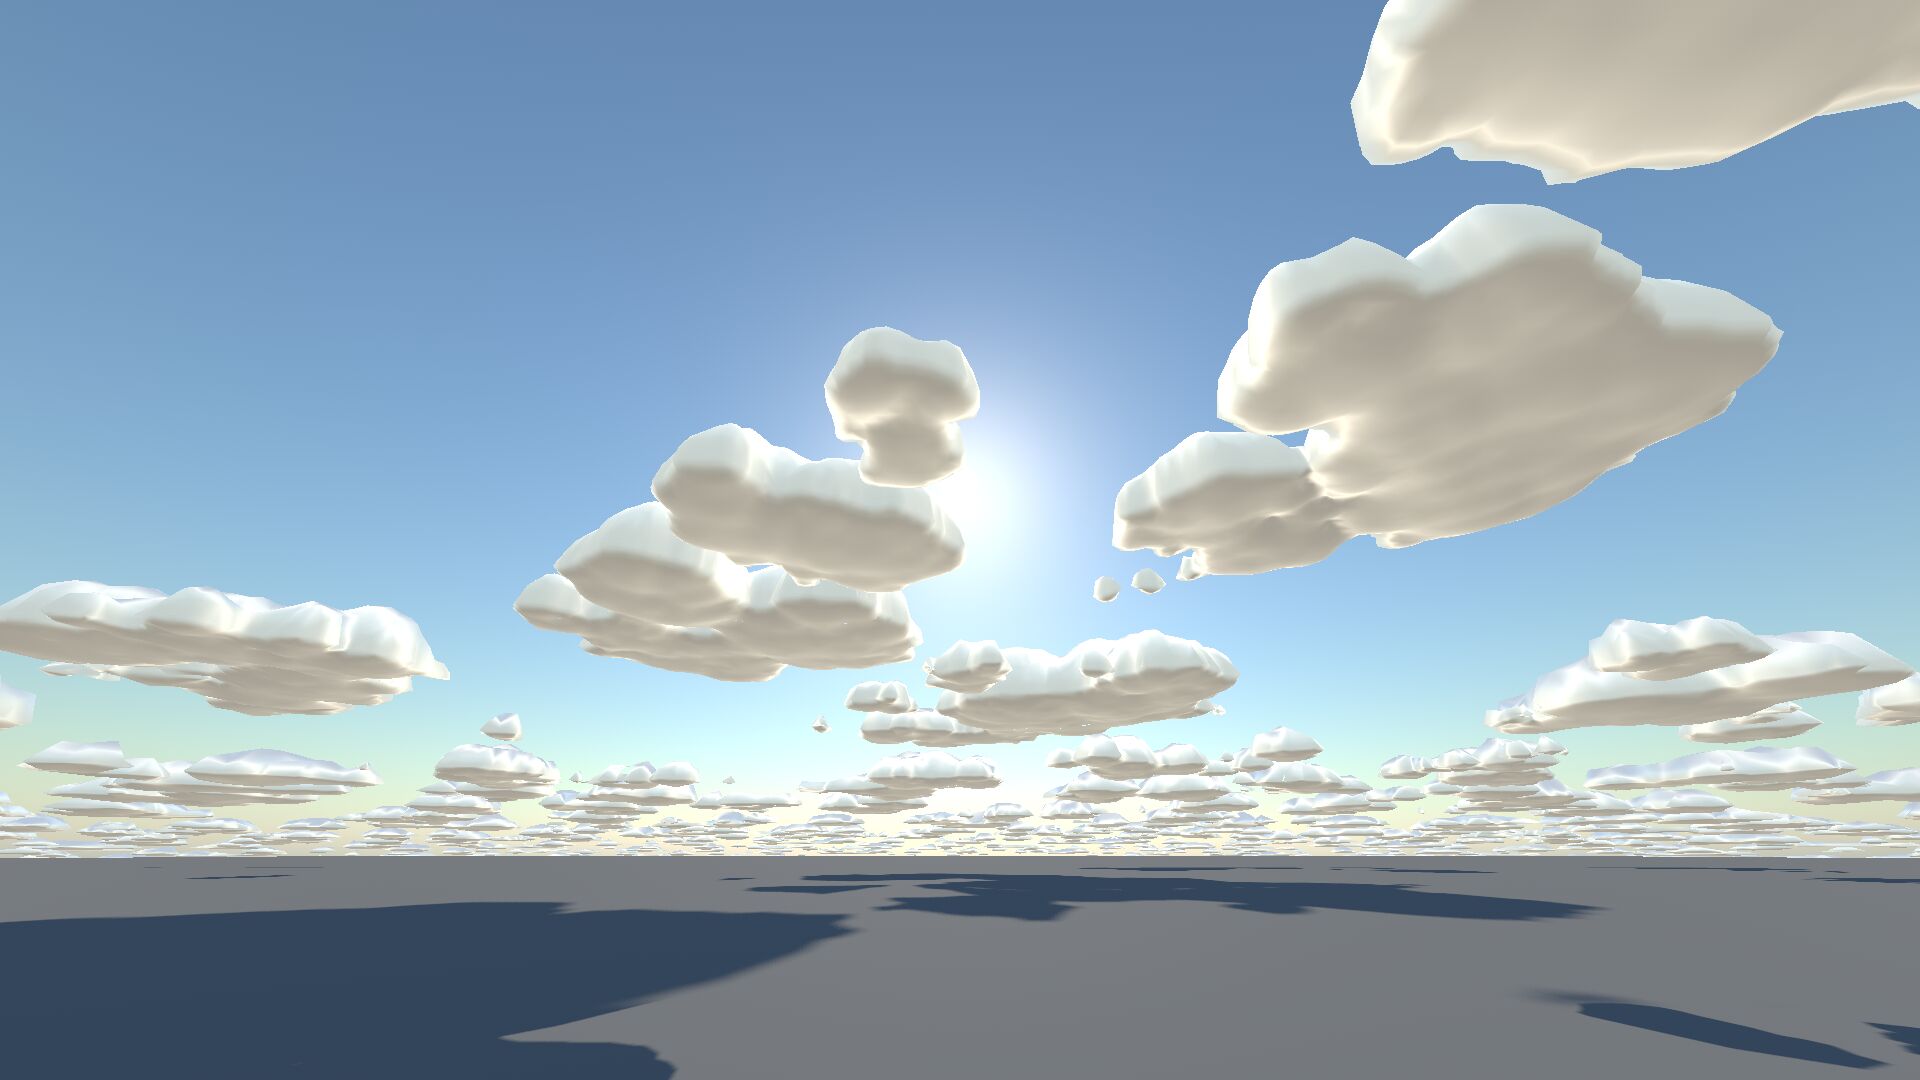
It’s as if every light ray that enters the cloud has an equal probability of coming out anywhere on the surface. The clouds don’t look uniformly white because Godot’s radiance cubemap (sky light) still does use the normal vector.
This is a result I can live with, although it looks a bit too “metallic” still. But it’s hacks piled upon hacks, and I’m wondering if there’s a more principled approach.
Improving understanding
Clouds are difficult to study in nature, because we cannot change the conditions under which you see them. But maybe we can get a high-fidelity simulation in software? Then we could see how transmittance, rim lighting and so on really works, instead of just guessing.
My first attempt was to use Godot’s fog volumes, which use some kind of voxel-based approach. It has an anisotropy parameter to simulate forwards scattering. However, it seems that bigger clouds don’t actually block that forwards scattering from happening:
Apparently, Godot had to make some compromises to make it work in real time, because this does not look physically accurate to me.
How about Blender? Its Cycles renderer is supposed to be a super awesome raytracer, so let’s give it a shot. It doesn’t fare any better:
The Blender result may be because I don’t know what I’m doing, but it’s suspiciously similar to what Godot produces. At this point I’m starting to doubt myself. Are both programs using approximations, or does this scattering not work the way I think it does?
I was on the threshold of writing my own ray tracer, but then I remembered the existence of povray, a command-line ray tracer that accepts text input. Here, too, I barely know what I’m doing, so I grabbed a random example of volumetric media rendering and modified it to my needs. It takes about a minute to render these images, but they finally confirmed that I was right:
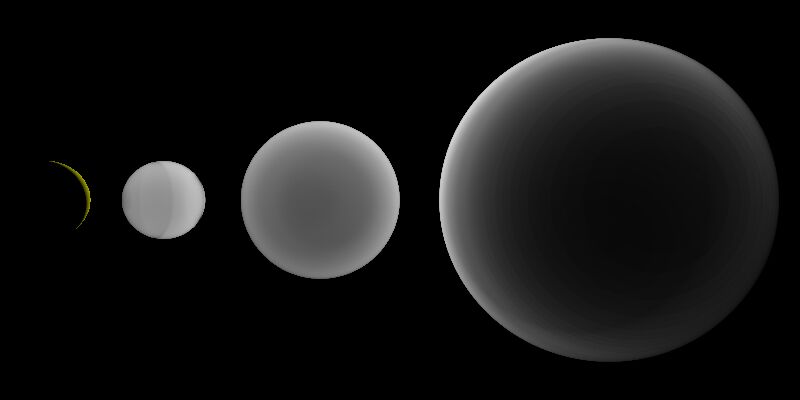
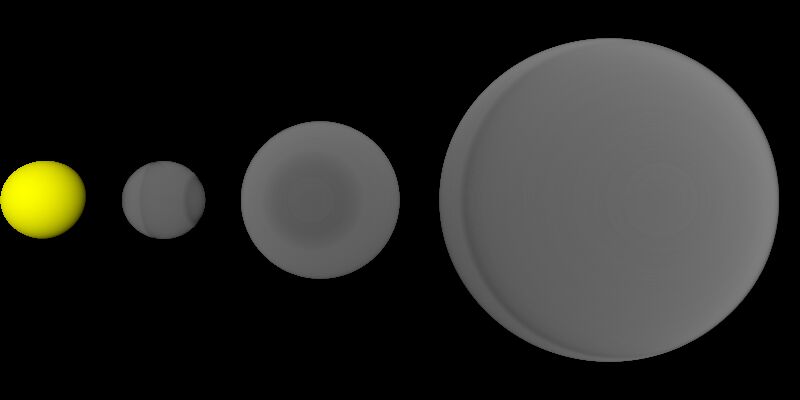
These are three clouds of uniform density, with isotropic (non-directional) scattering, illuminated from the back (as indicated by the solid yellow sphere to the left). You can see that as the cloud gets larger, less light reaches the opposite side. It gets even more pronounced when using forward scattering (Henyey-Greenstein with g = 0.5):
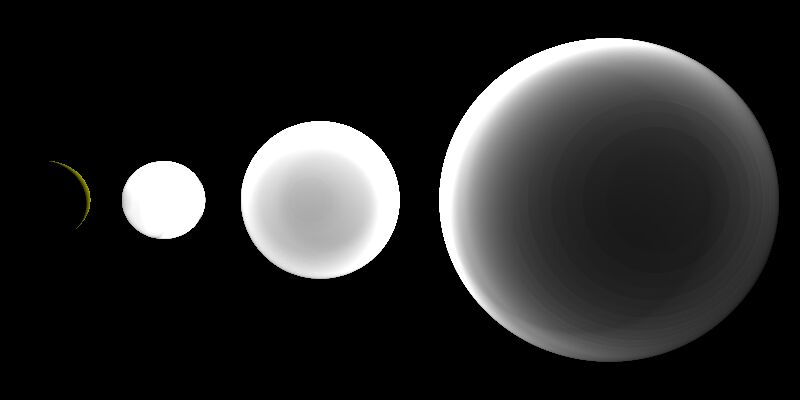
Funnily enough, it’s now the front side that is darker because most of the light penetrates and comes out the back:
After going through all this, I thought to check that Blender’s renderer was actually set to Cycles – and it wasn’t. With Cycles, I do actually get the expected result as well:
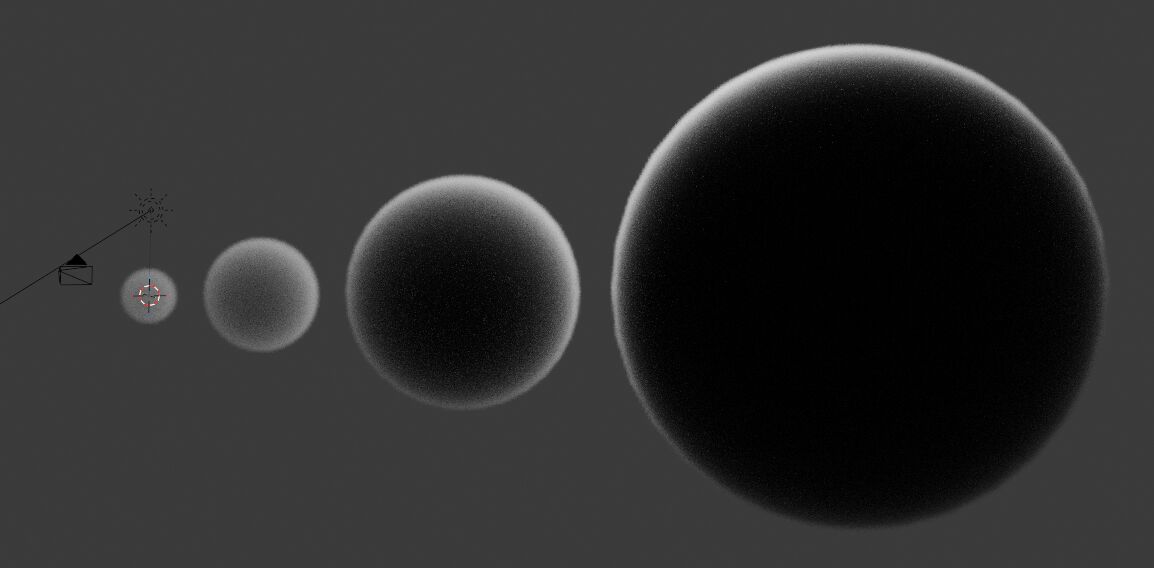
Be that as it may, all this poses a problem for realtime rendering. With a regular, solid material, the fragment shader can compute the colour of a pixel just based on local information: the normal, the light vector and the view vector, say. But with a cloud, what happens around and behind that pixel is at least as important, if not more. We will at least need to take the size of clouds into account somehow.
At this point, I was sorely tempted to convert povray’s output into a lookup table, to replace the shader hackery I’ve done so far. It would need to be a four-dimensional table: one axis for the angle between the light and the view vector, two axes for the normal vector, and one axis for the size of the cloud.
I was so tempted, in fact, that I went ahead and did it.
Lookup table
Each circle is a render of a spherical cloud. From left to right, the incoming light vector changes from behind, over the top, to the front, in increments of 15°. From top to bottom, the sphere’s radius increases from 1 to 8.
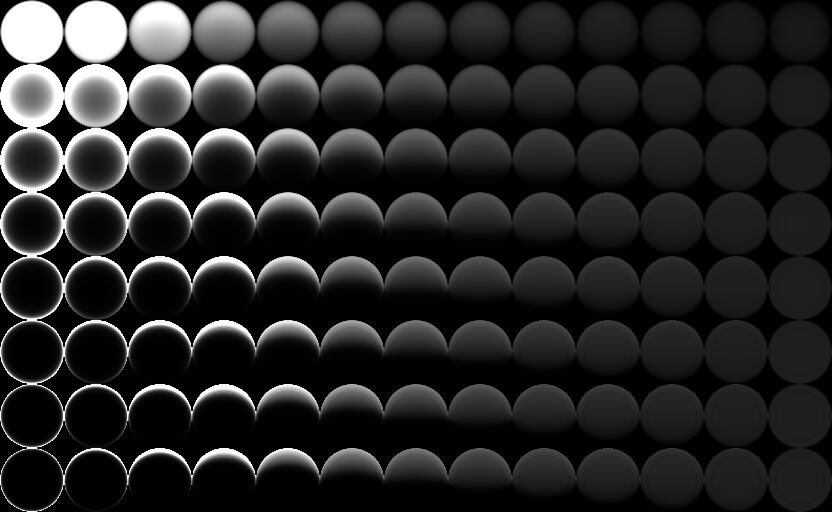
The above image is a PNG, but I used OpenEXR in the engine because it looked like there was some clipping going on with values greater than 1.
We don’t actually know in the fragment shader how big our clouds are, but let’s ignore that for now and use the second row of the table only to render our clouds as if they were spherical:
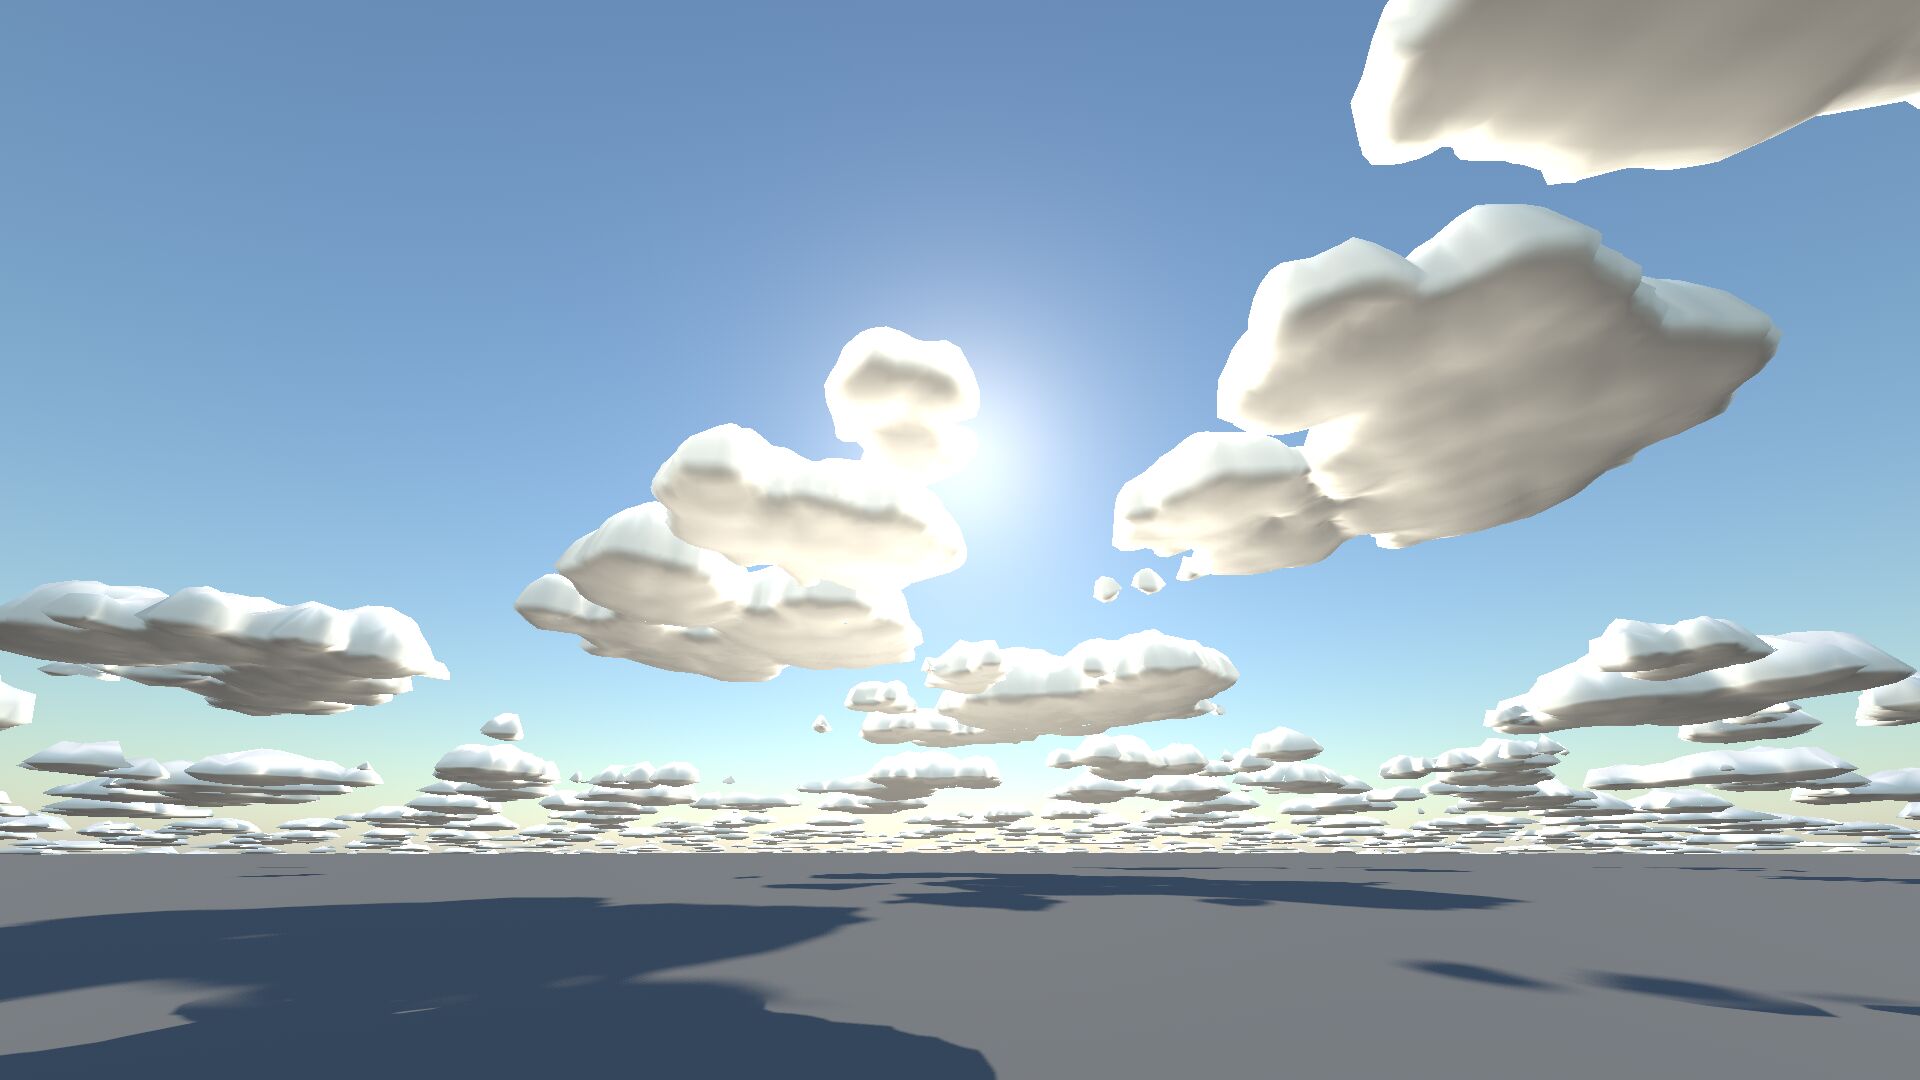
Compare this to the previous render: there is more contrast between light and dark, and the bright parts behave more naturally.
And let’s not forget about my signature chunky pixels, here applied as a normal map:
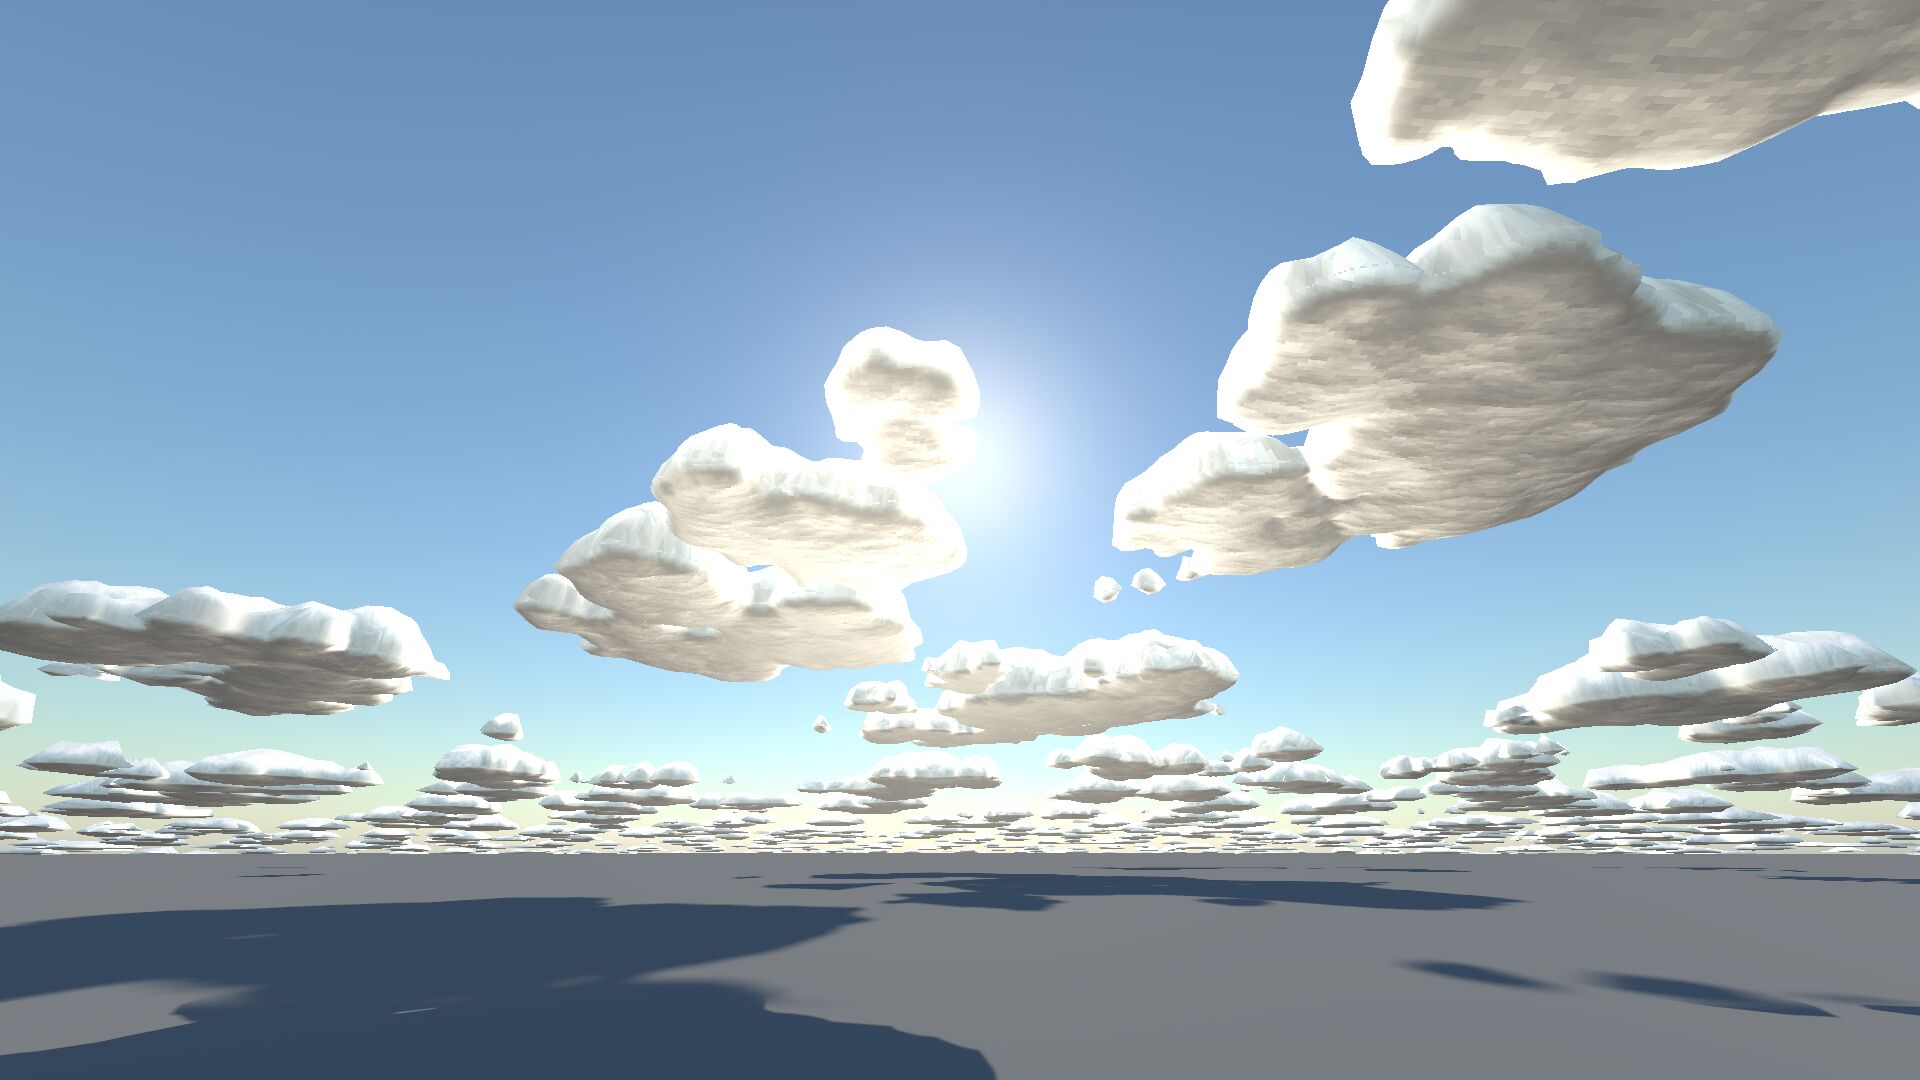
This instantly adds more texture, letting the eye infer detail where actually there is none.
The bottoms of the clouds are still darker than I would like. I thought I could fix this by setting a smaller fake radius (using the top row in the table, instead of the second row) so that more light could pass through the cloud. However, this does not help, because at that point some light is not scattered at all; the cloud effectively becomes partially transparent. Sadly my rendering approach does not support that, includes only the scattered light, and makes the cloud look even darker.
I am beginning to suspect that povray doesn’t actually simulate multiple scattering at all; the documentation does not say yes or no either way. No matter how many samples and intervals I configure, I can’t get the bottom of those spheres to become lighter.
Once again I’m tempted to write my own recursive ray tracer to confirm my suspicions, but I resisted the urge and just added a fake brightening parameter:
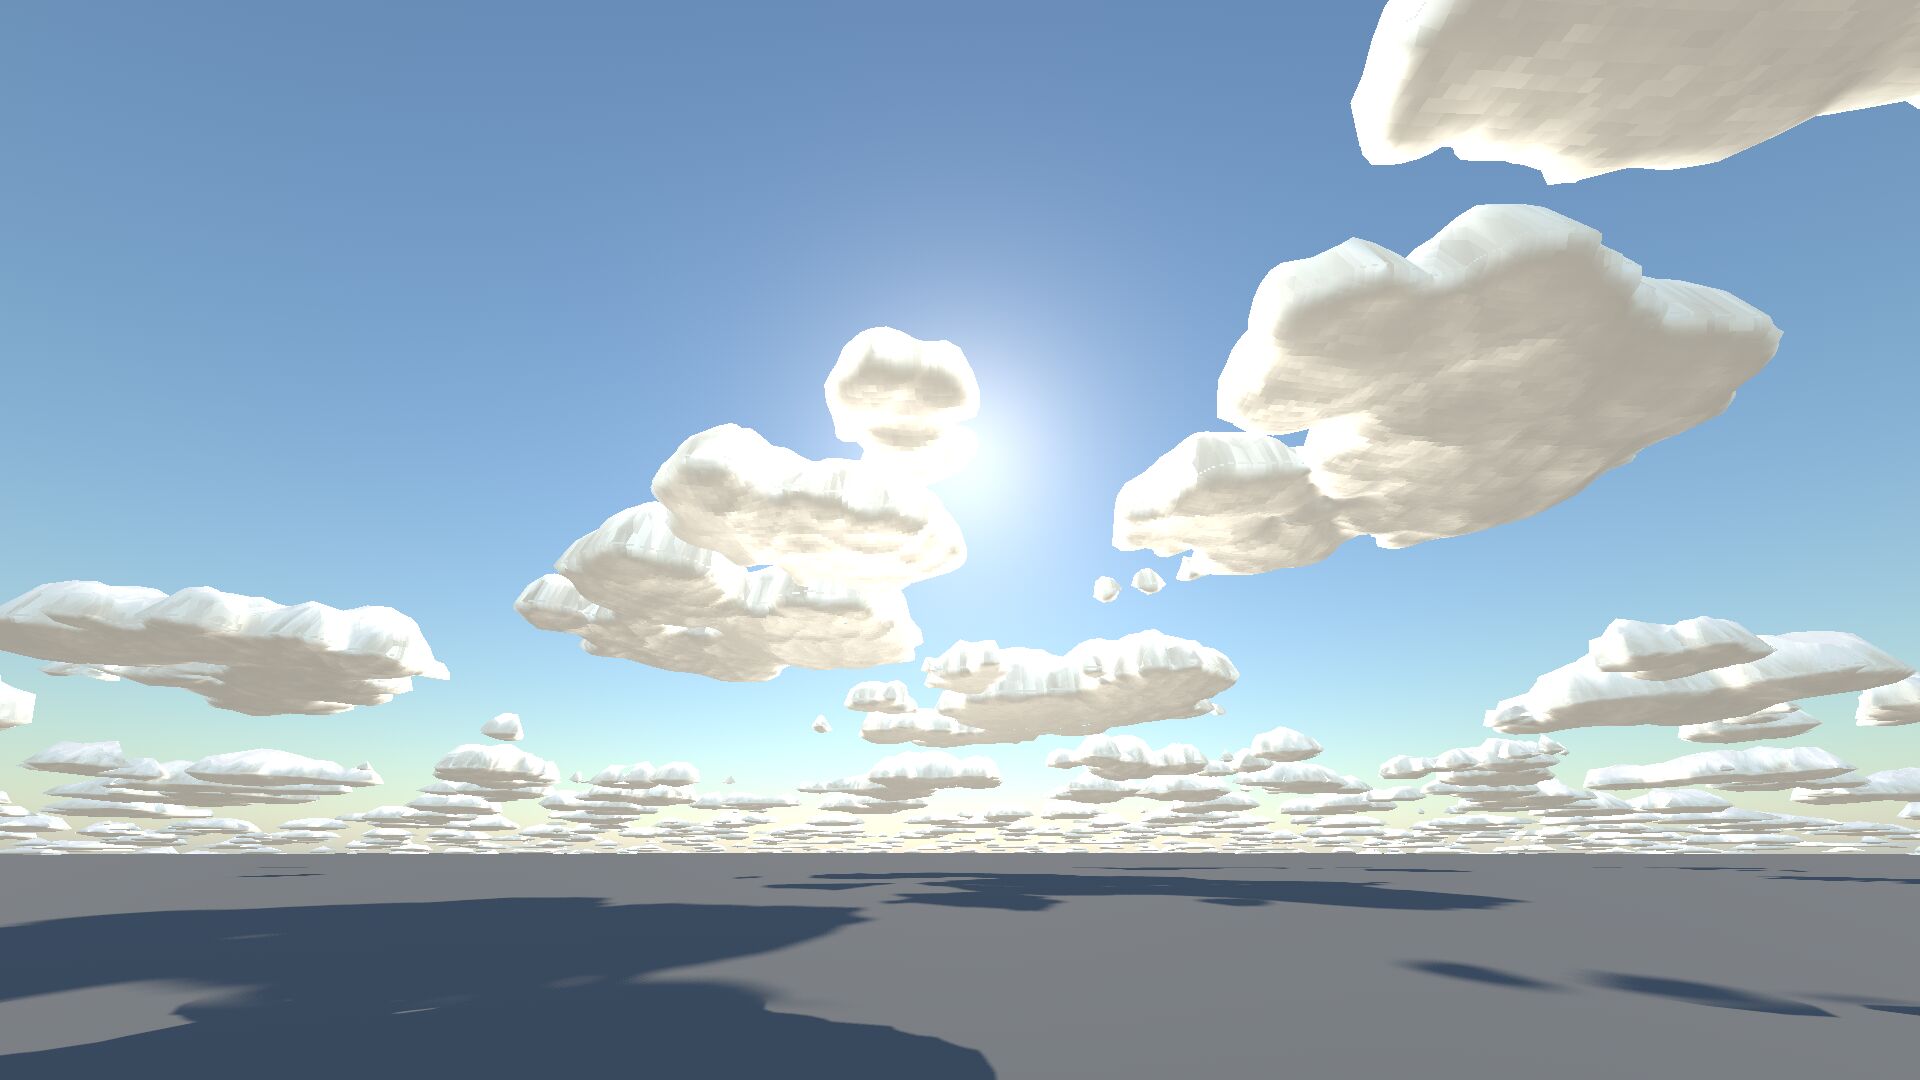
One thing still missing, which is especially noticeable close to the horizon, is the effect of the atmosphere between the clouds and the viewer. This is called aerial perspective and causes distant objects to appear more pale and blueish. It’s just a generalization of the sky shader I wrote before, so it was easy to add and gives a much softer look:
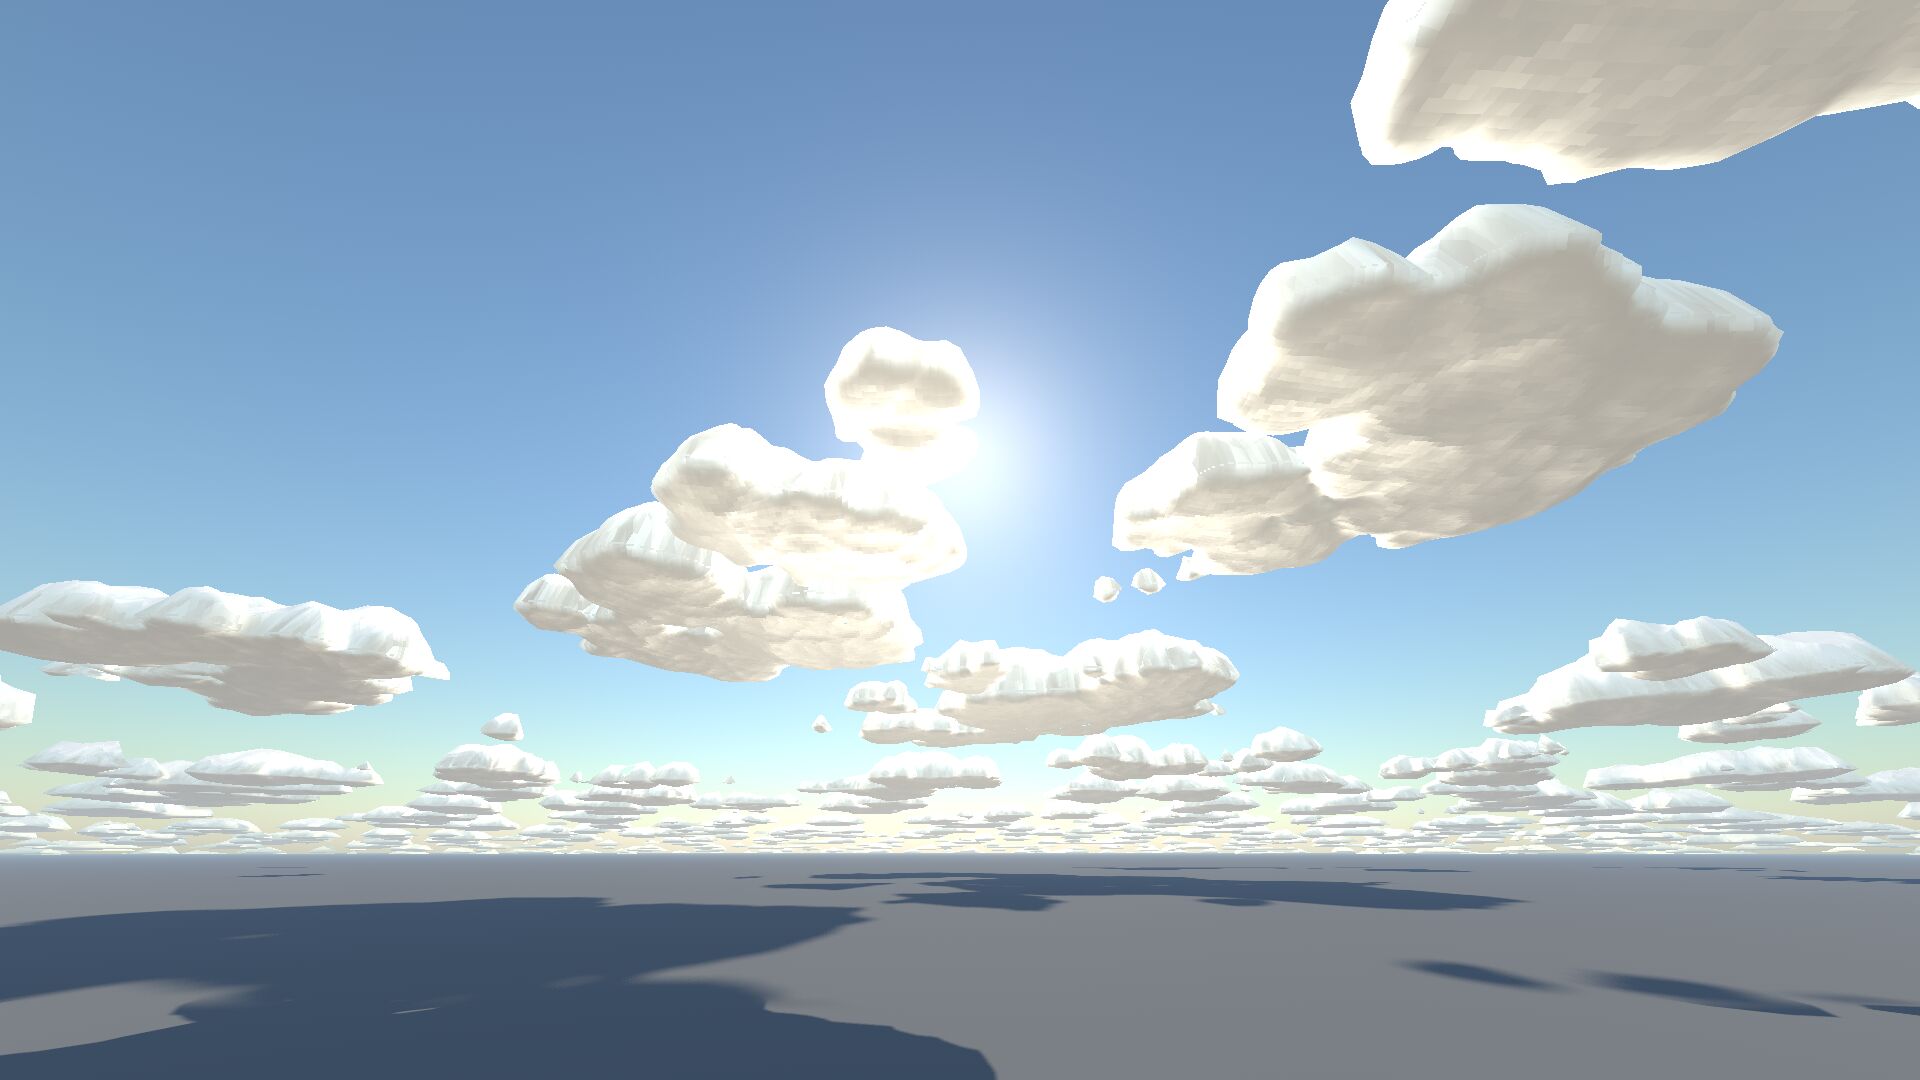
All together now!
So far, I’ve been showing the clouds in a vacuum. Let’s put them in the game, together with the new sky shader and aerial perspective.
Before:
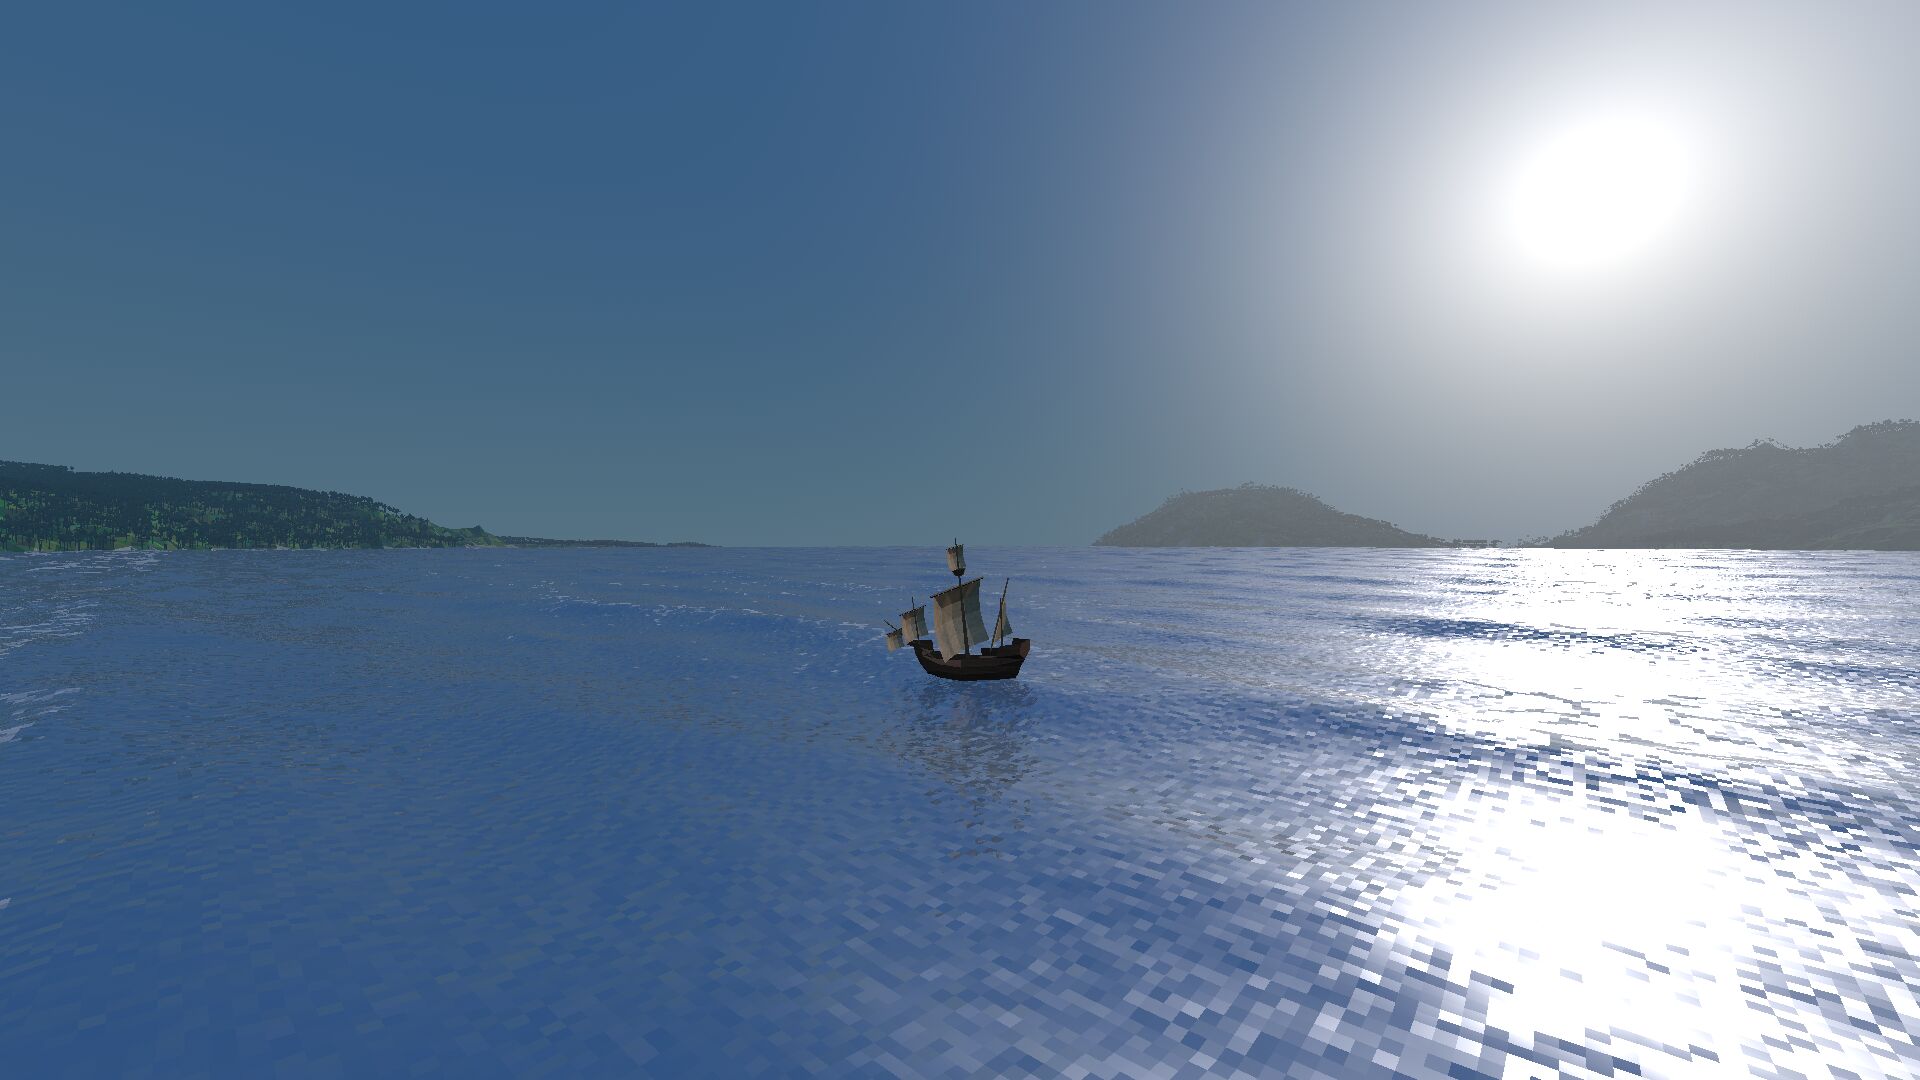
After:
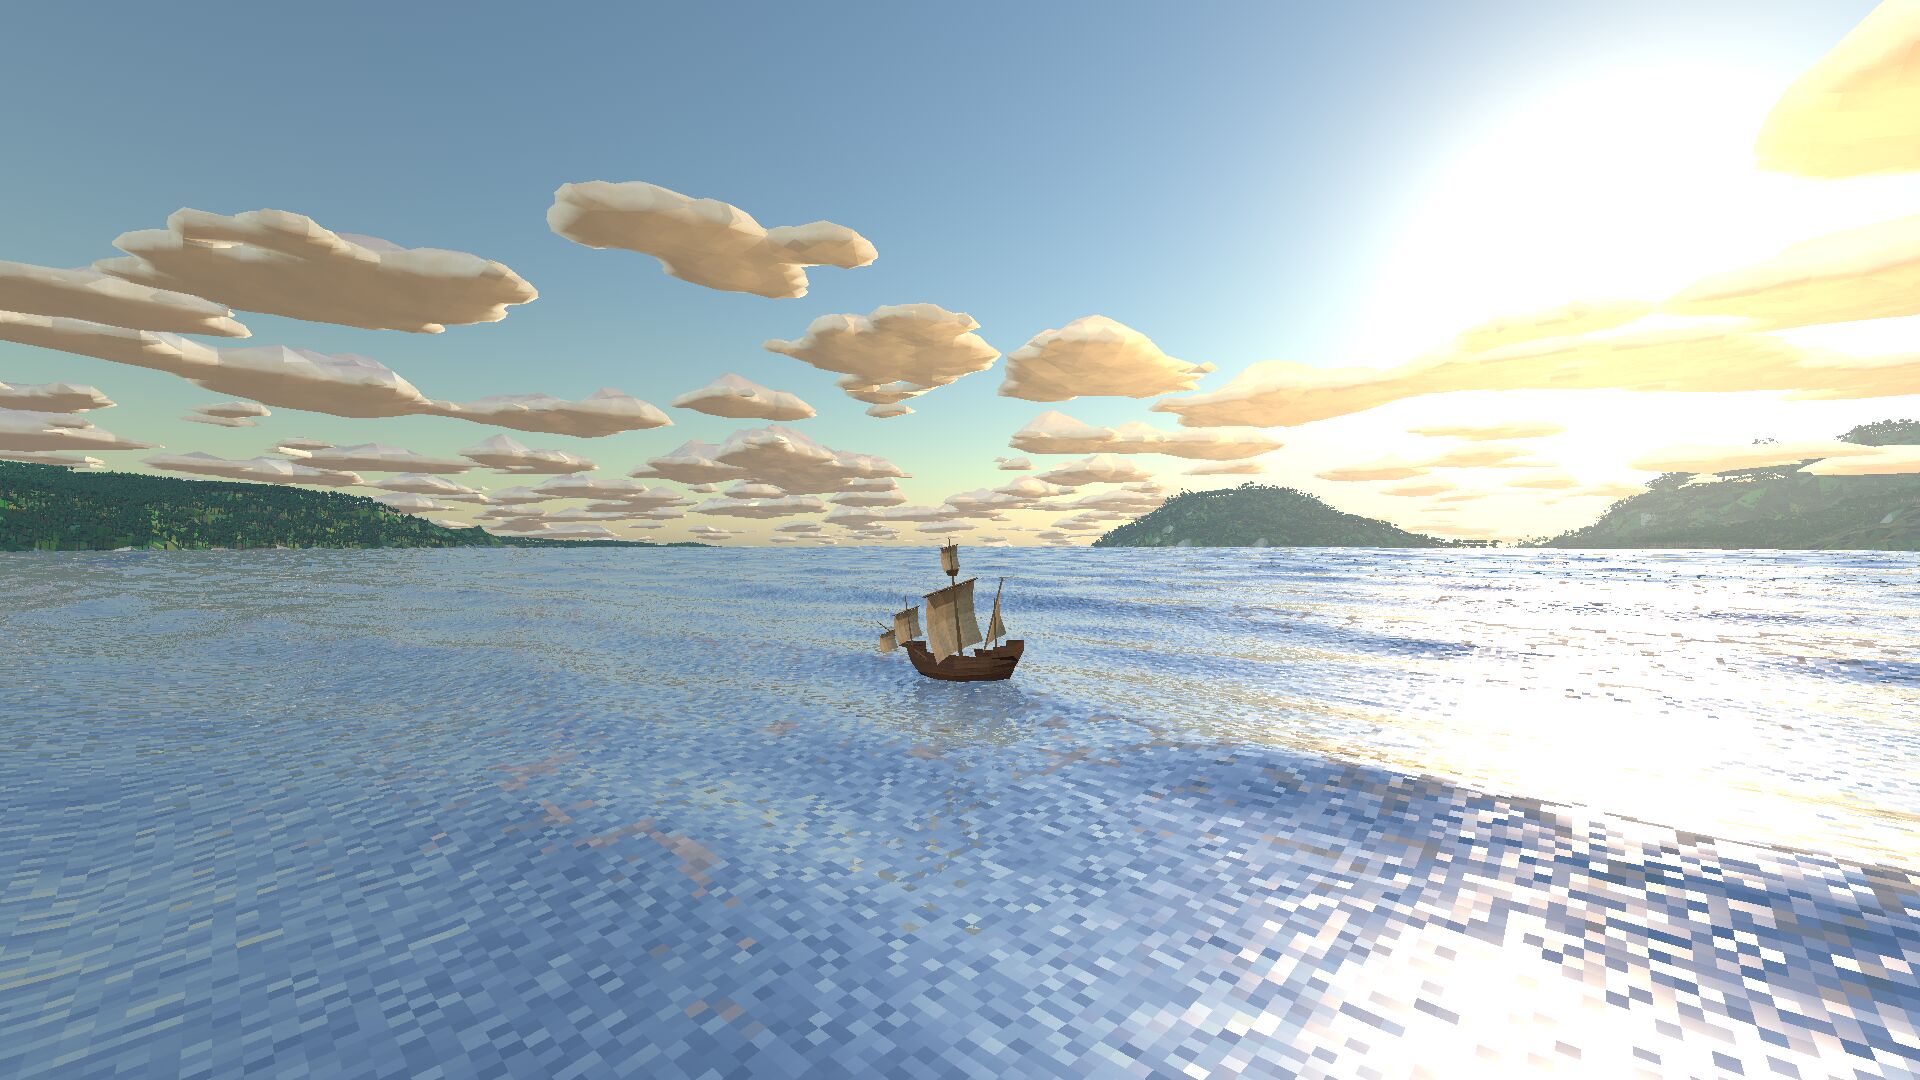
The new sky is quite a bit brighter and more cheerful, which is fine. The clouds are maybe a bit too overwhelming still. I might see if I can find a cheap way to fade them towards the sky colour, without introducing actual transparency.
I think the curvature of the cloud layer is a bit too strong now, because it follows the curvature of the terrain, which is based on a planet radius of only 83 km for gameplay reasons. But if I give the cloud layer less curvature, it’ll mean that clouds at the horizon are actually much farther away than land at the horizon, which might be confusing. For now, I’ll leave it like this.